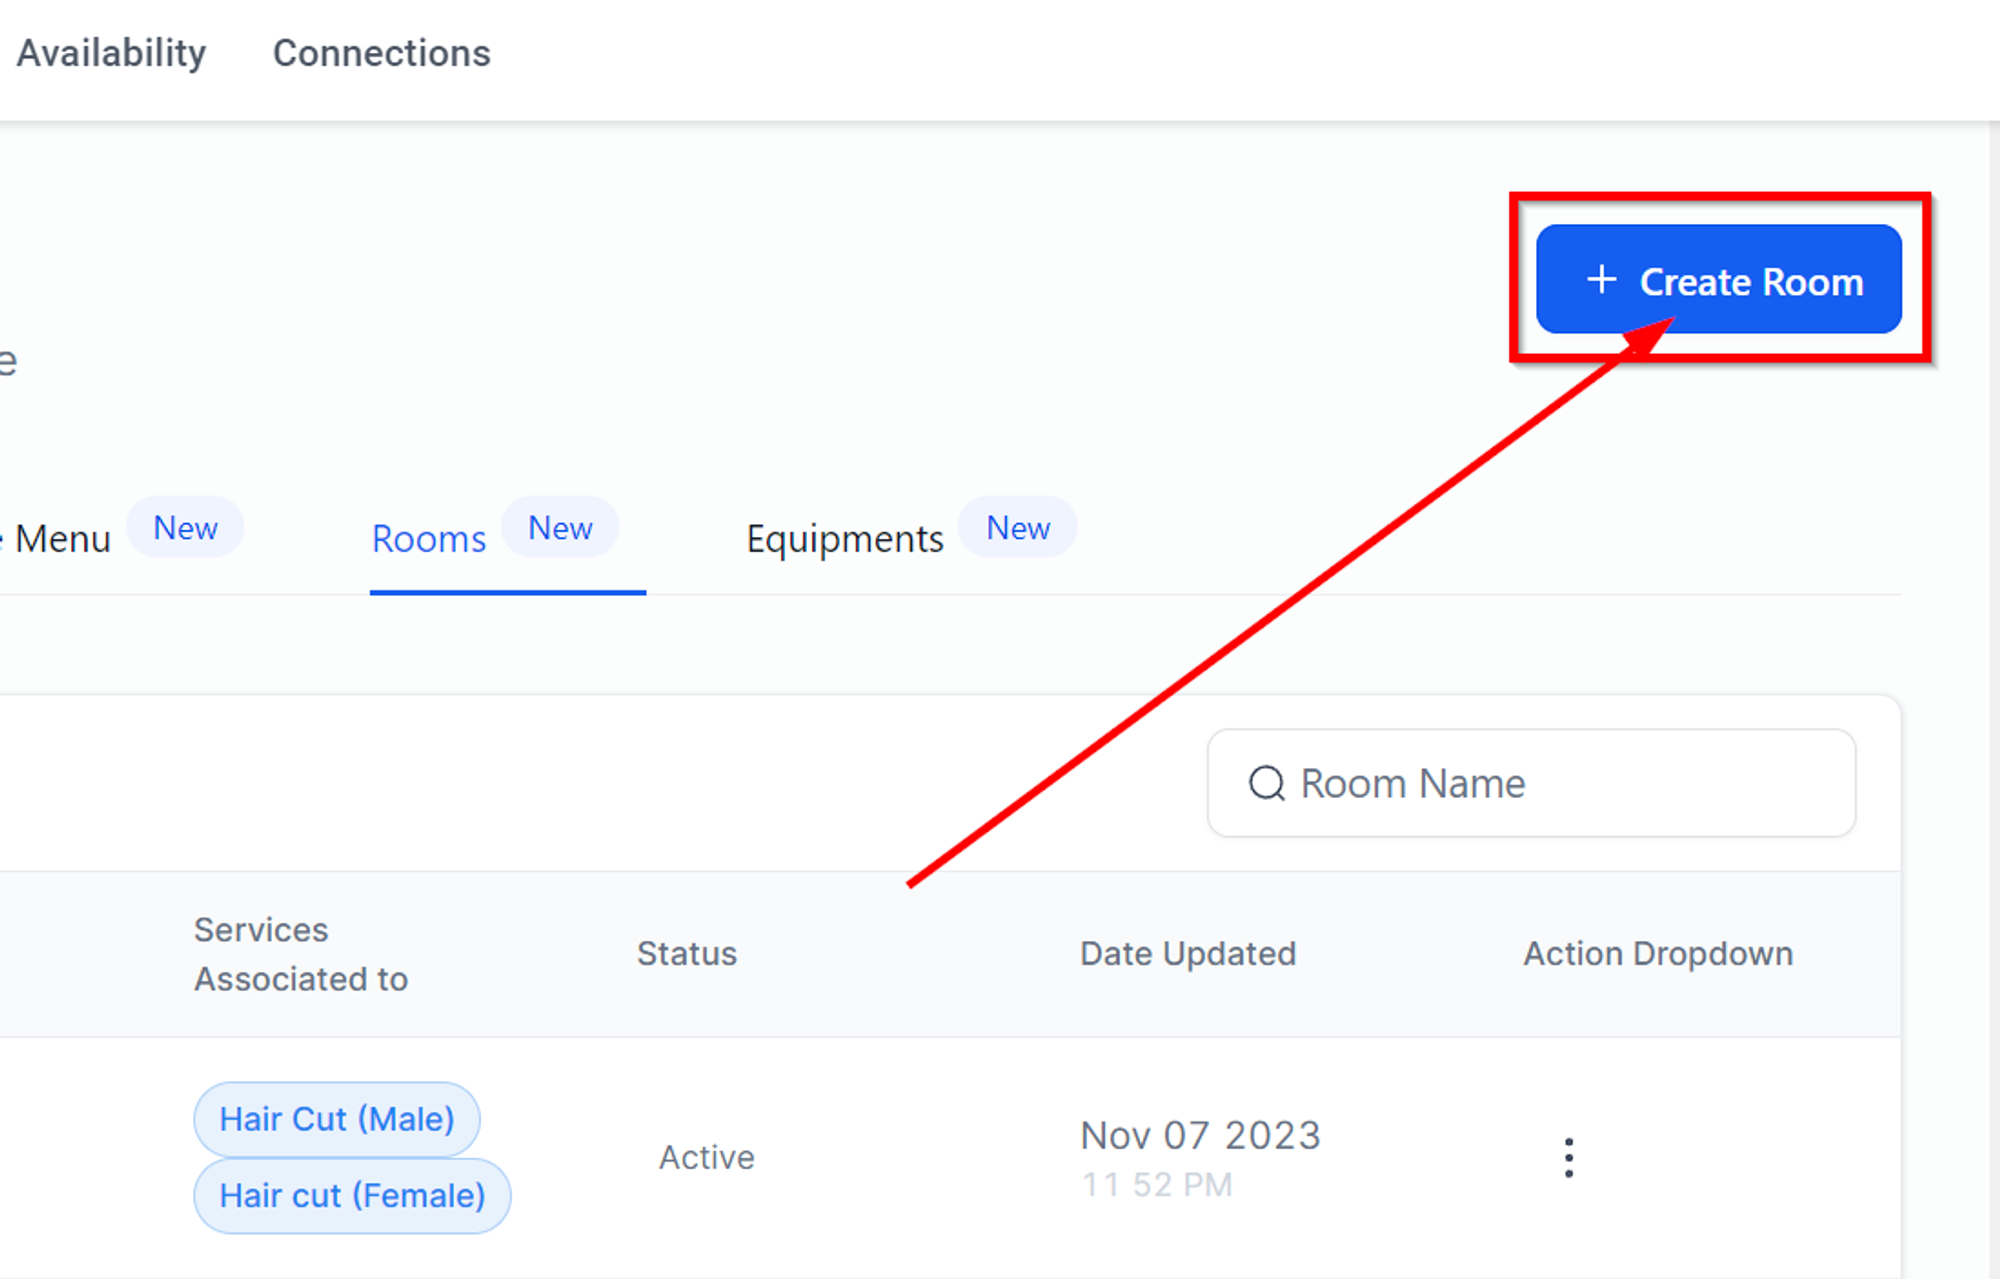
Create Room
Every time you need to create a dedicated room for your service, you will hit this button to start creating a room. A room can represent any location such as a massage room, salon chair or a workout area.
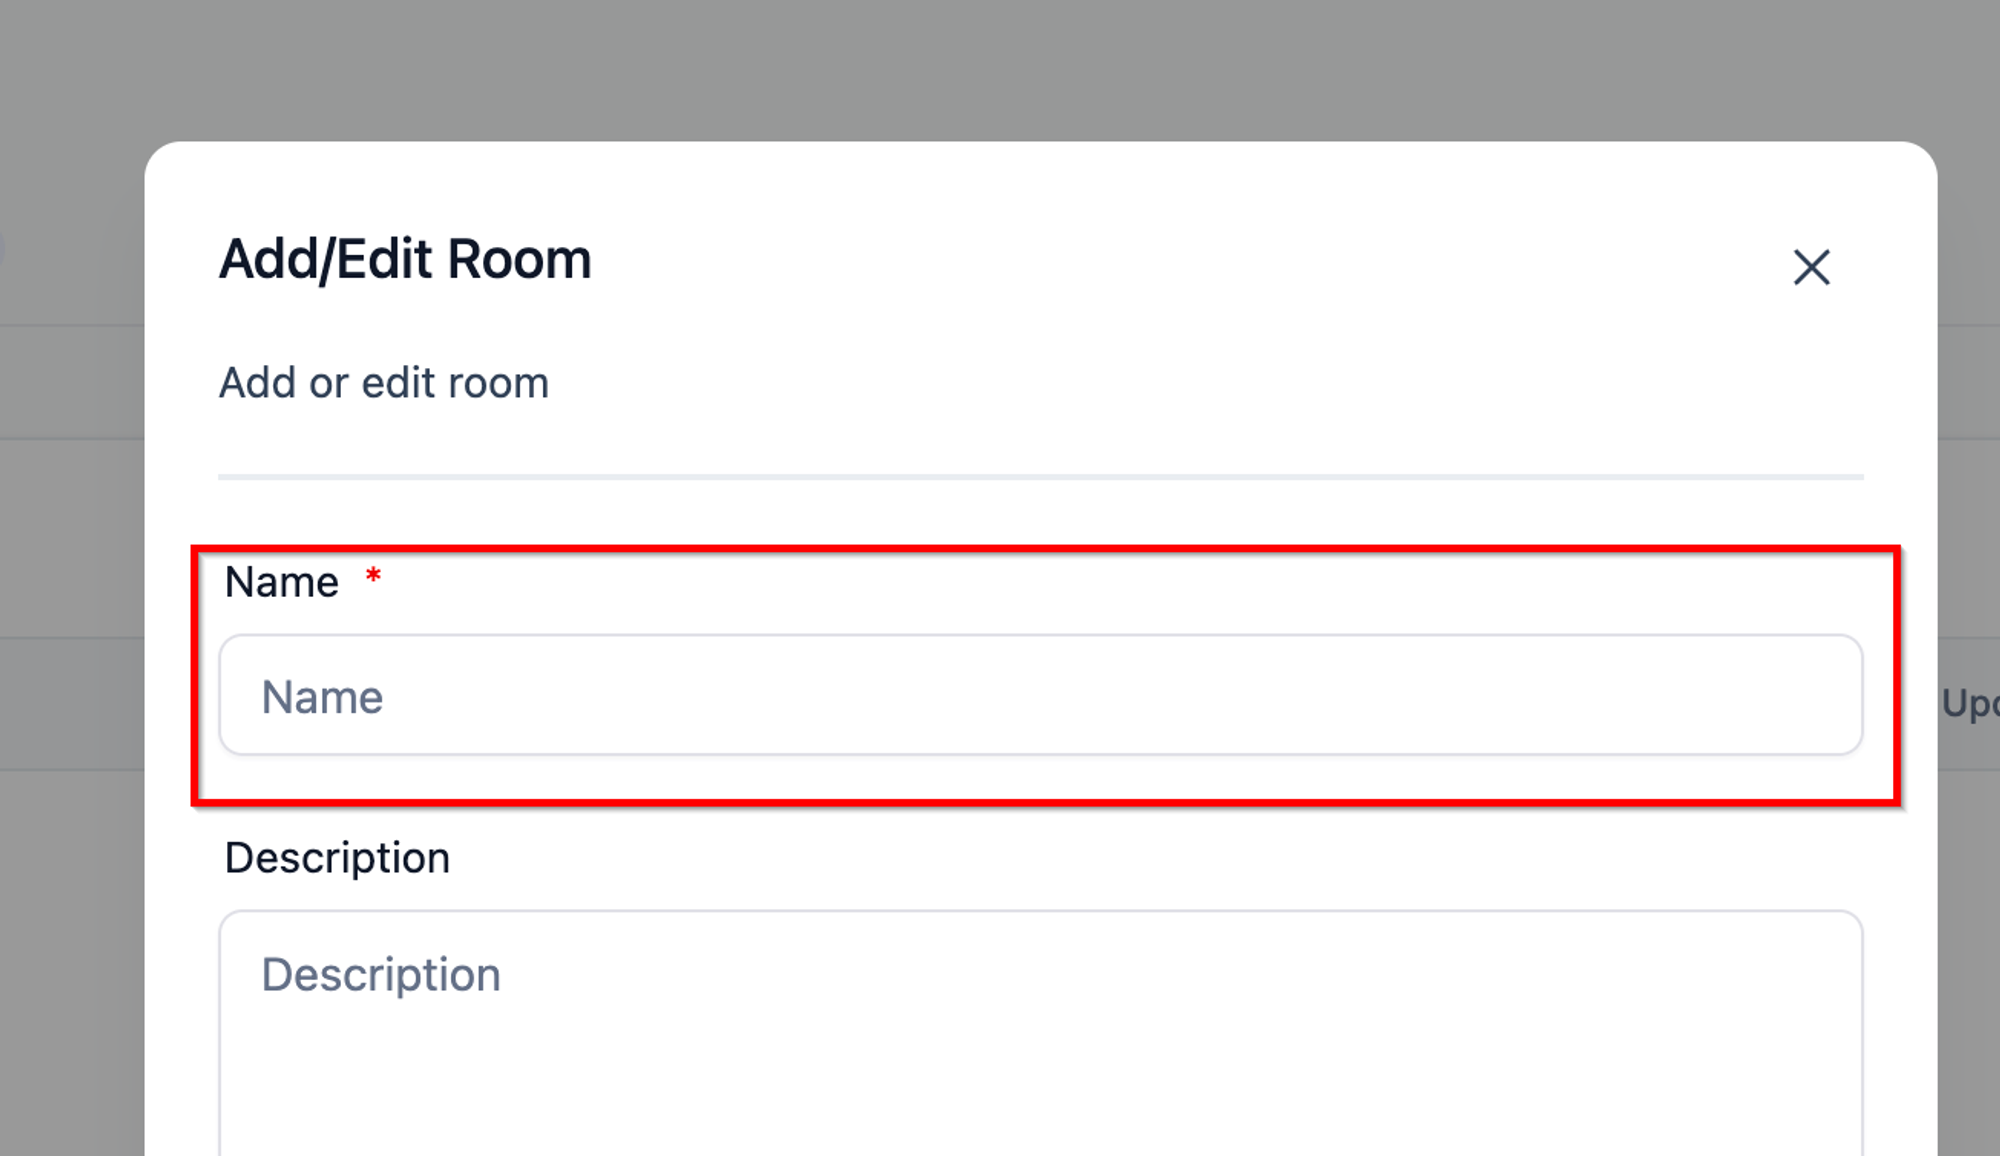
Name
Give it a name to this room. It could be like “Spa room 1” or something related to your services that your customers can understand when they’re booking a slot on your calendar.
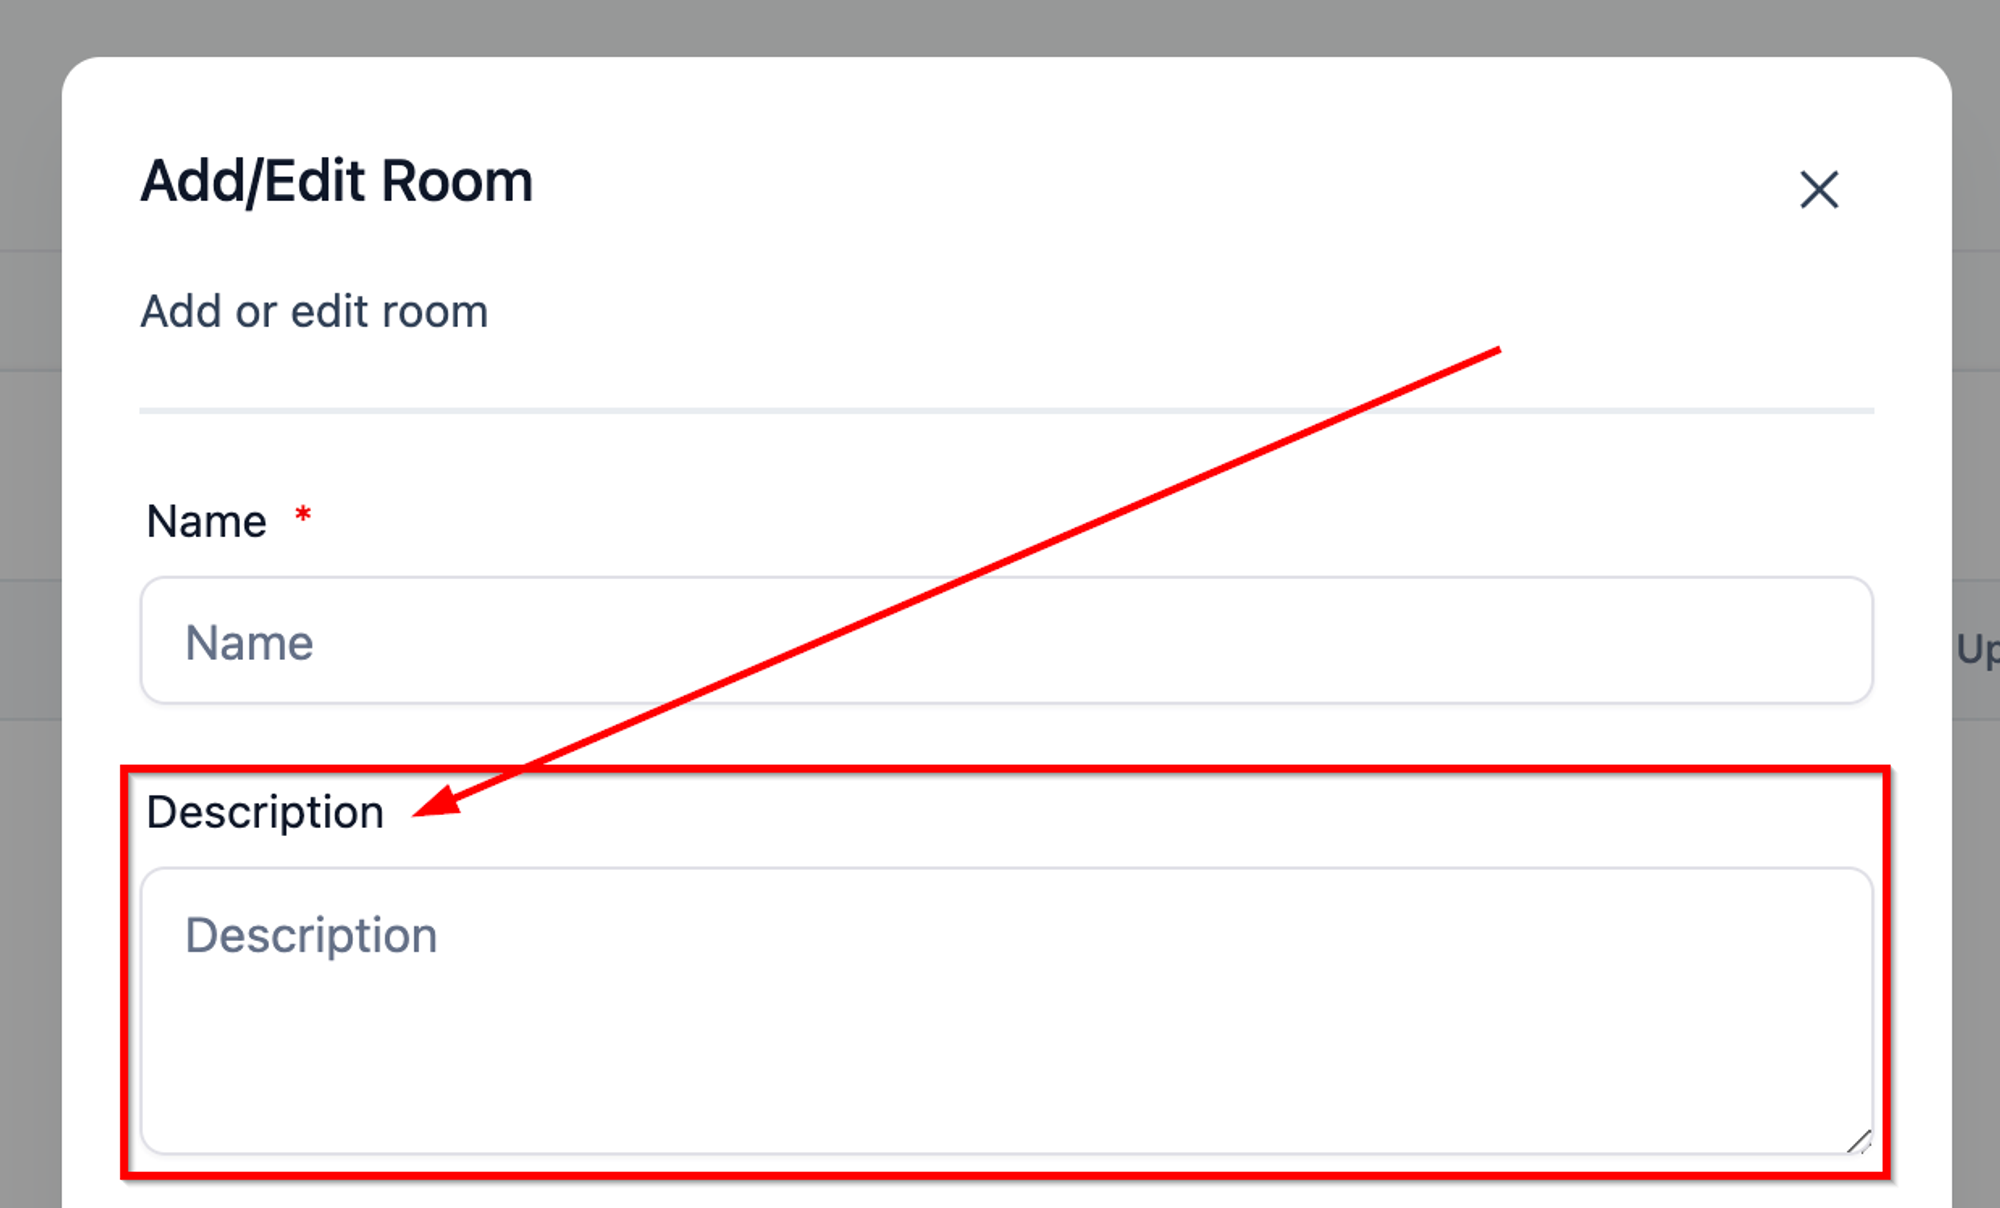
Description
Adding a description helps your customers what this room is for.
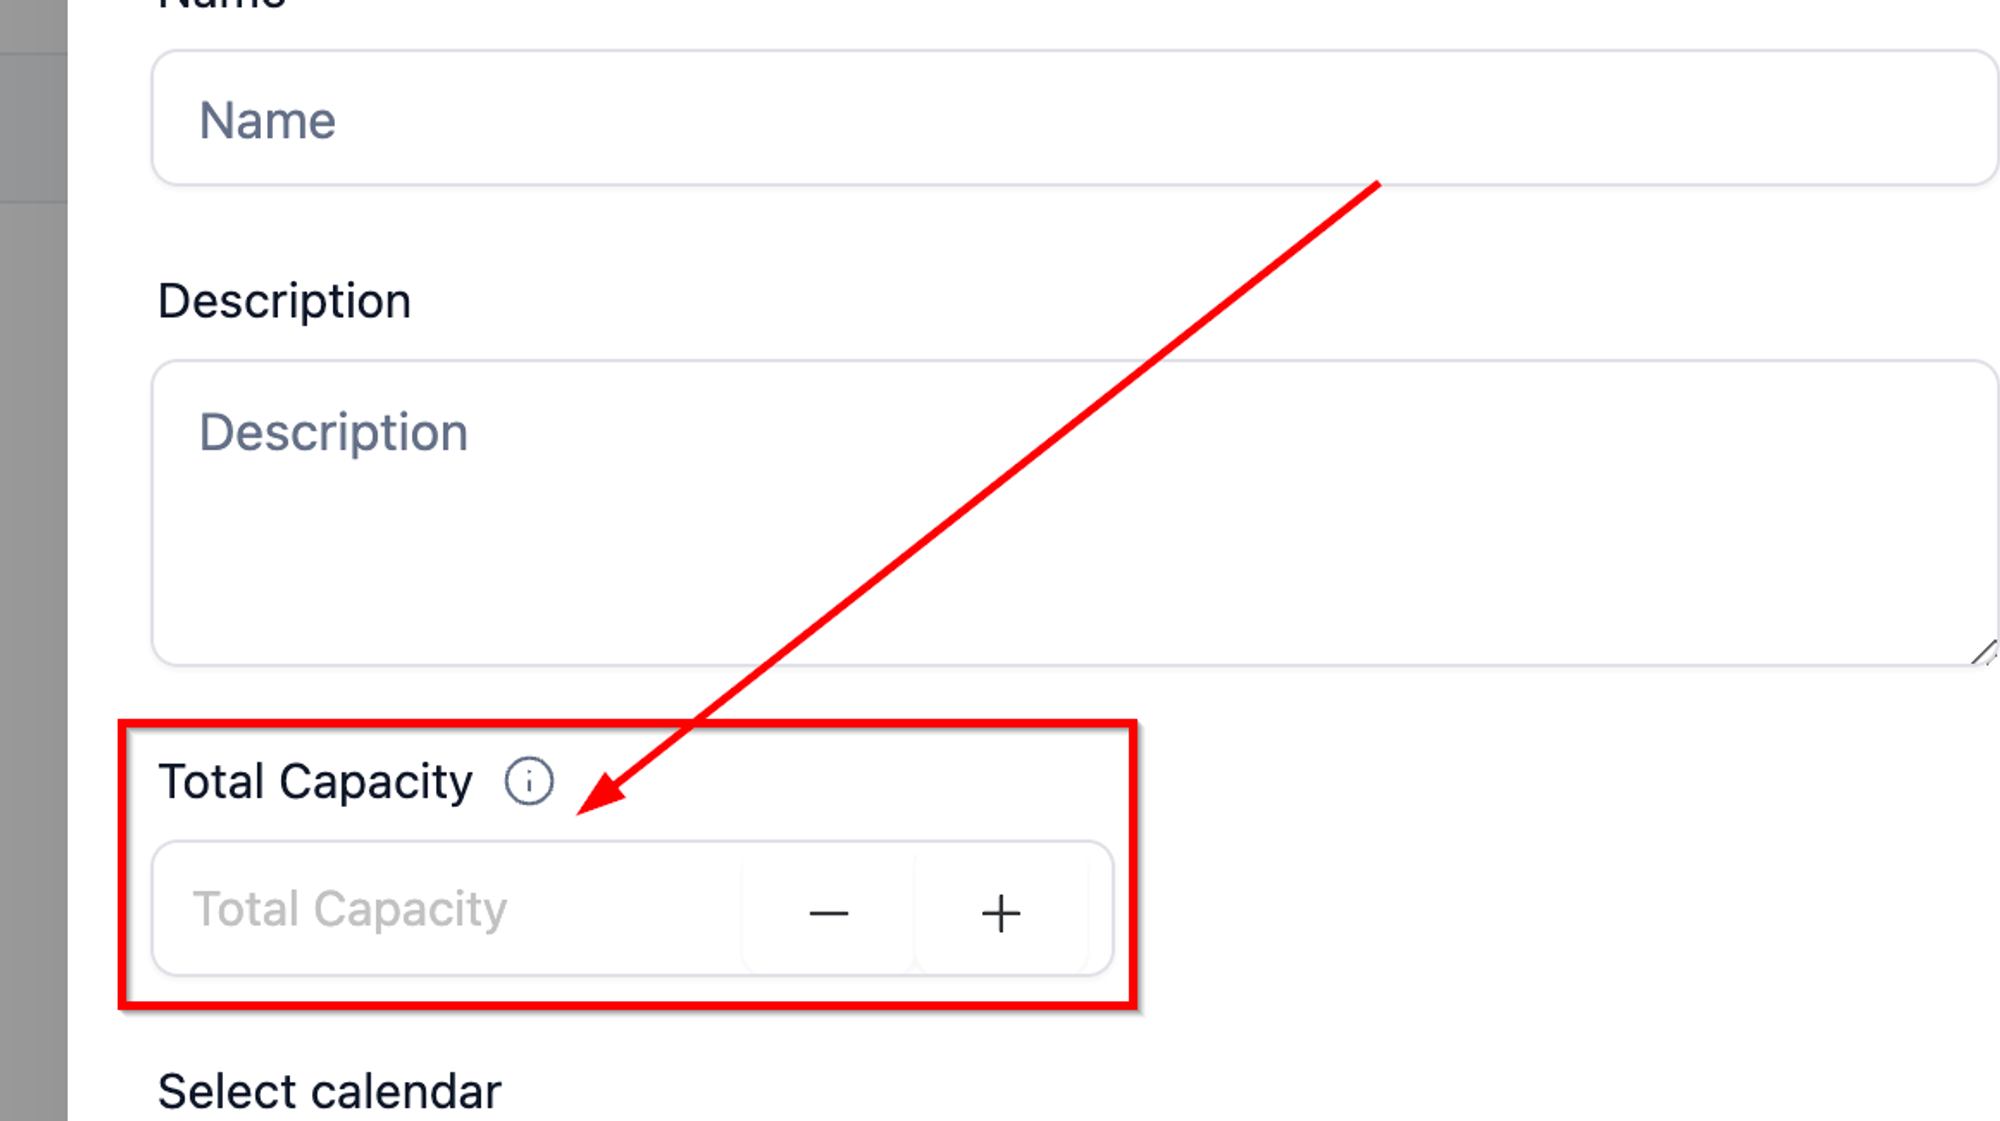
Total Capacity
Imagine you have 5 chairs in the room. This means you will have to limit the number of appointments to 5. This is the area where you can set that limitation.
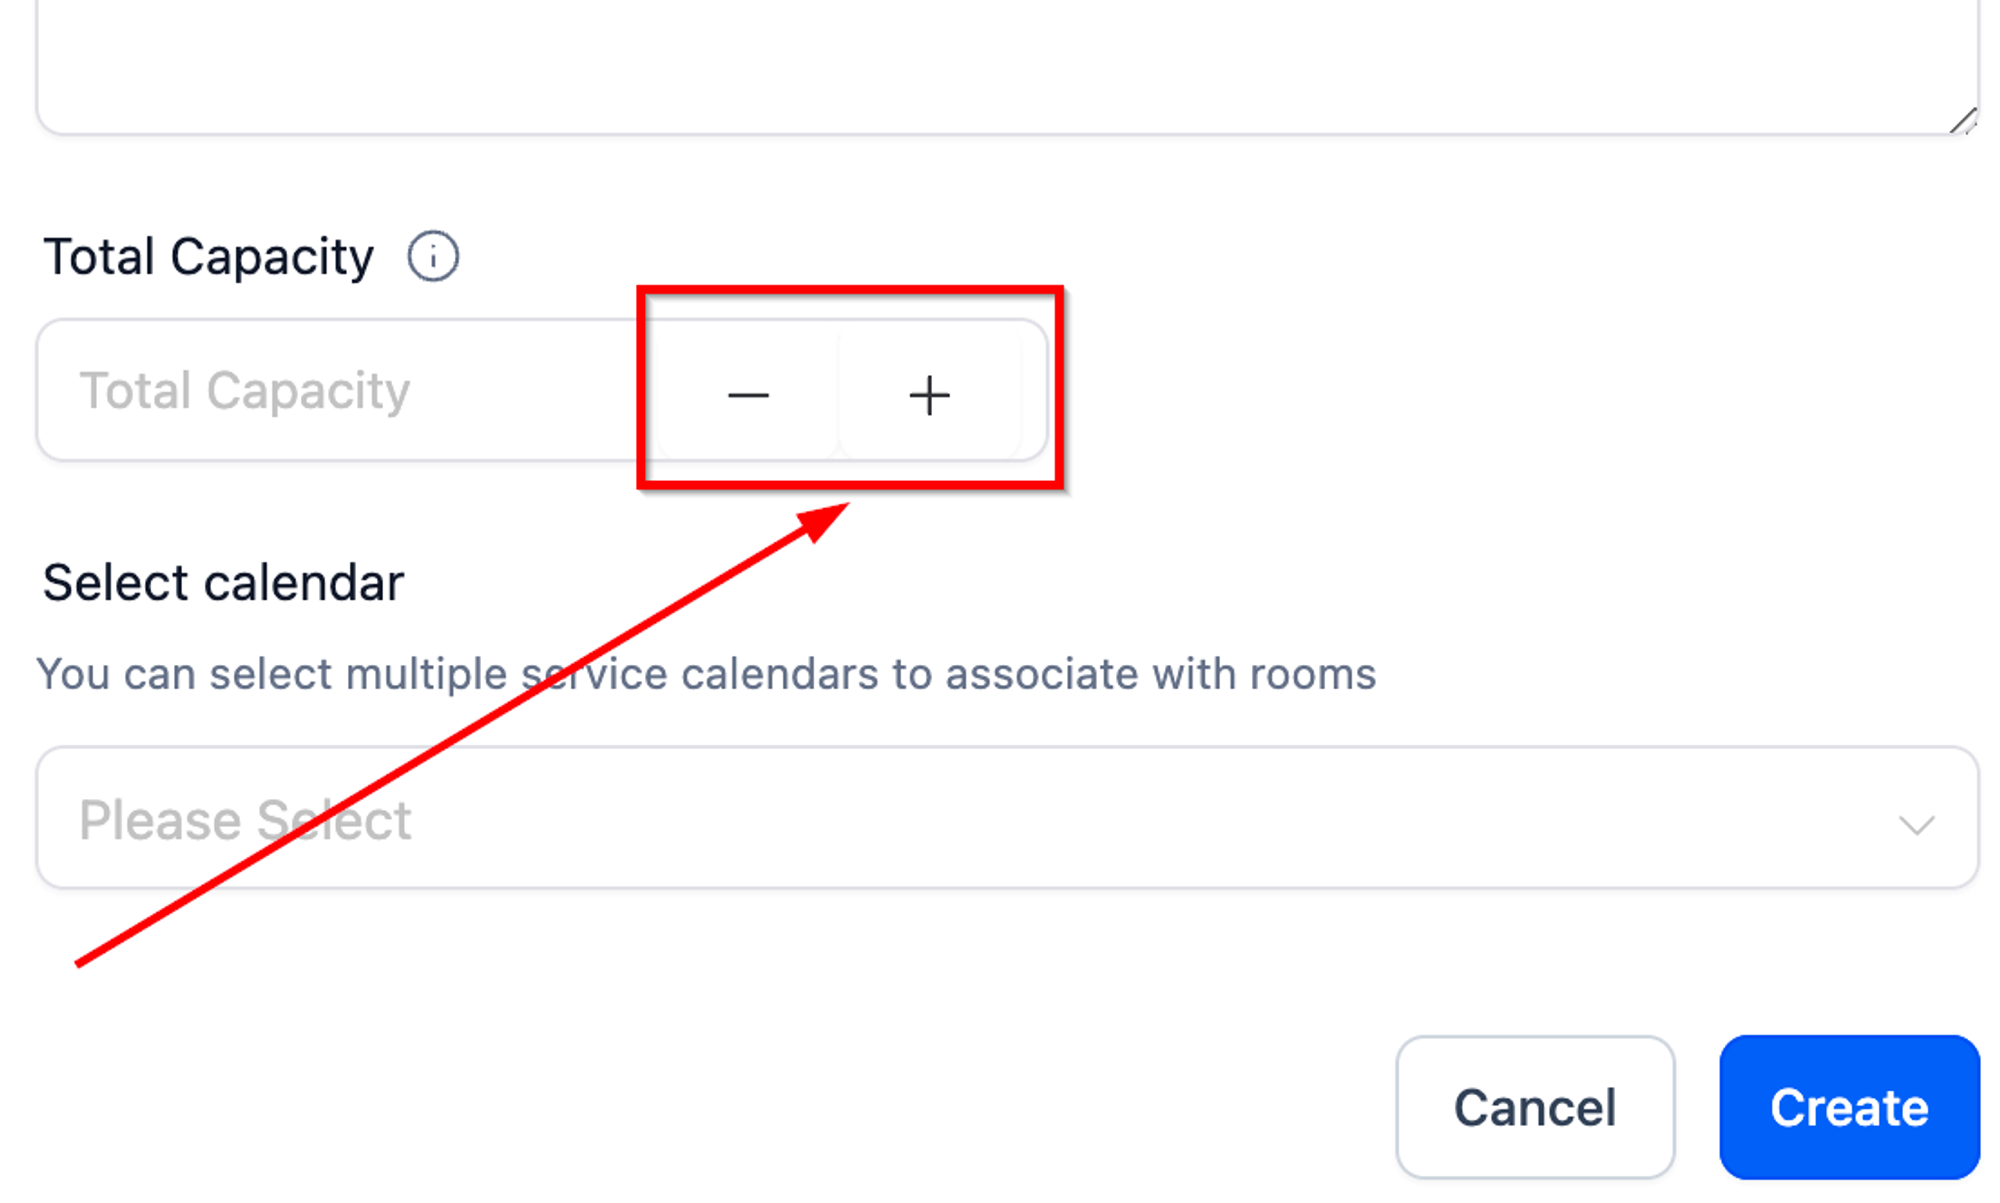
Increase/ Decrease capacity
Use the “+” and “-” button to increase or decrease the number when setting up the room capacity.
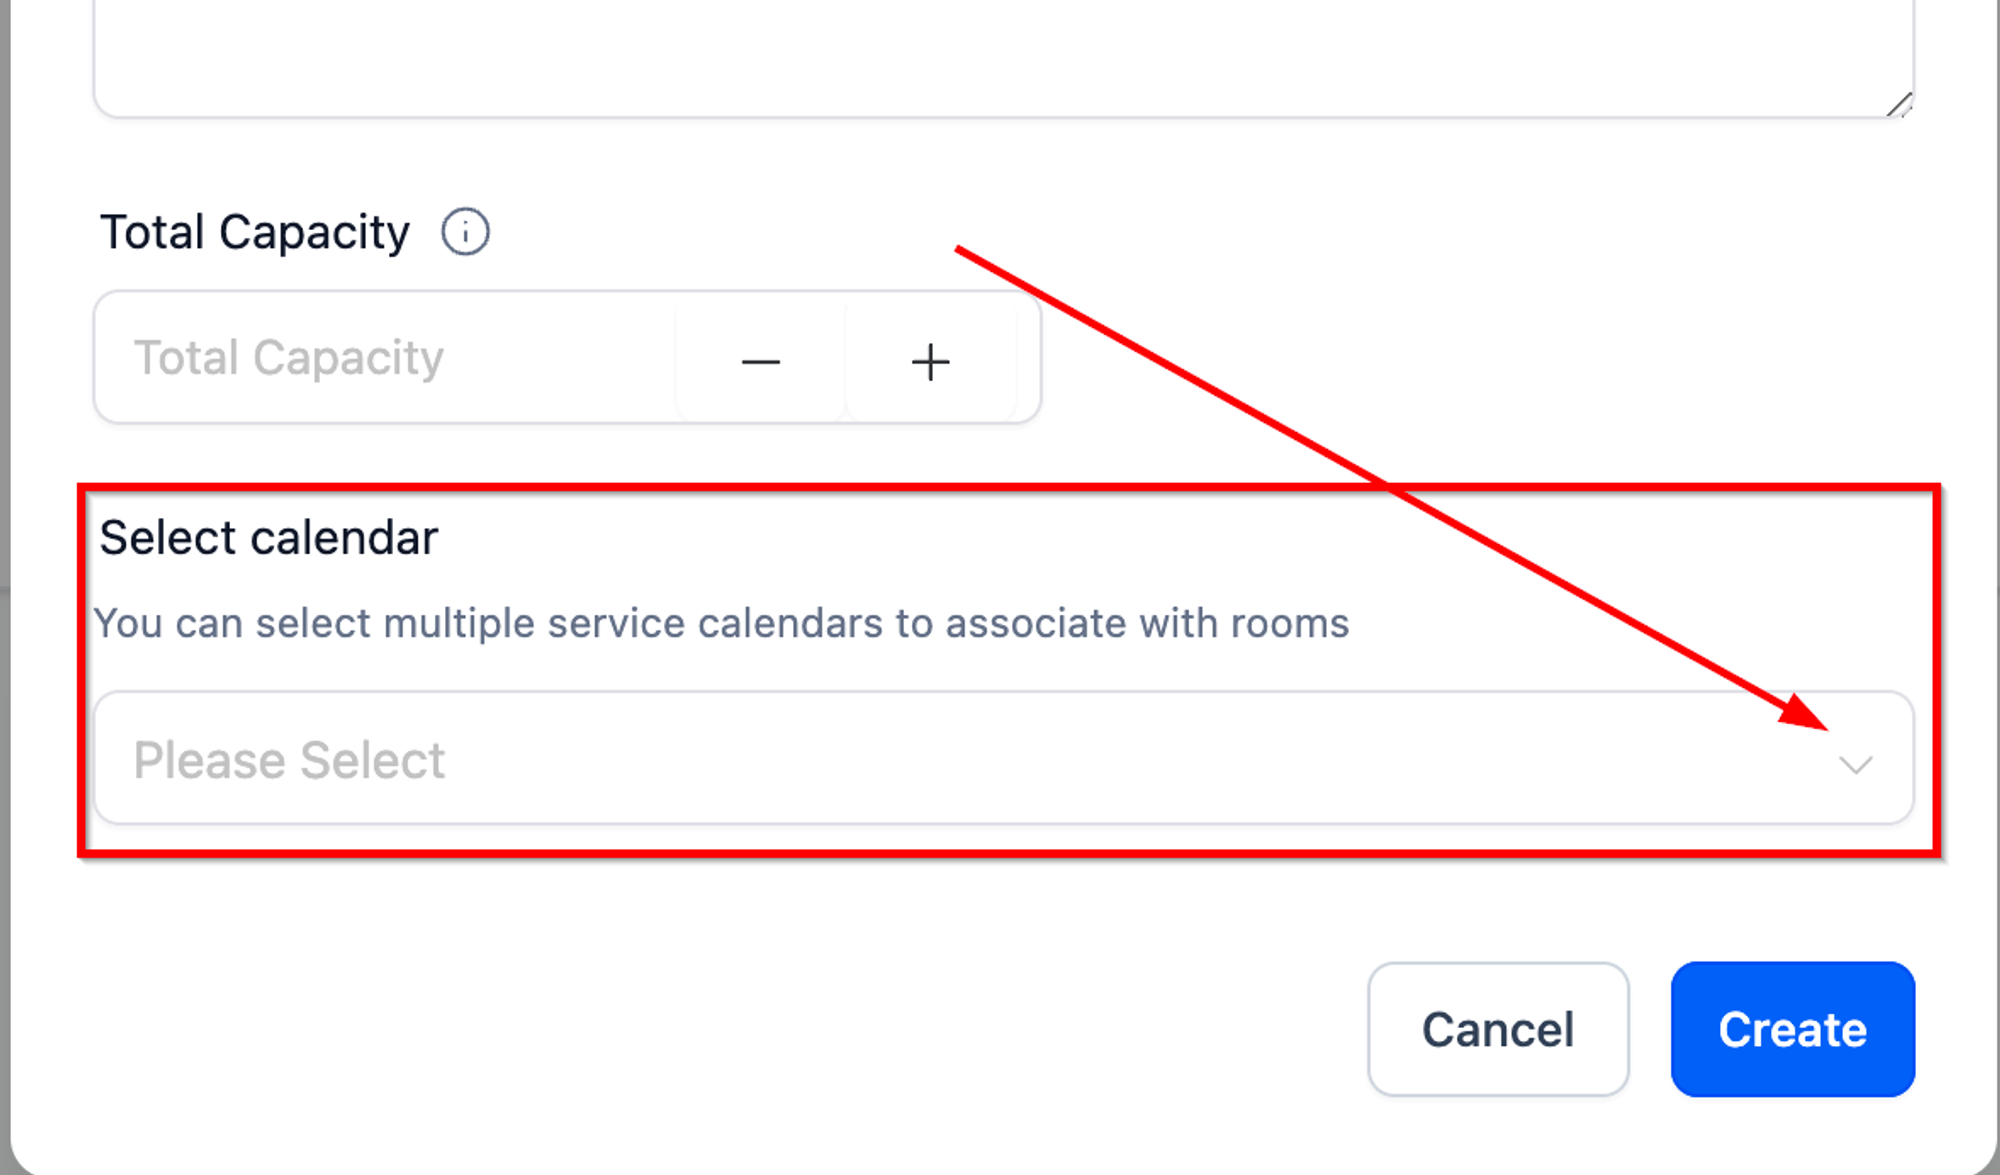
Select Calendar
In this step, you are to link this room to one or more service calendars created in the system.
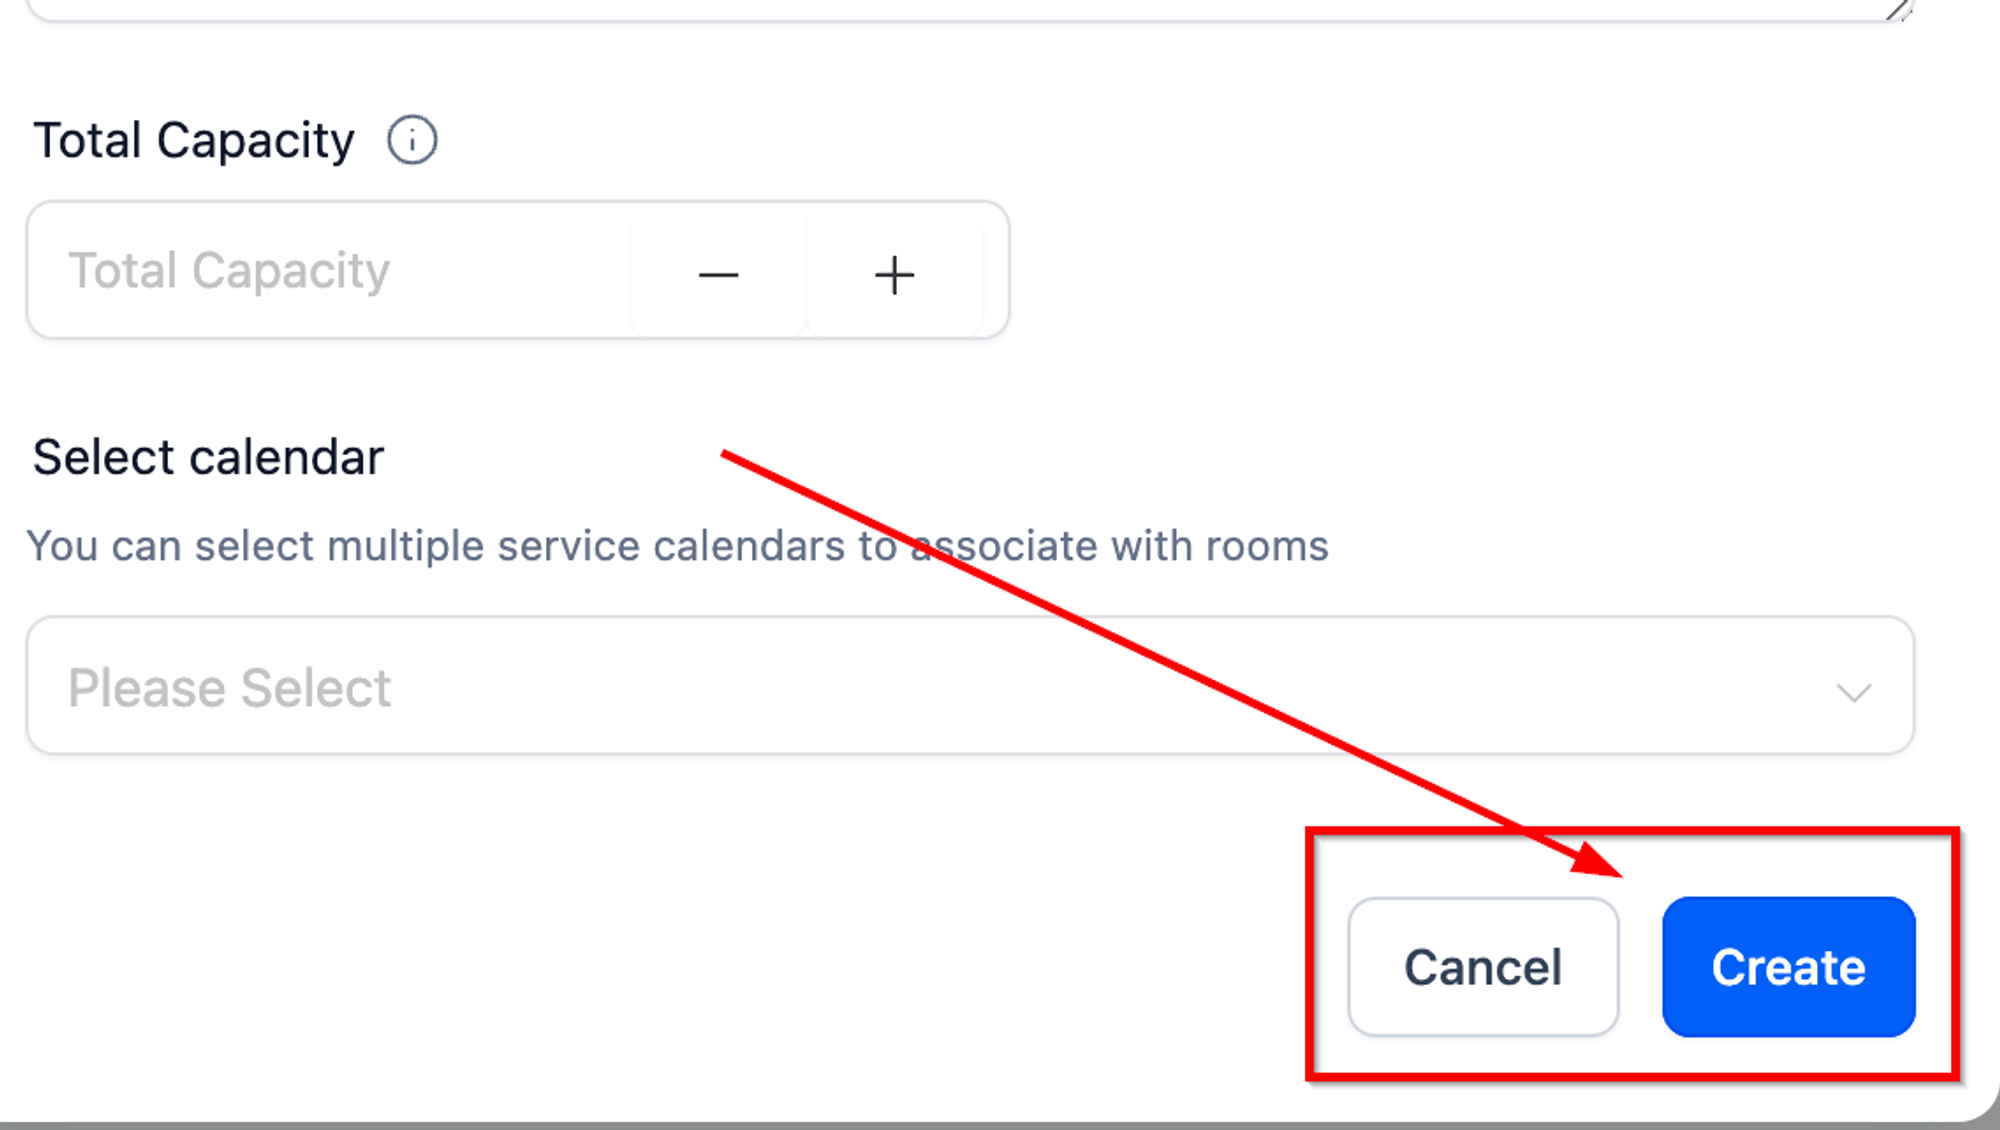
Cancel/Create
When you are done making the changes, hit the “Create” button. There you have a new room created. You can use the “Cancel” button to go back to the rooms menu.
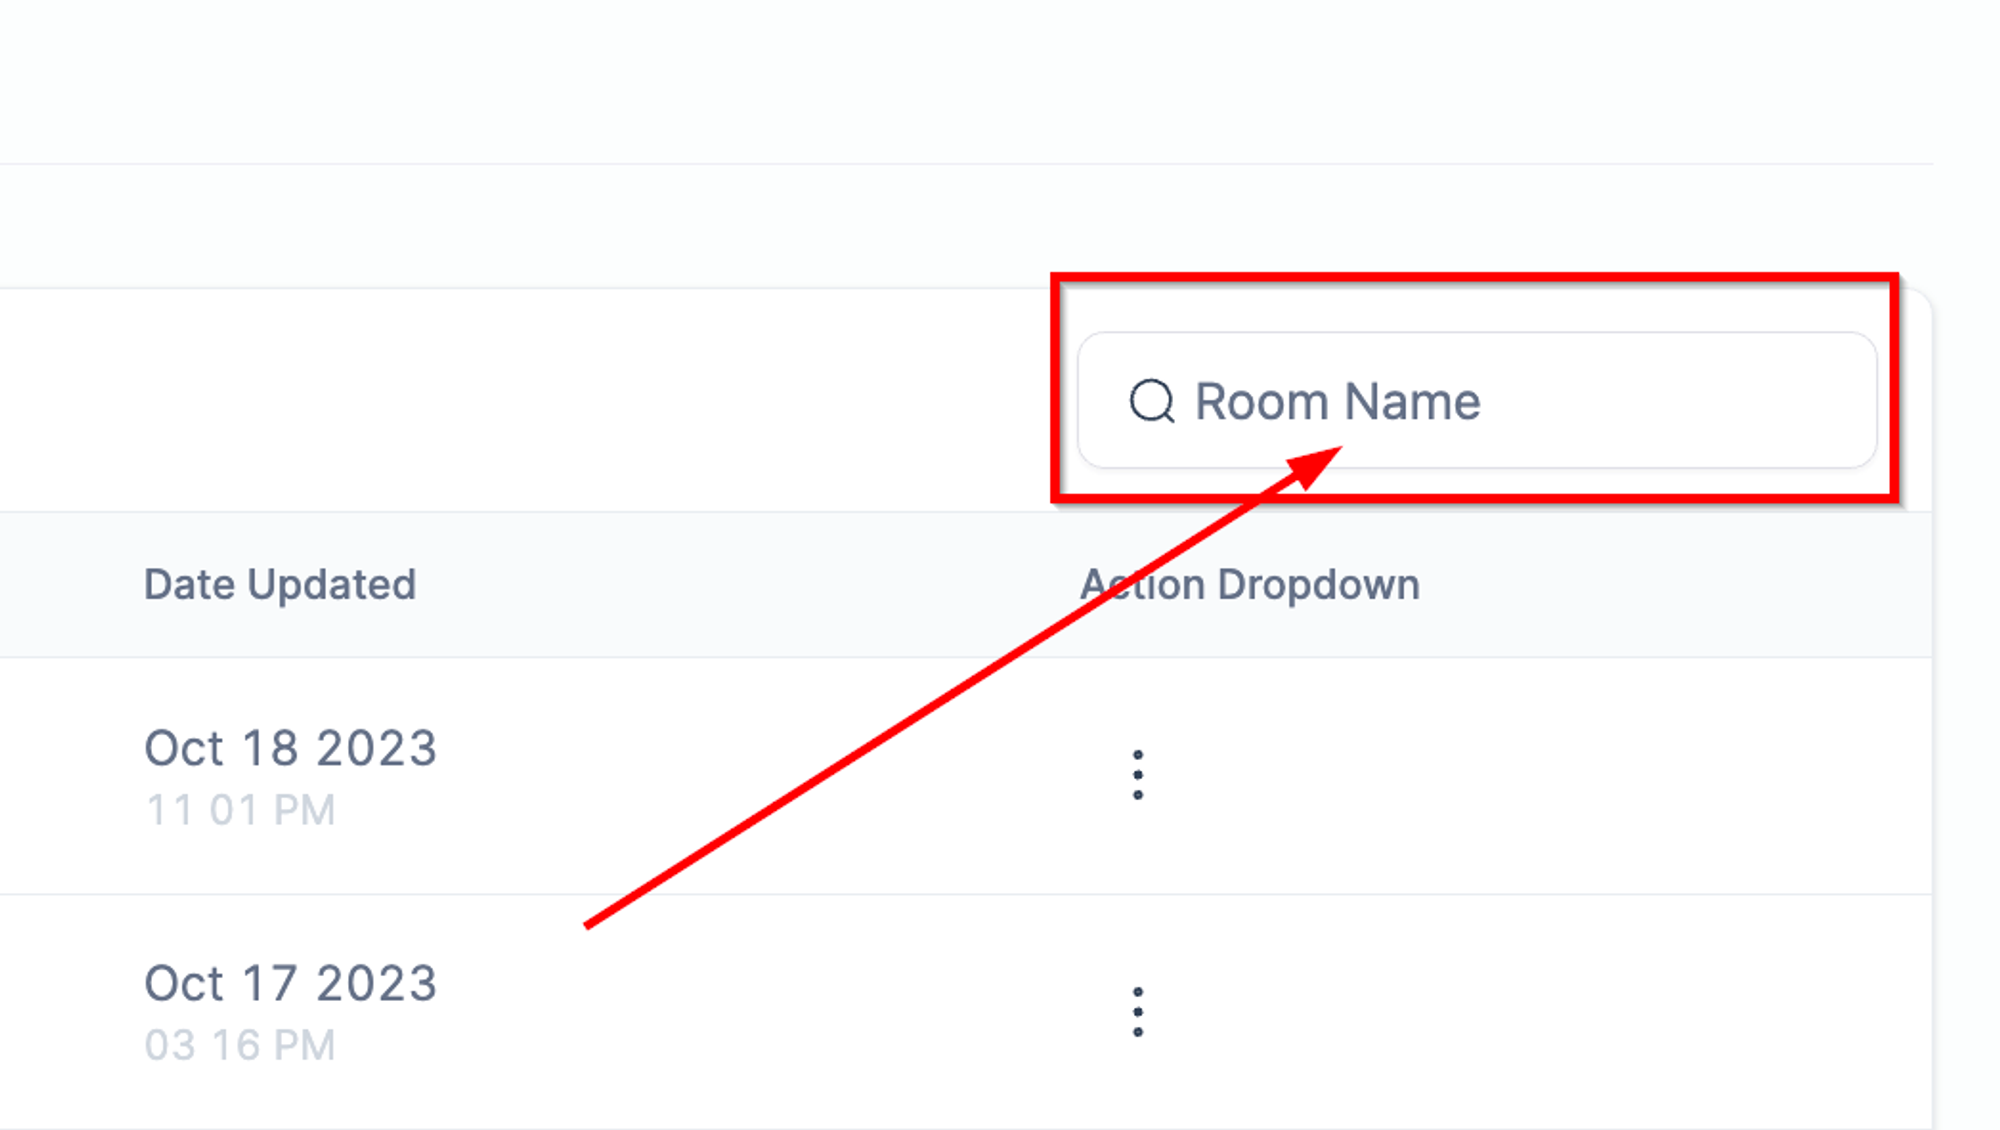
Search bar
By using this little search box, you can locate a specific room just by typing the room name here.
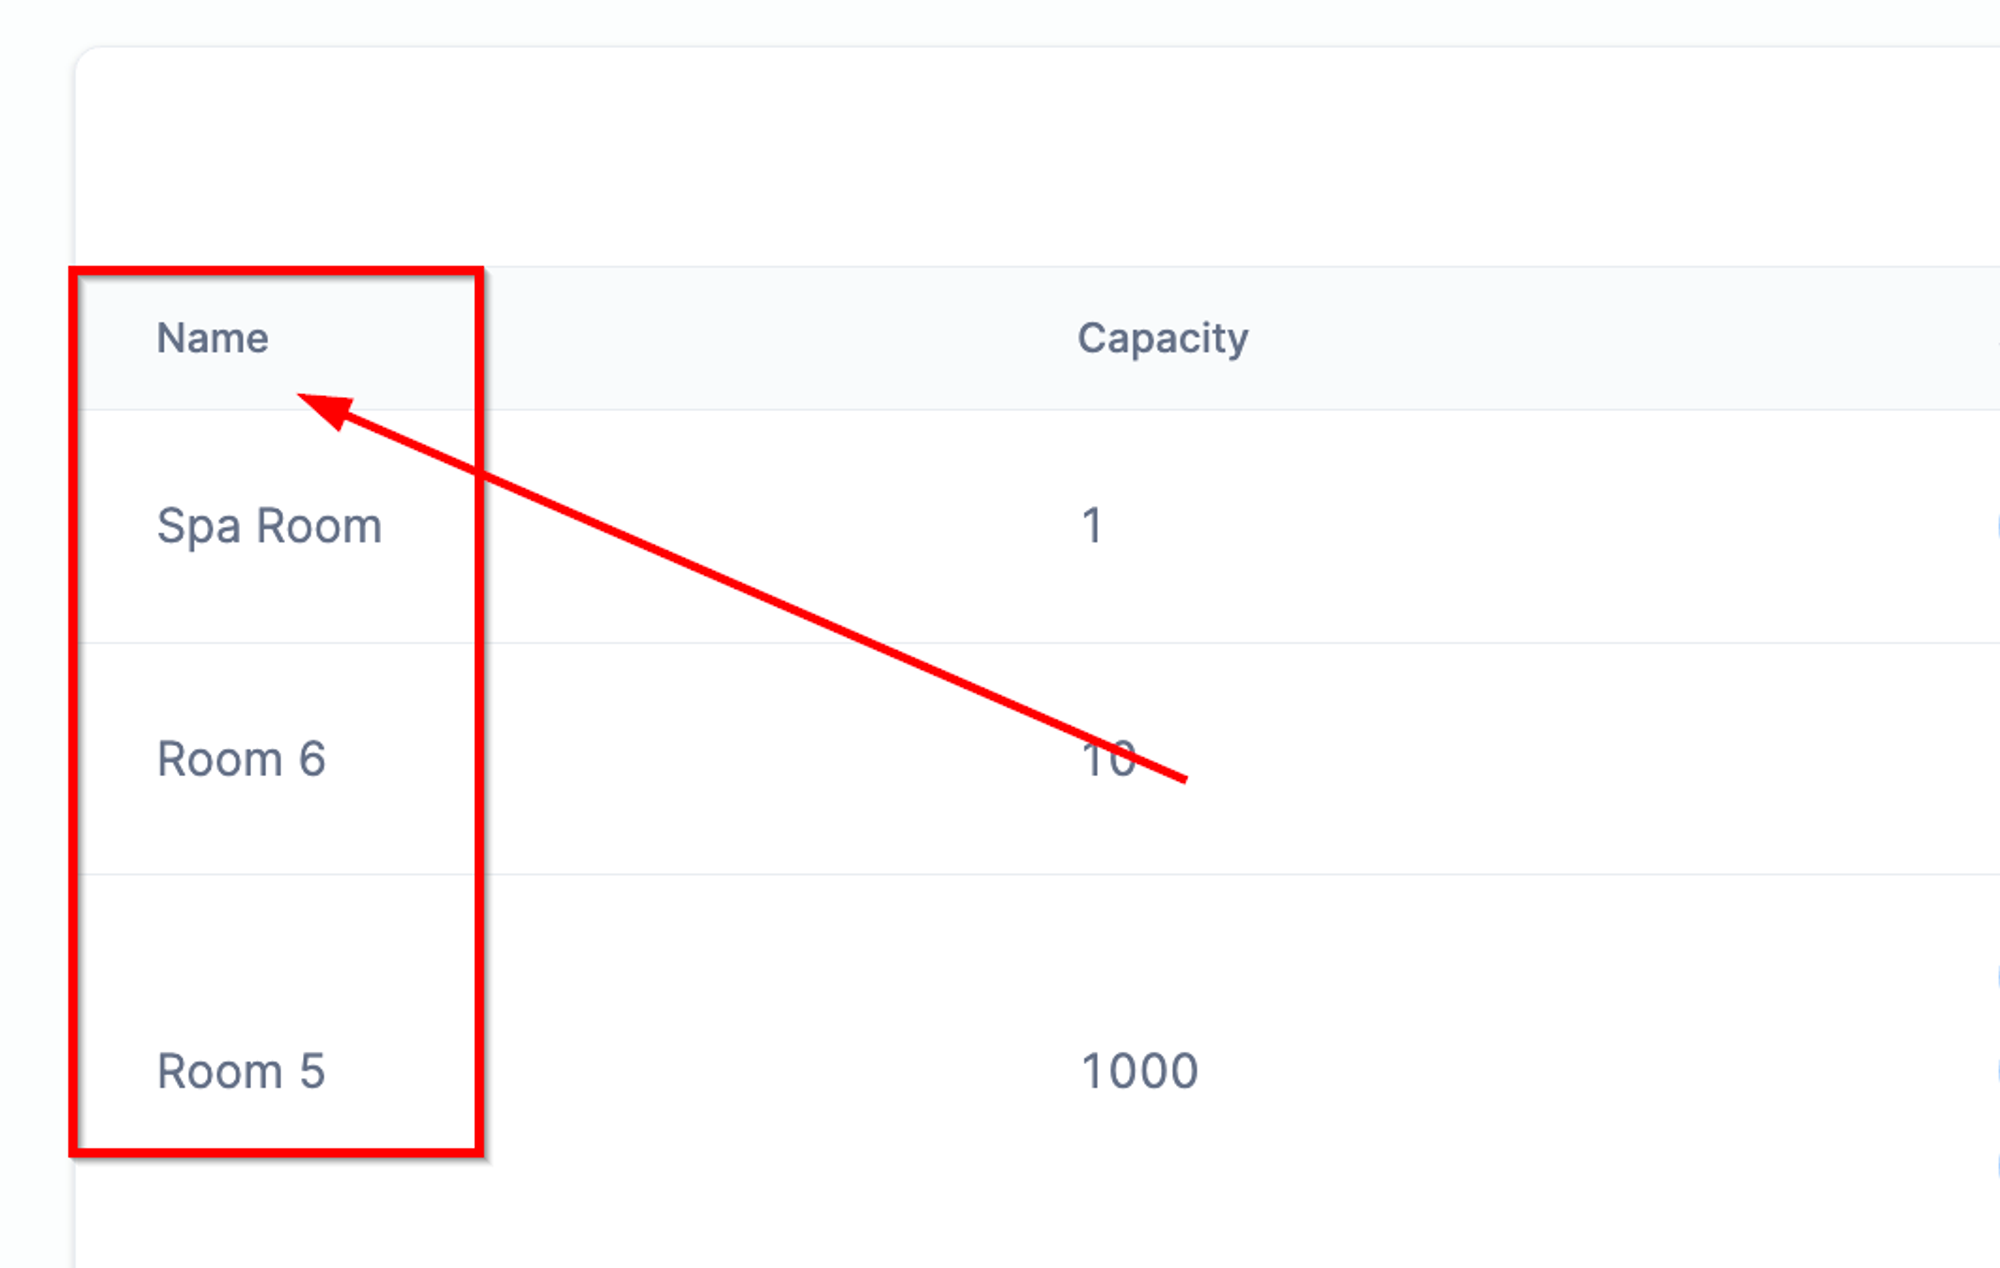
Name Column
The name given to each room will be displayed here.
Total Capacity
This column shows the capacity of each room on the list.
Services Associated to
In this column, you can view the service calendars associated with the room. If you have linked multiple calendars, they all will be shown here.
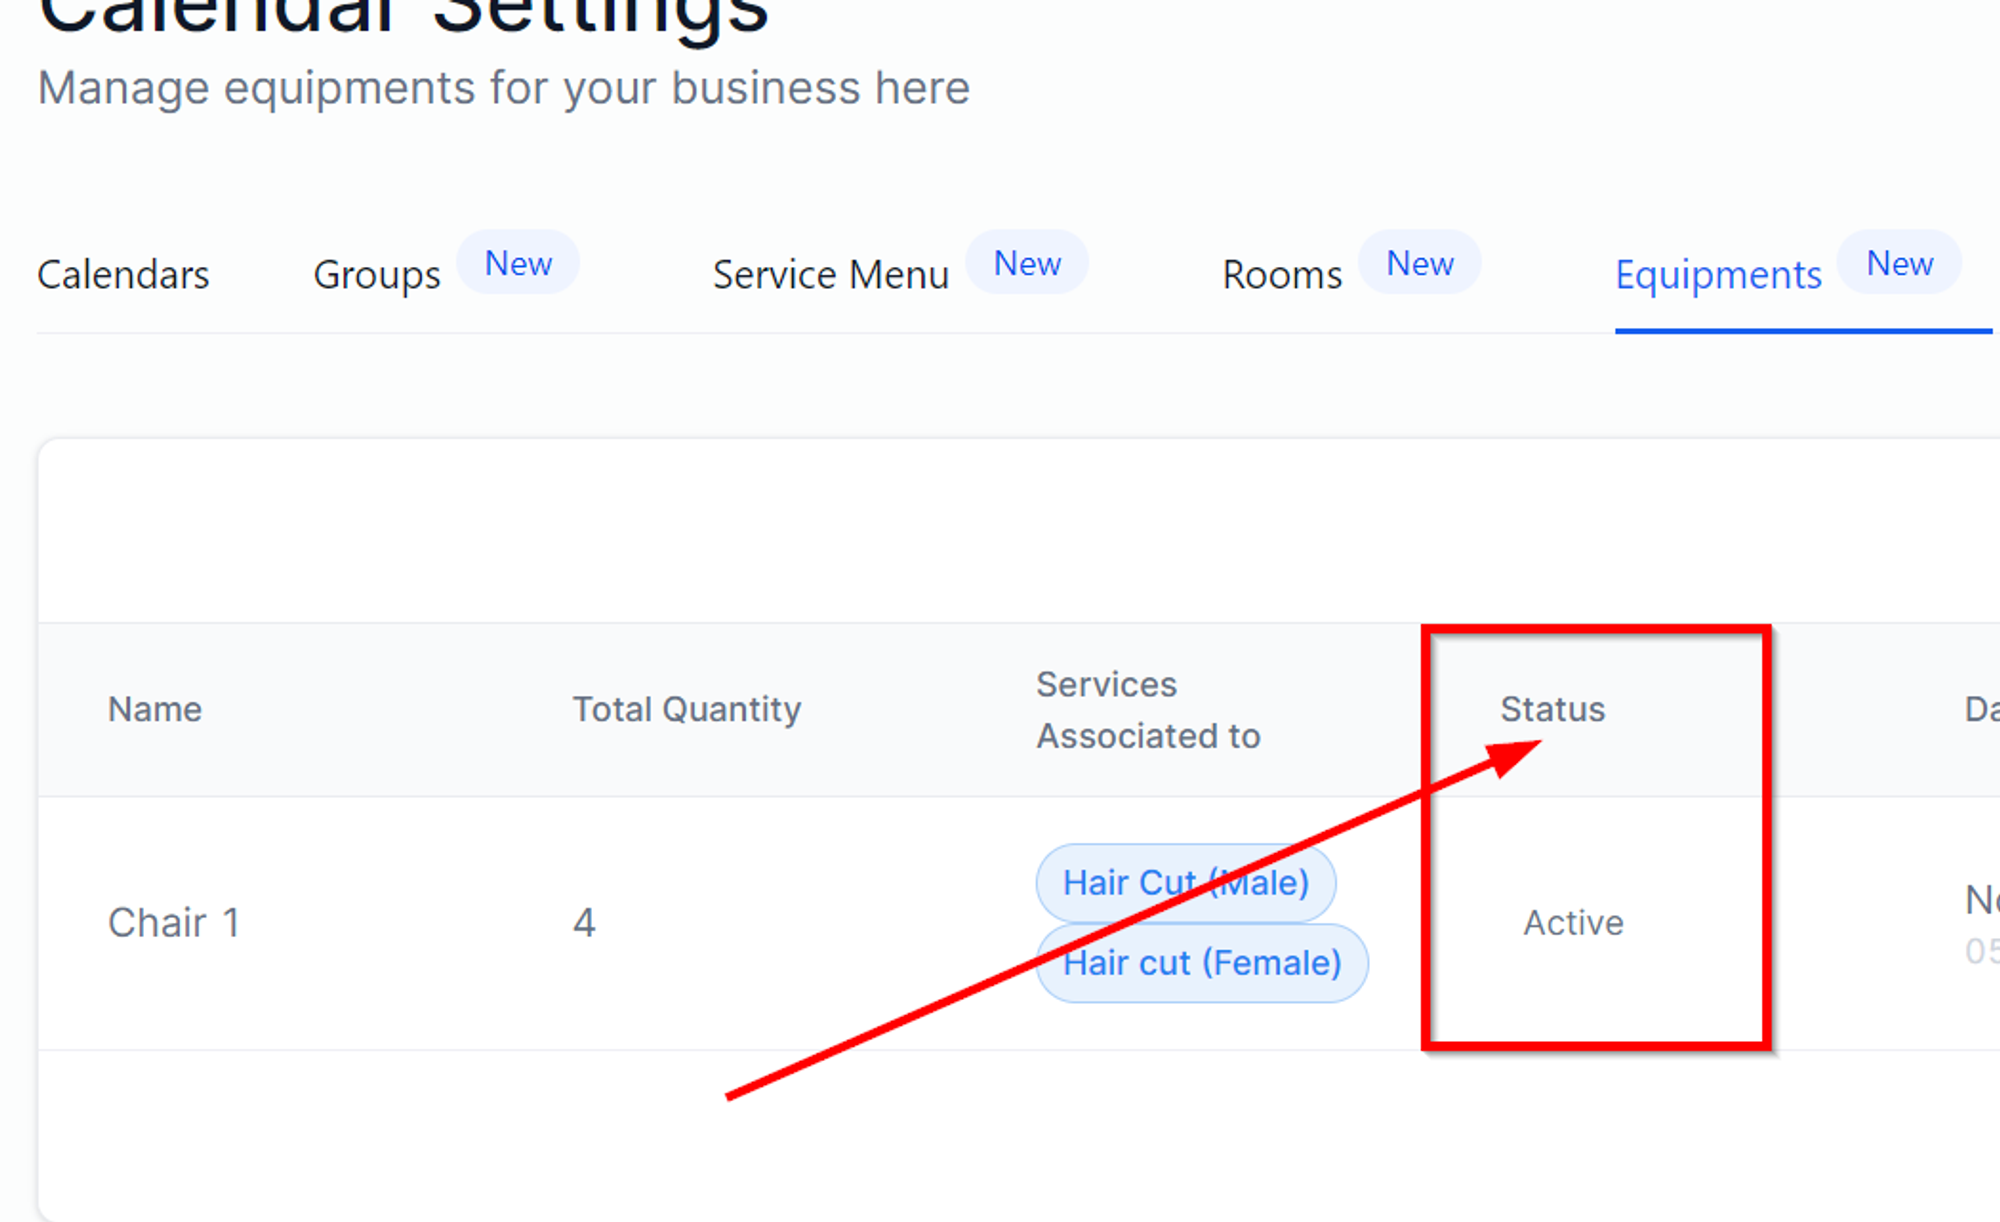
Status
Here you can view which of the rooms are active and which are not.
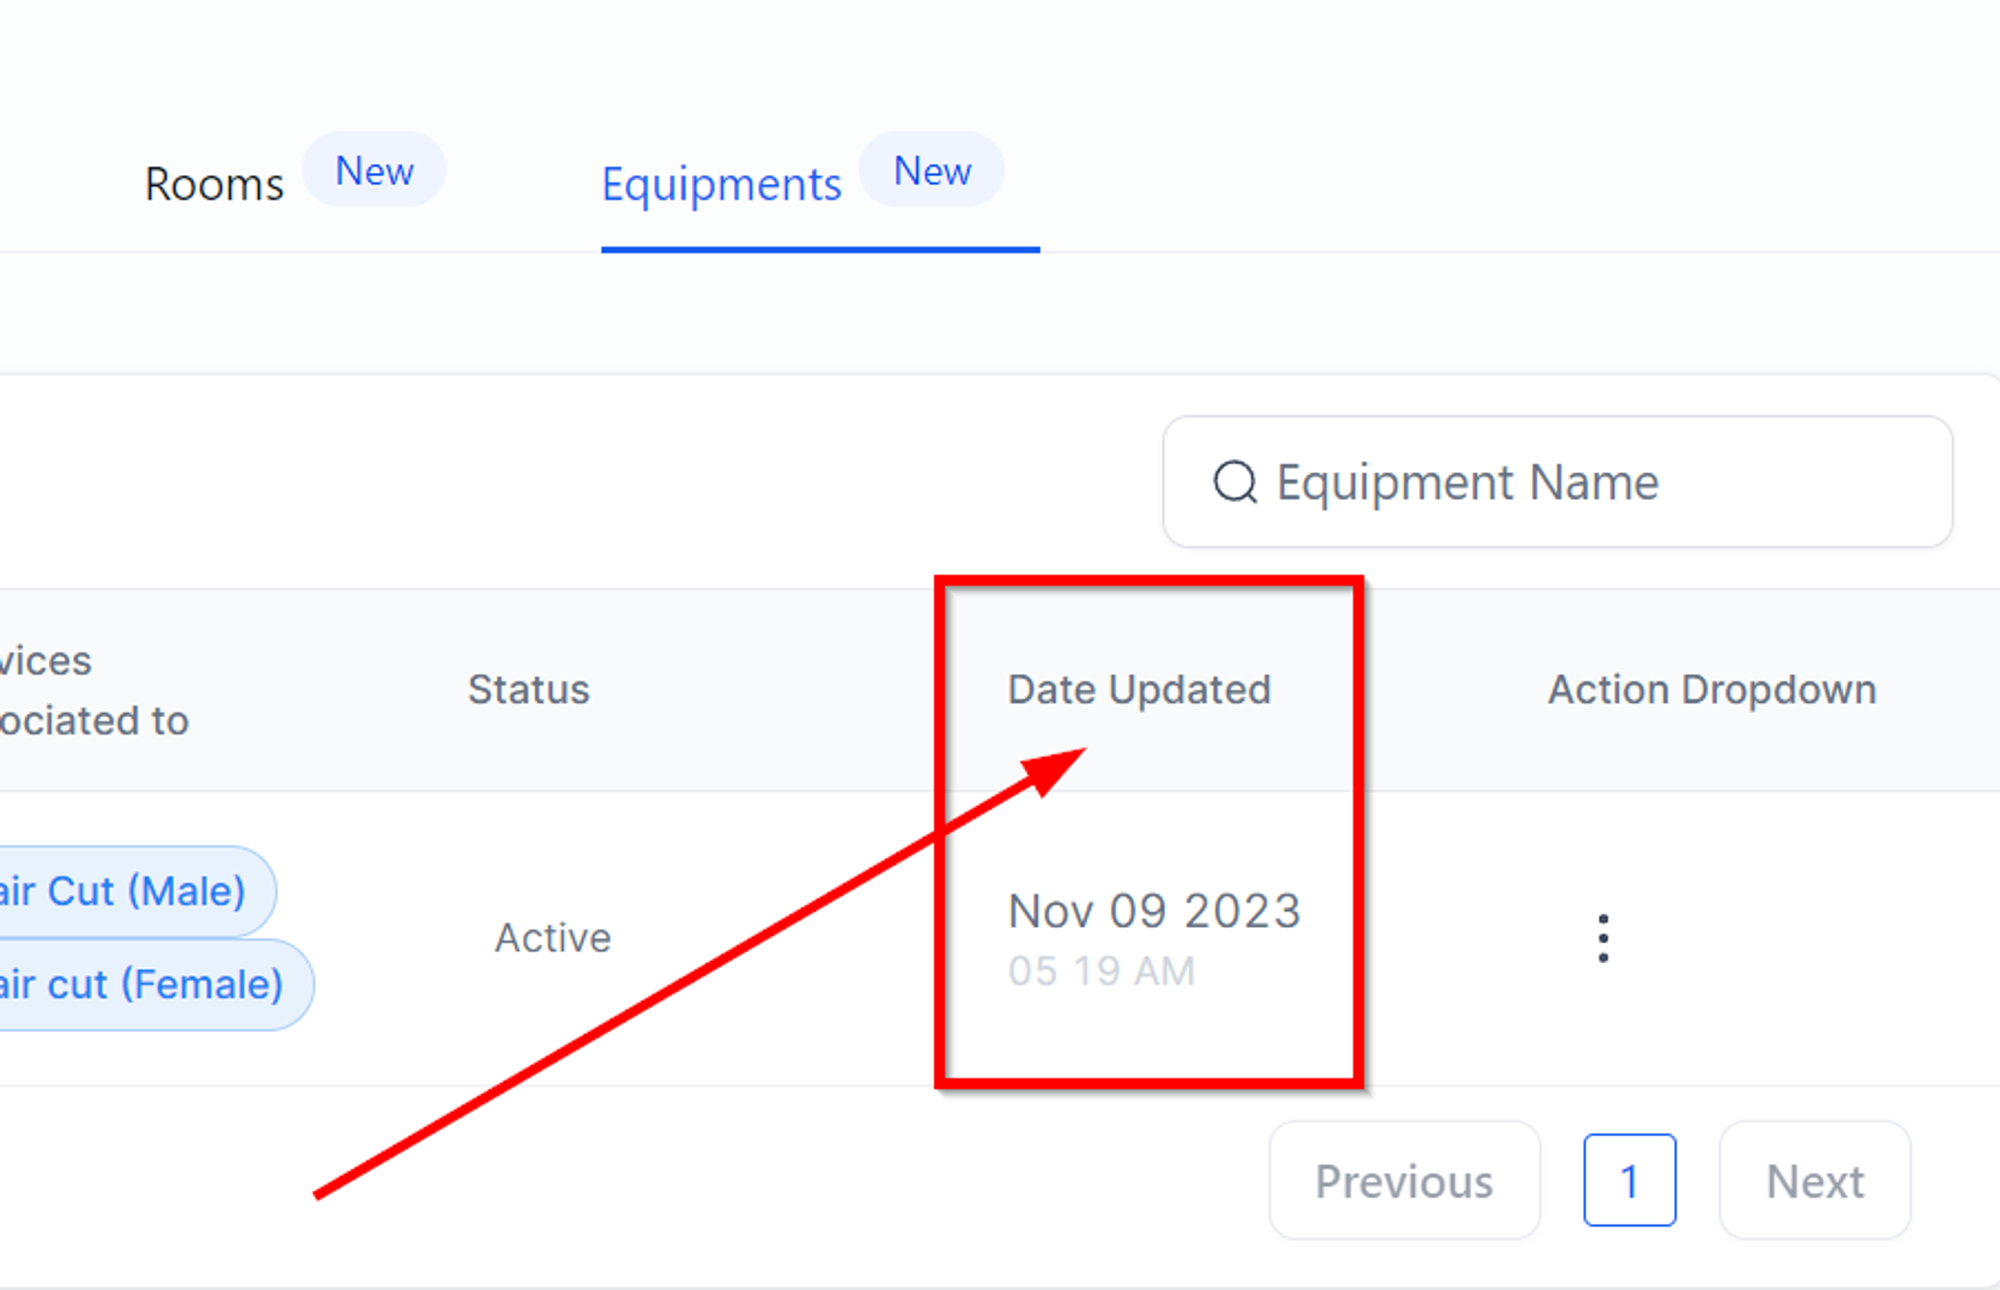
Date Updated
If you need to know when a specific room was last updated, this is the column you want to look for.
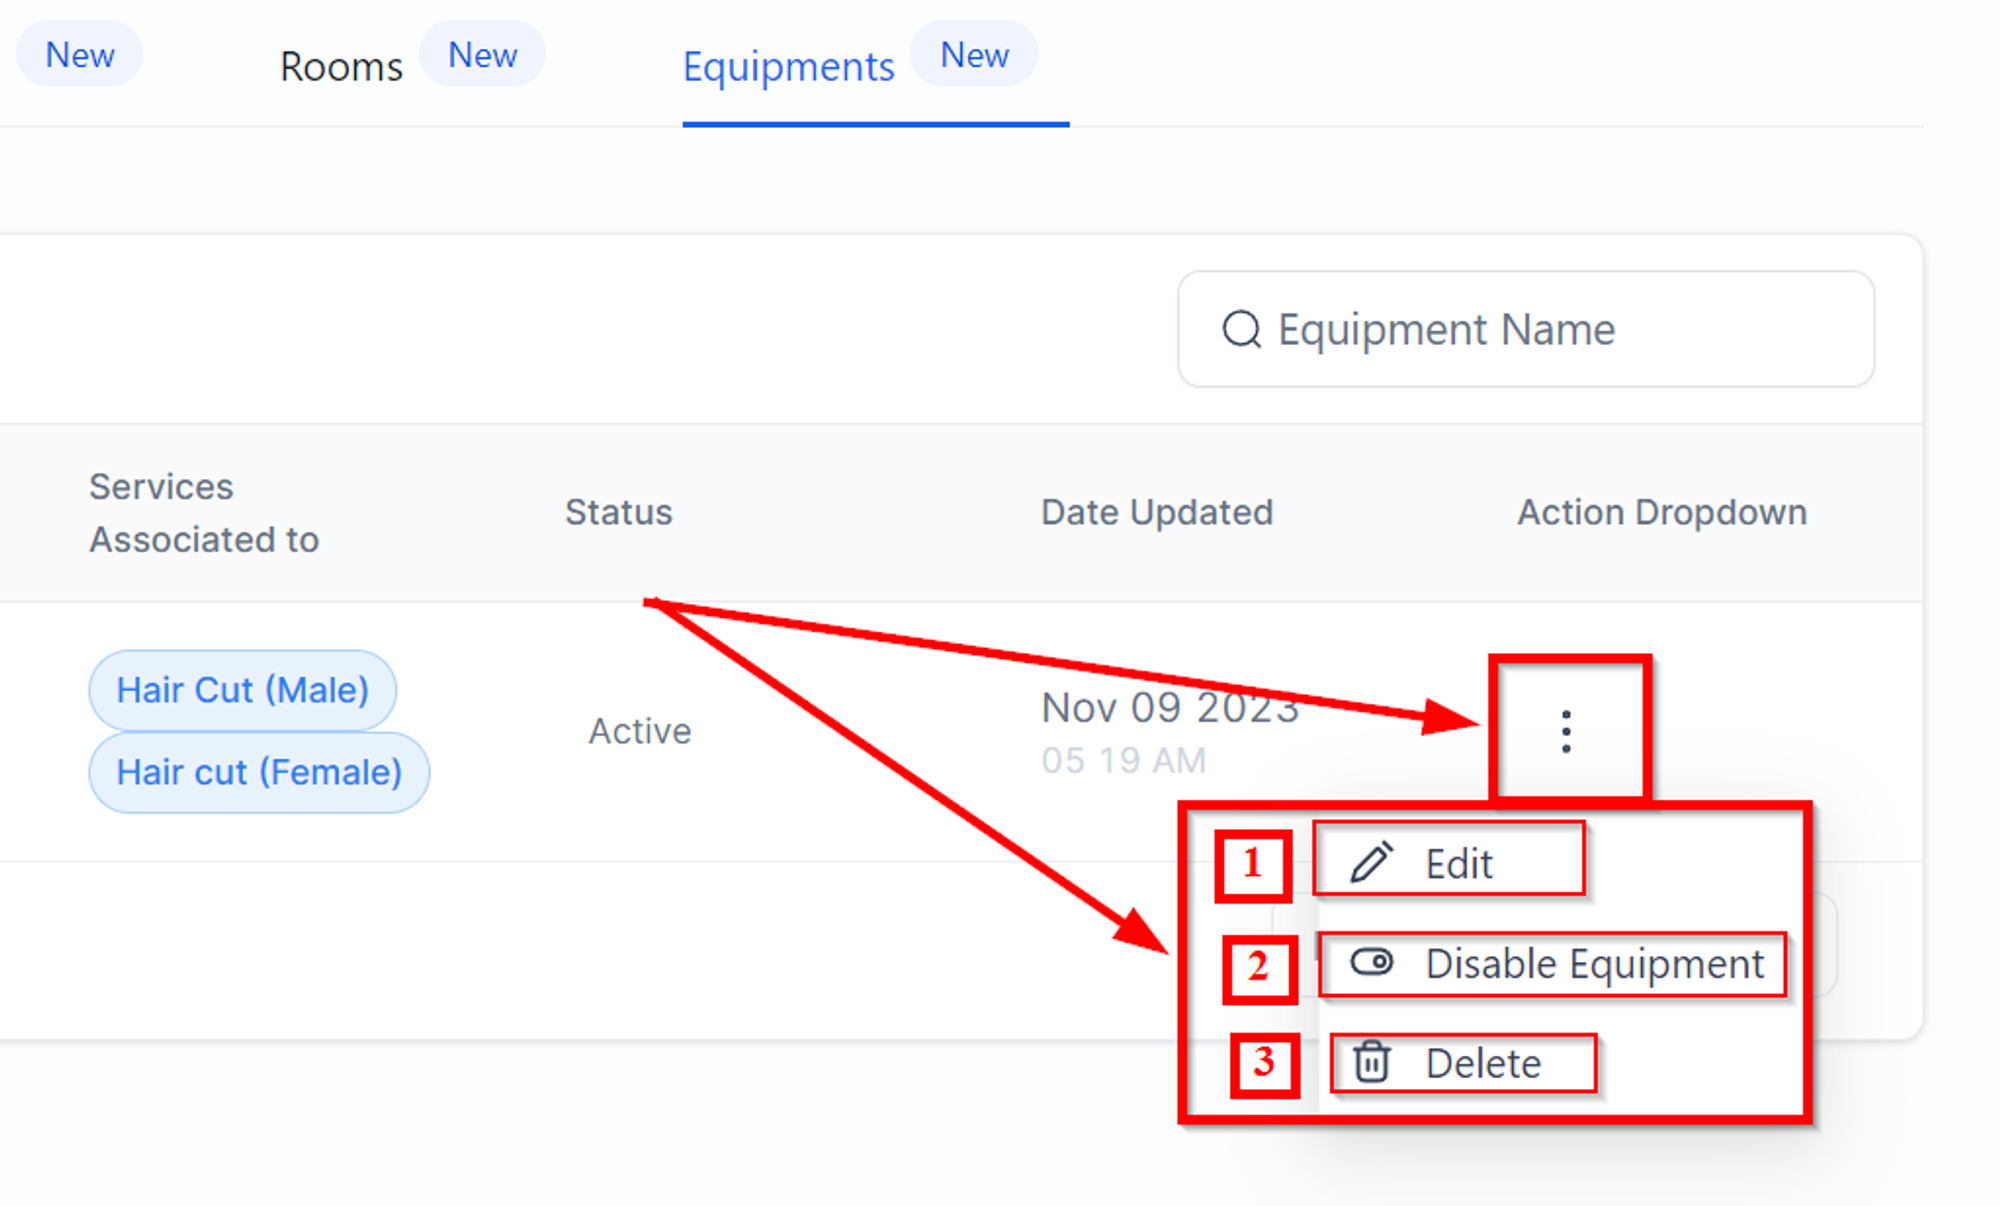
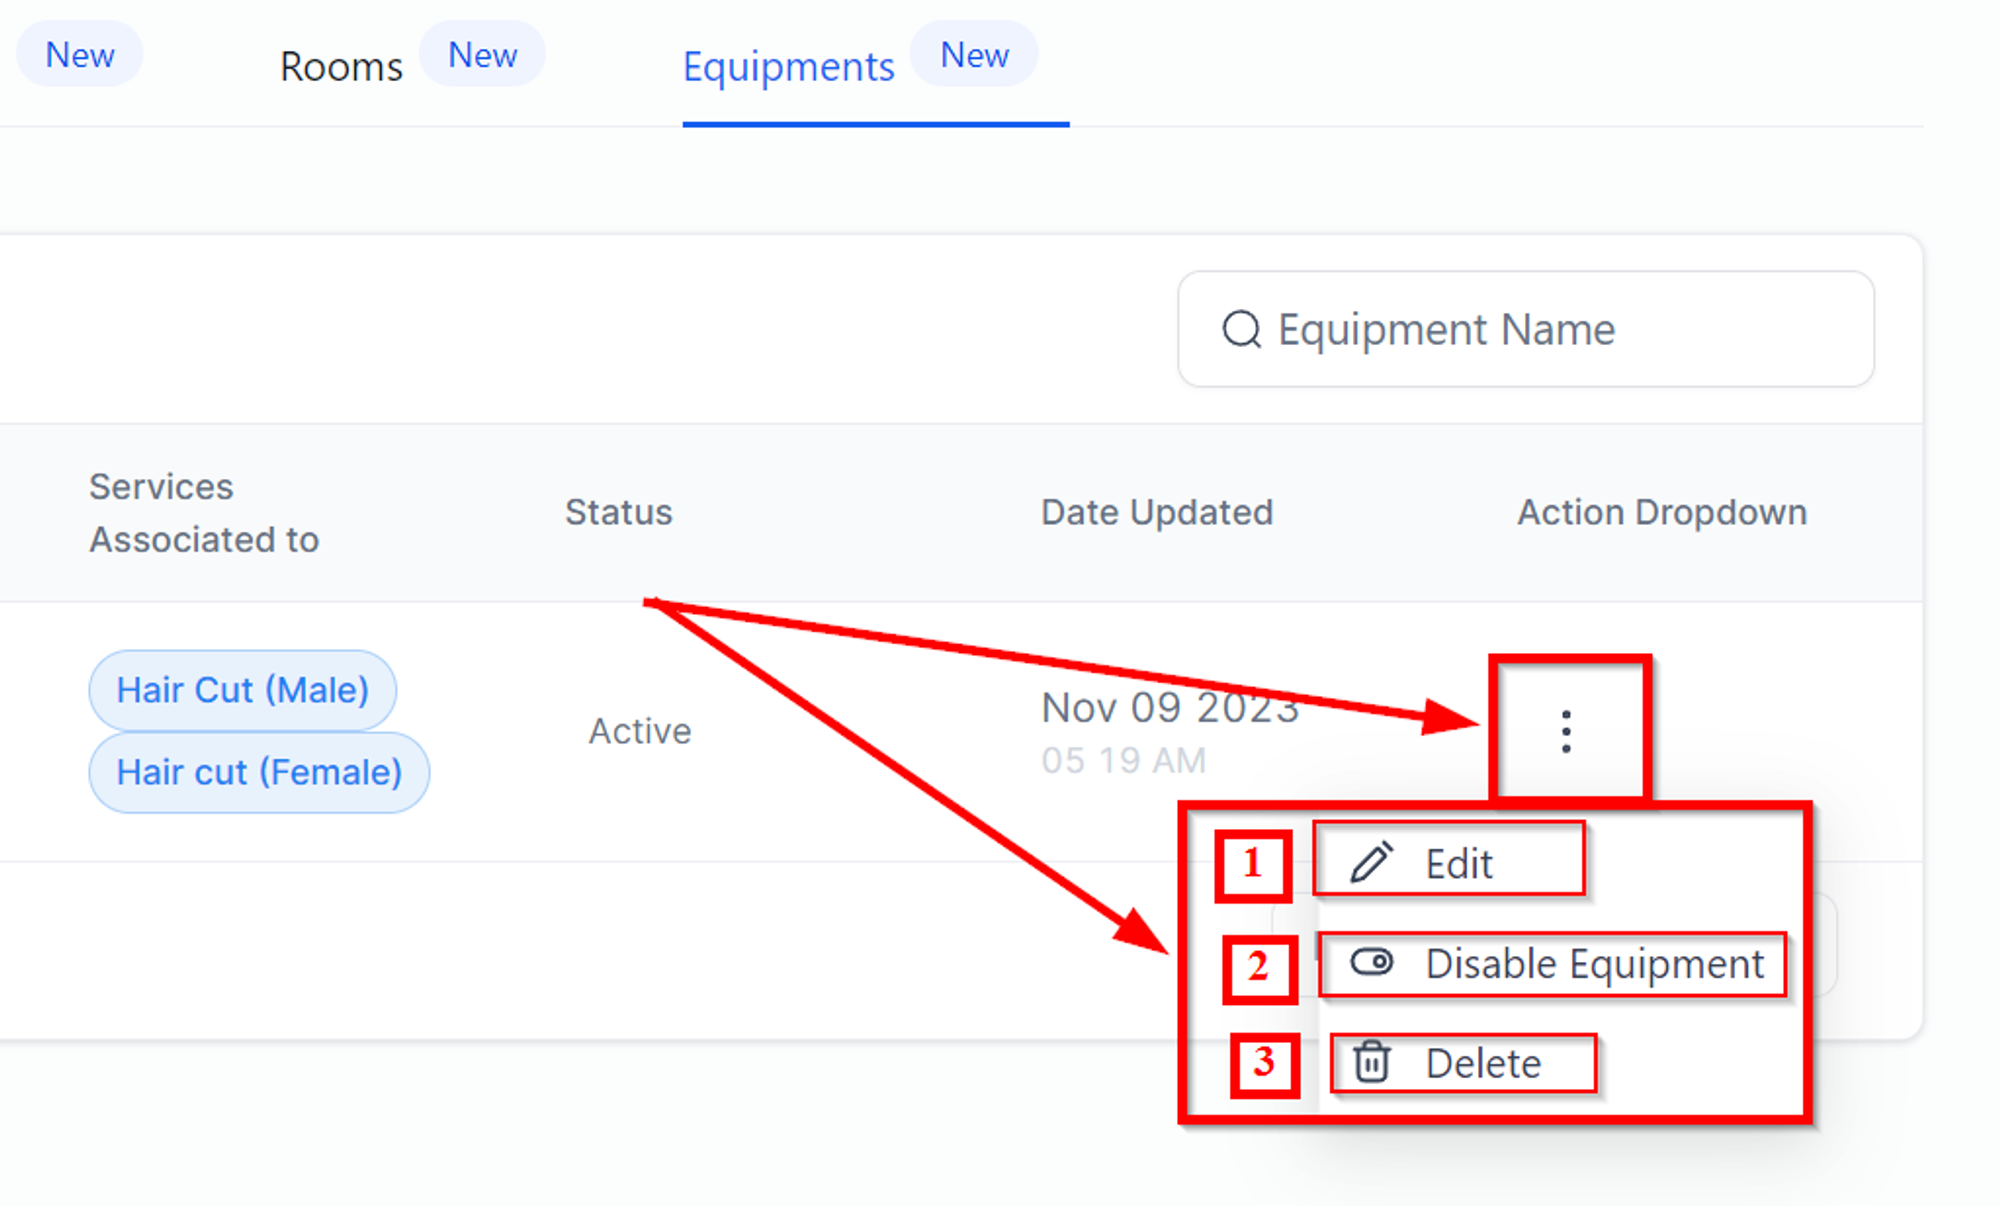
Action Dropdown
Click the three dots to see the actions menu.
Edit - To change your room name, edit the existing description, or increase the room capacity, you will the Edit button.
Disable Room - When you disable one of the rooms, it will stop appearing on your calendars. Use the toggle to turn it on or off.
Delete - You can permanently delete any of the room with this button.
Equipments
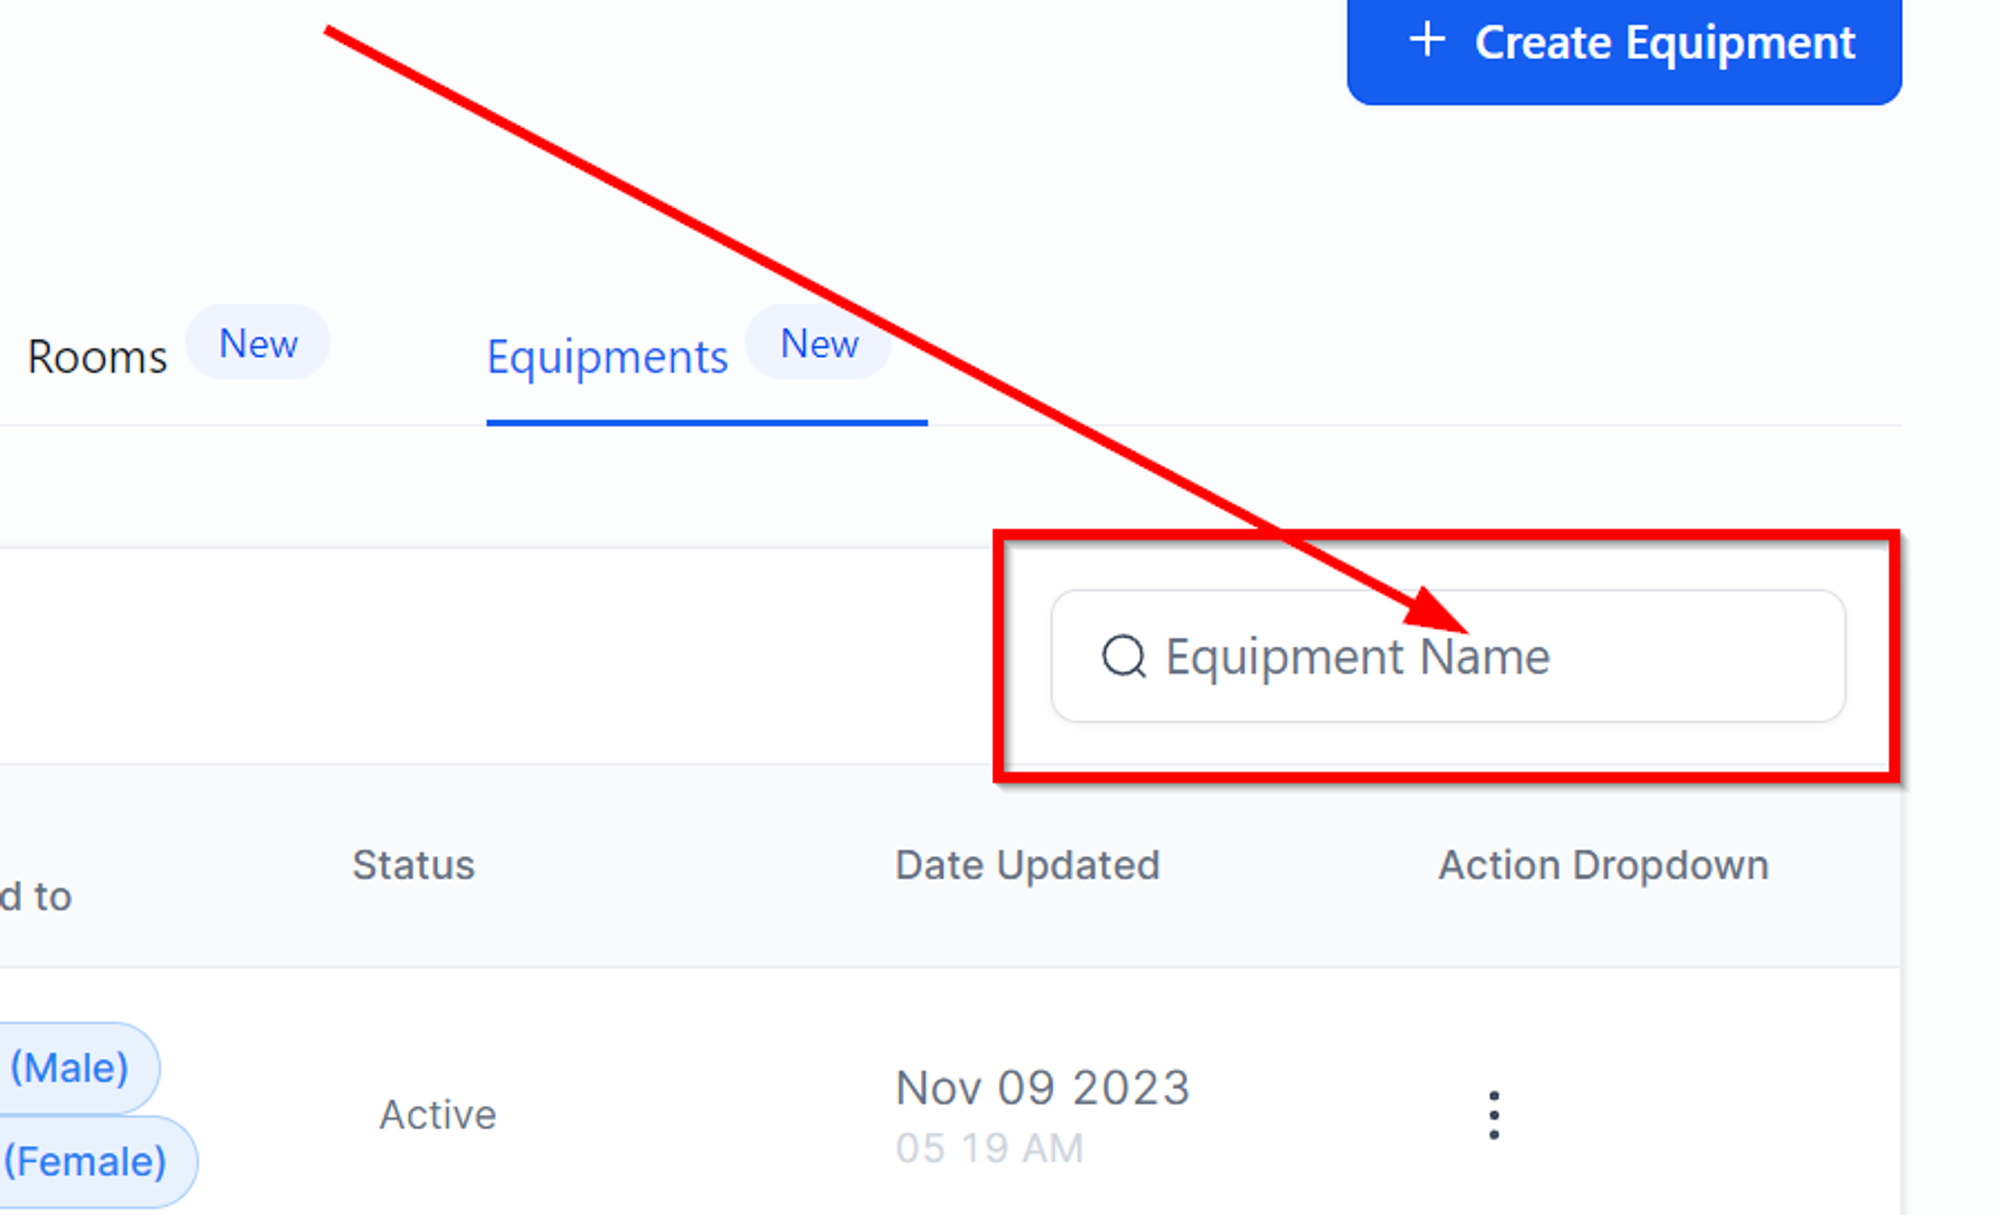
Search Equipment
Type the name of the equipment in the search box to be able to quickly find out any equipment.
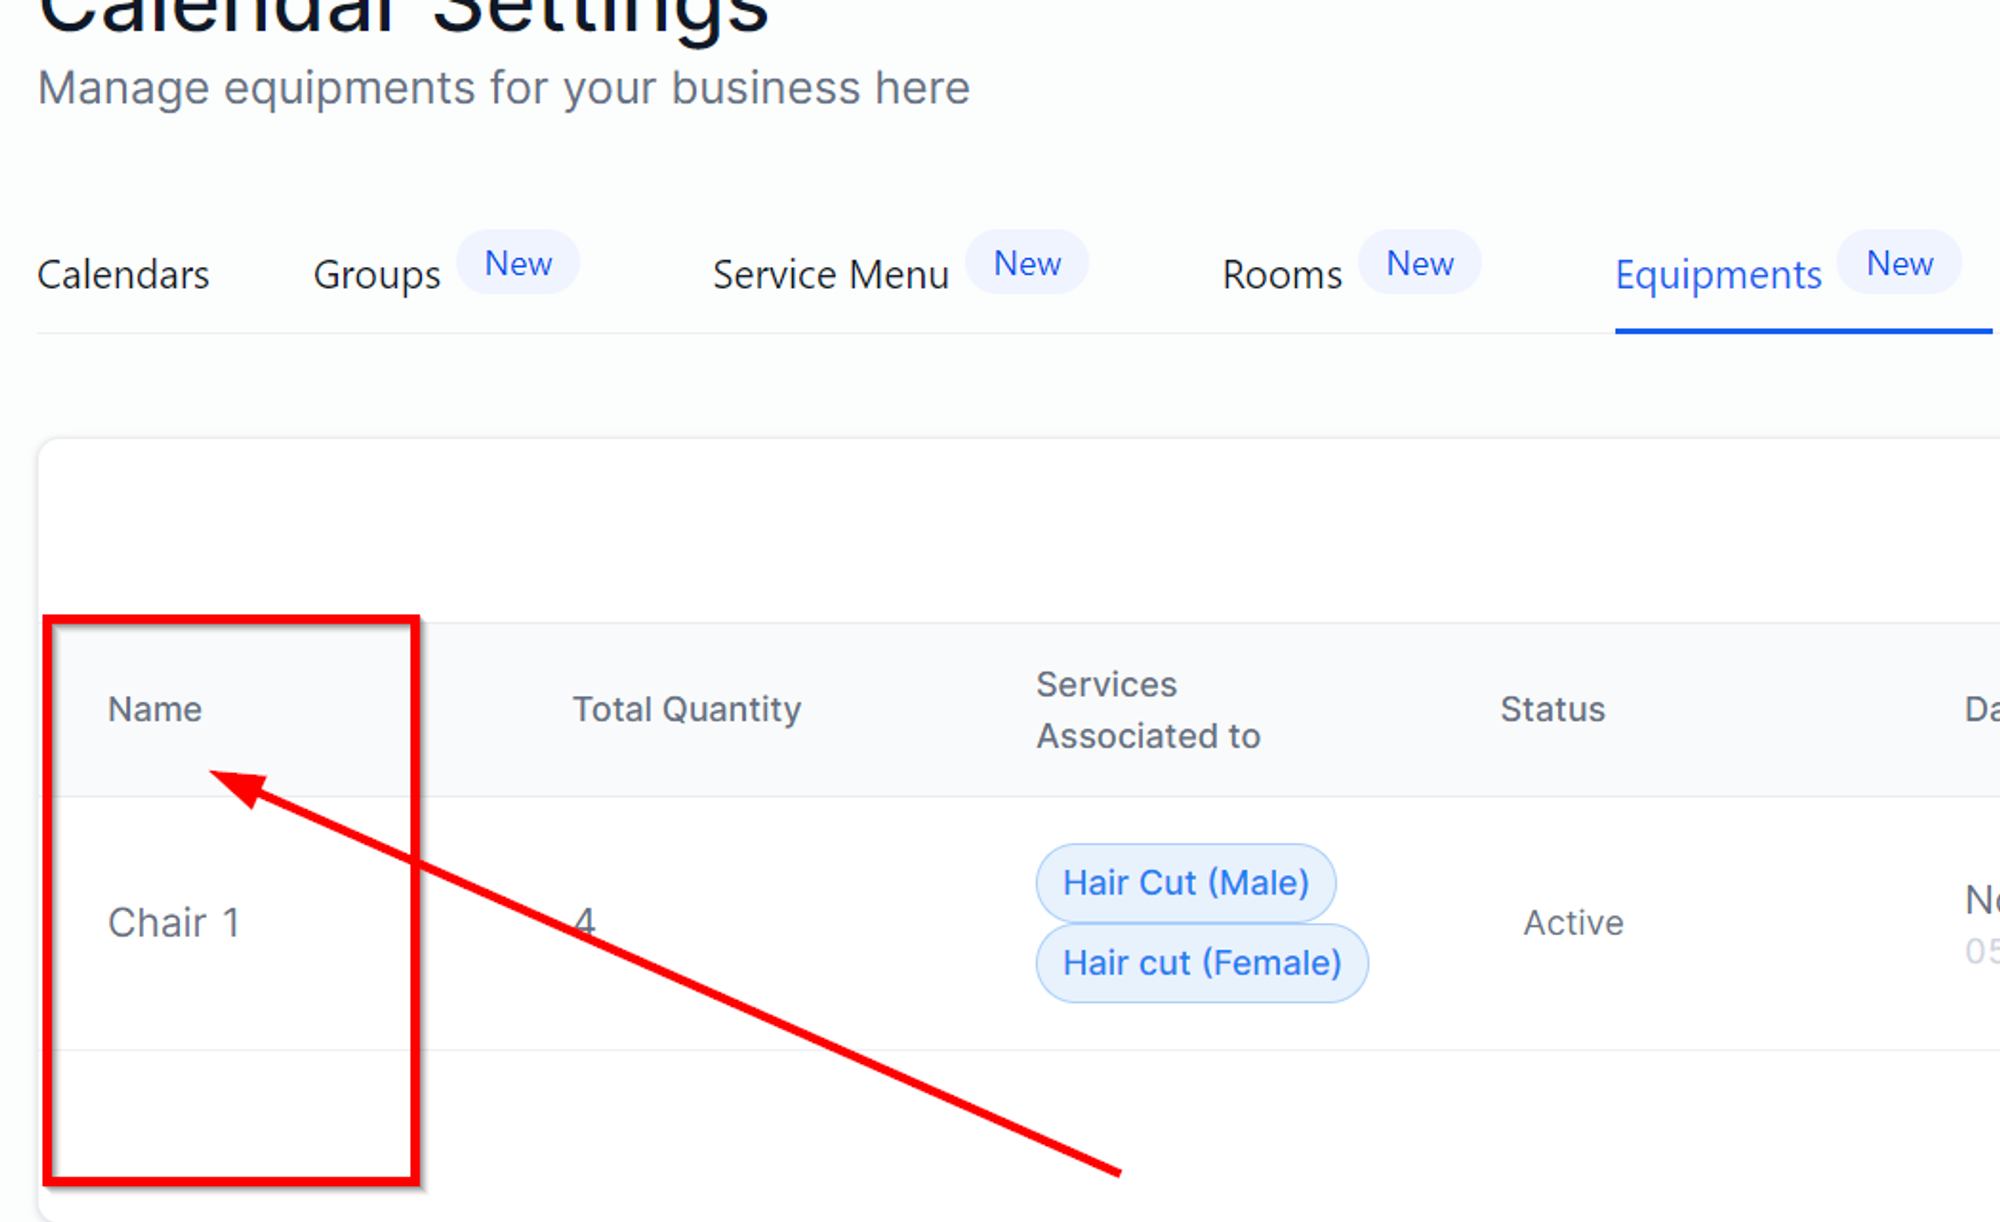
Name Column
This is where you can see the equipment name on this equipment column.
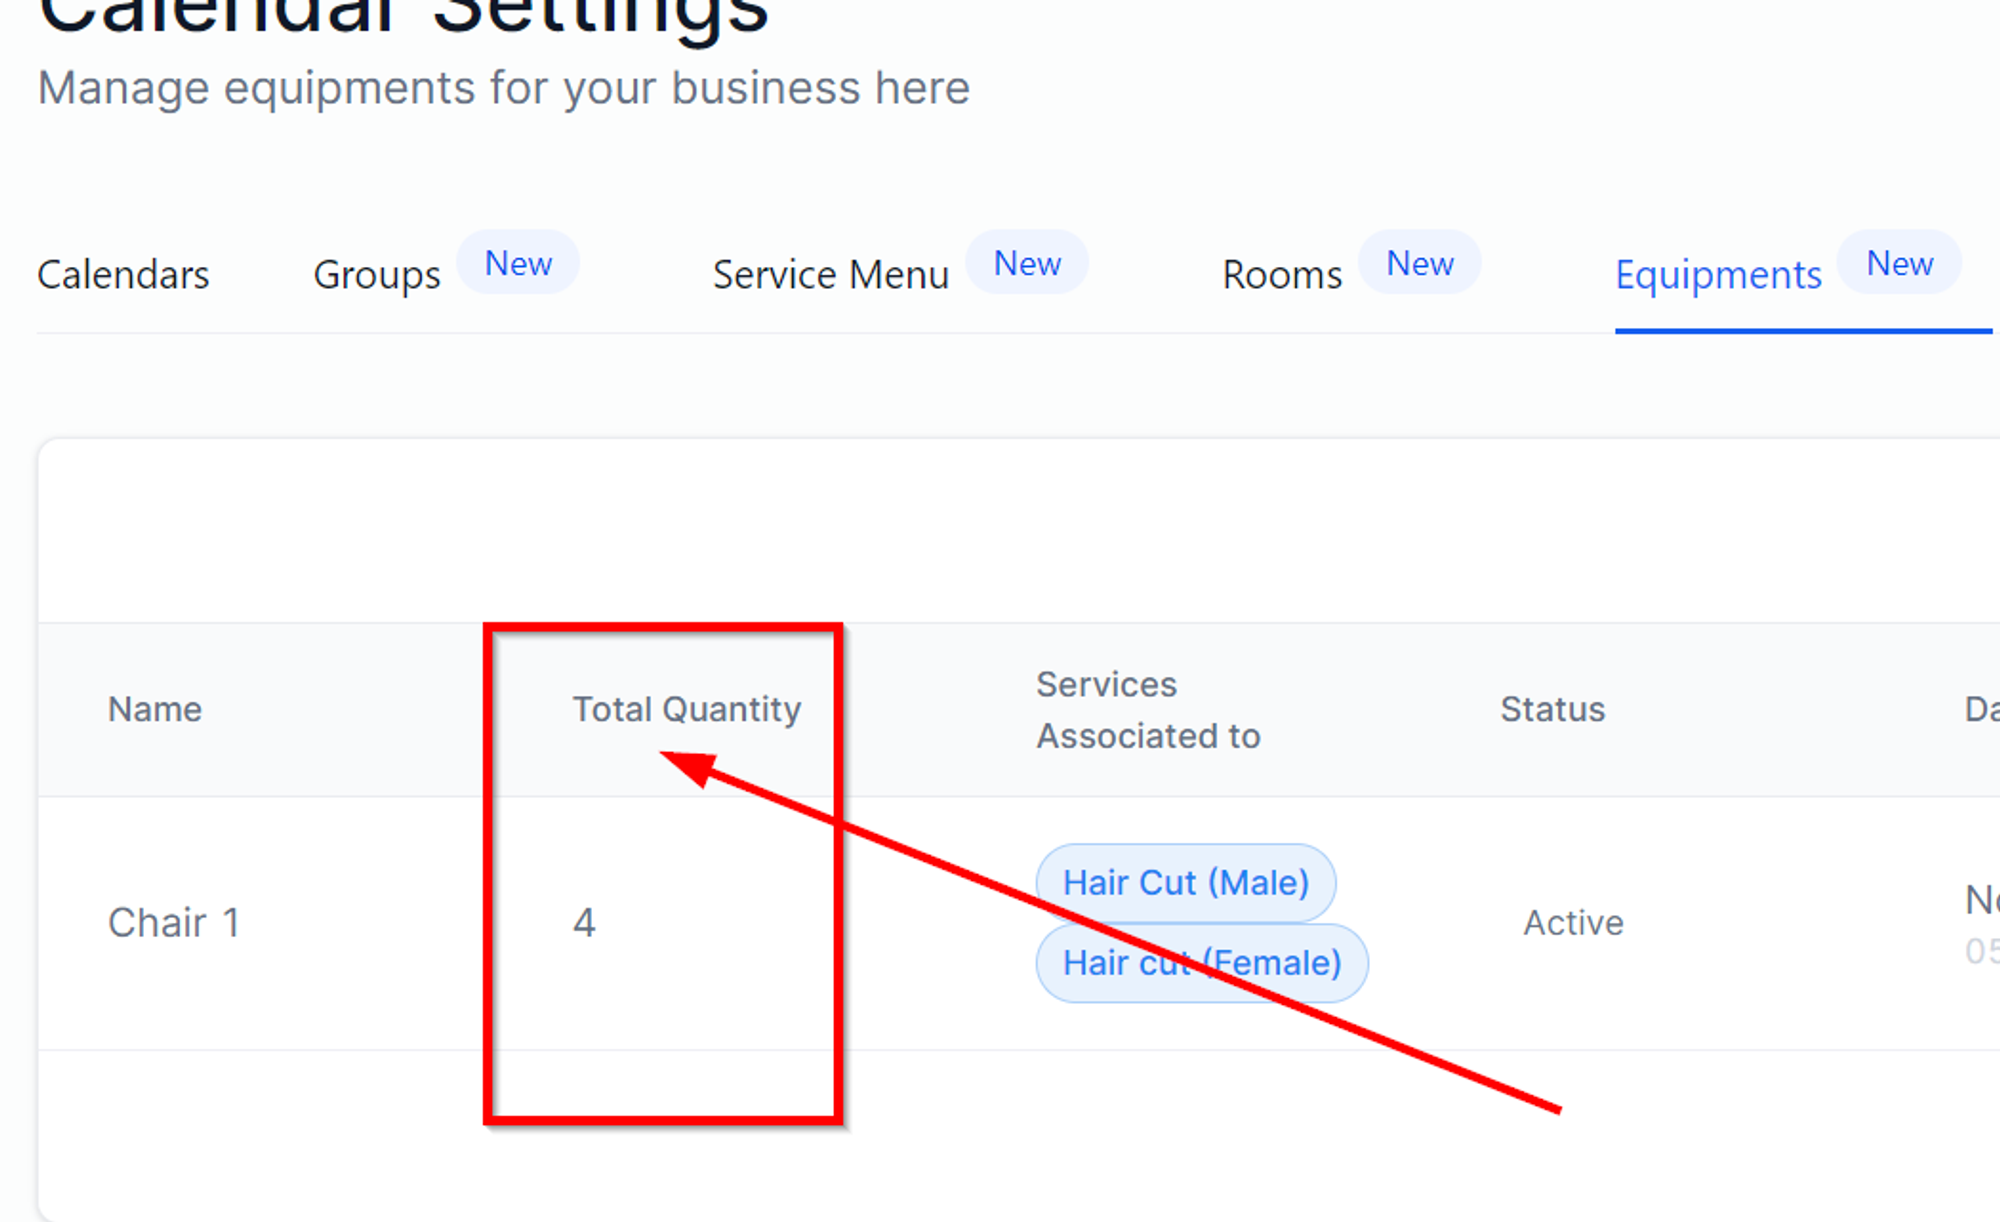
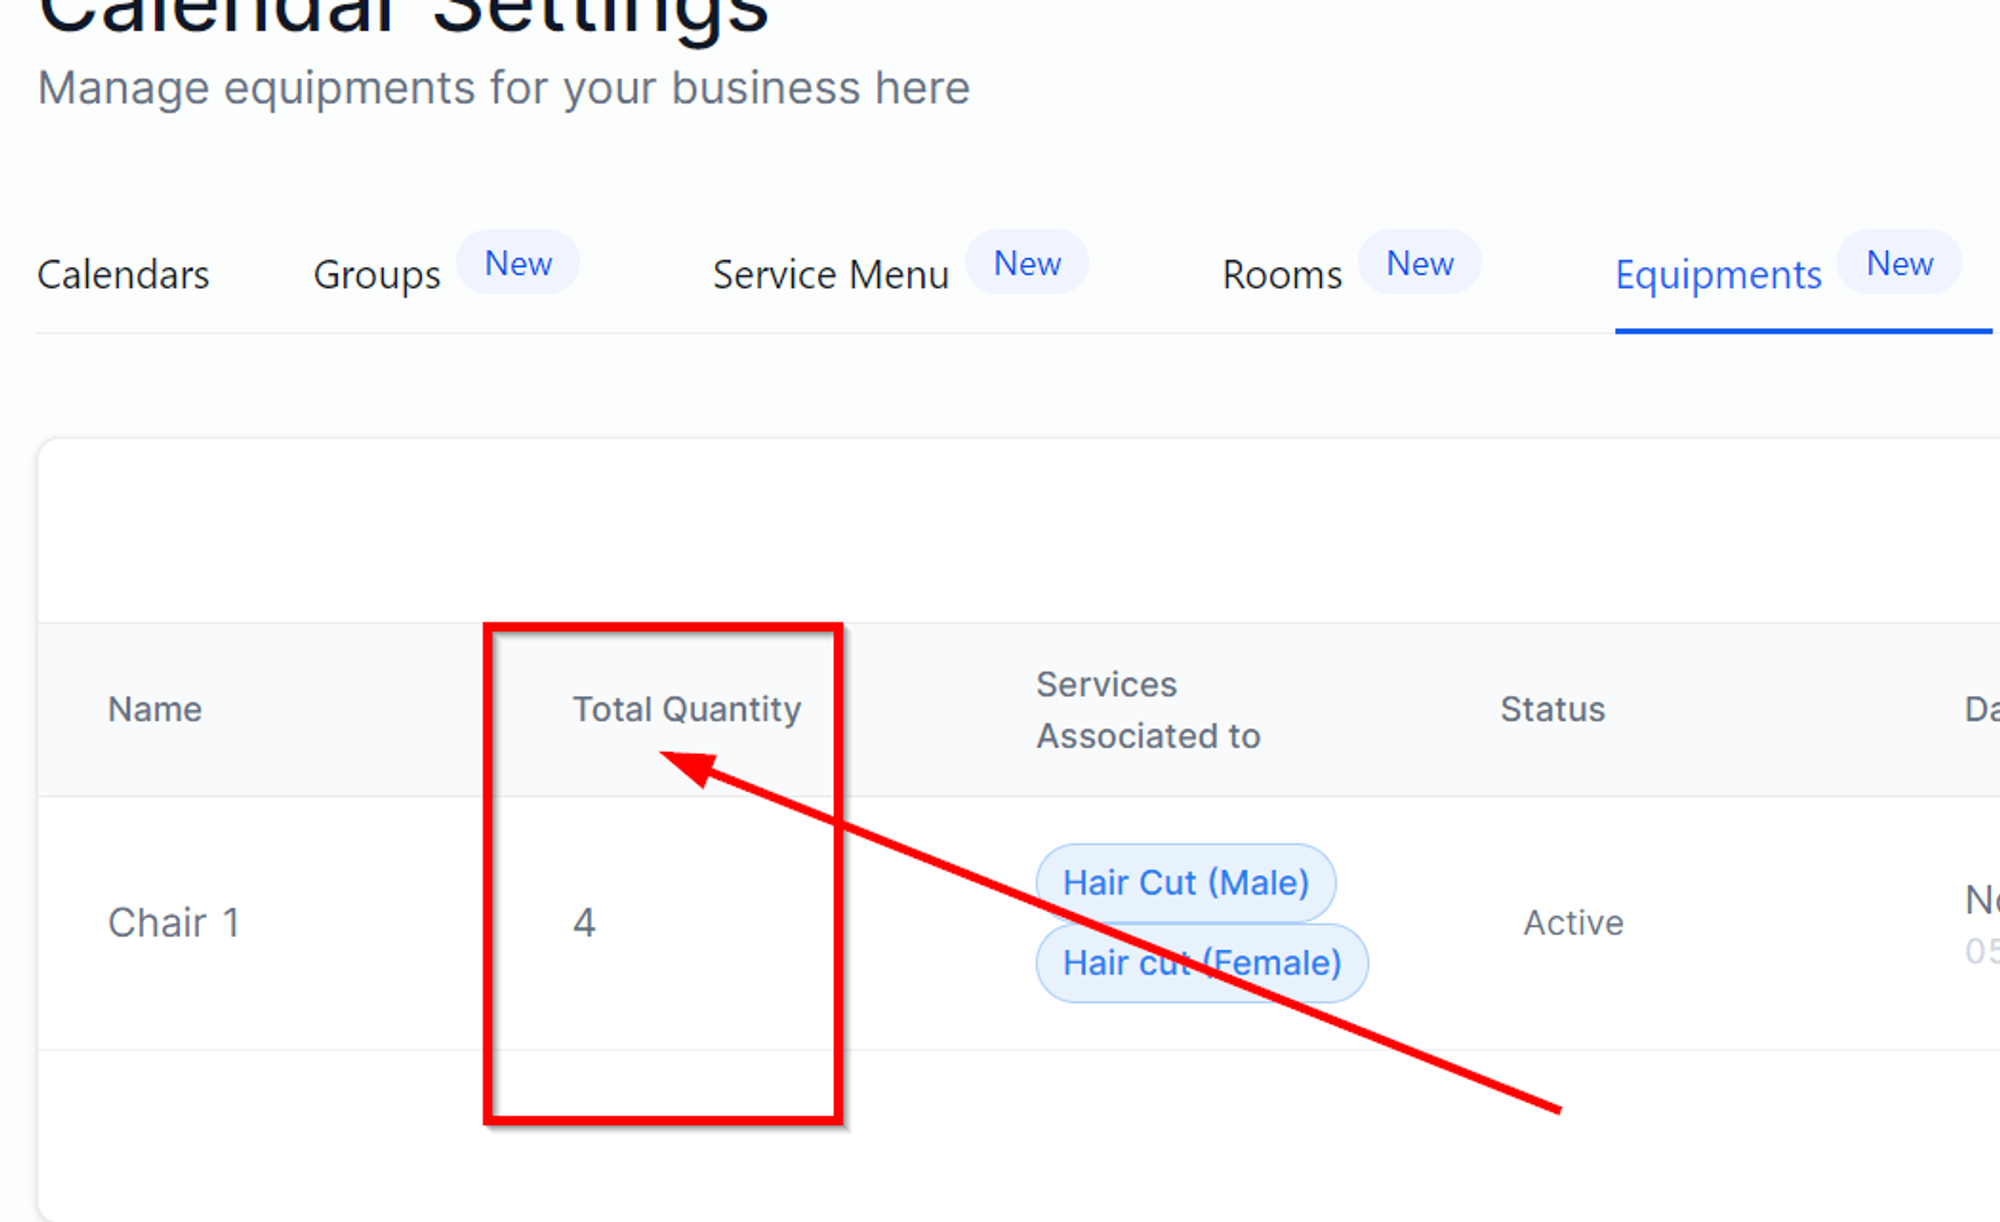
Total Quantity
This is the quantity you have set when creating an equipment.
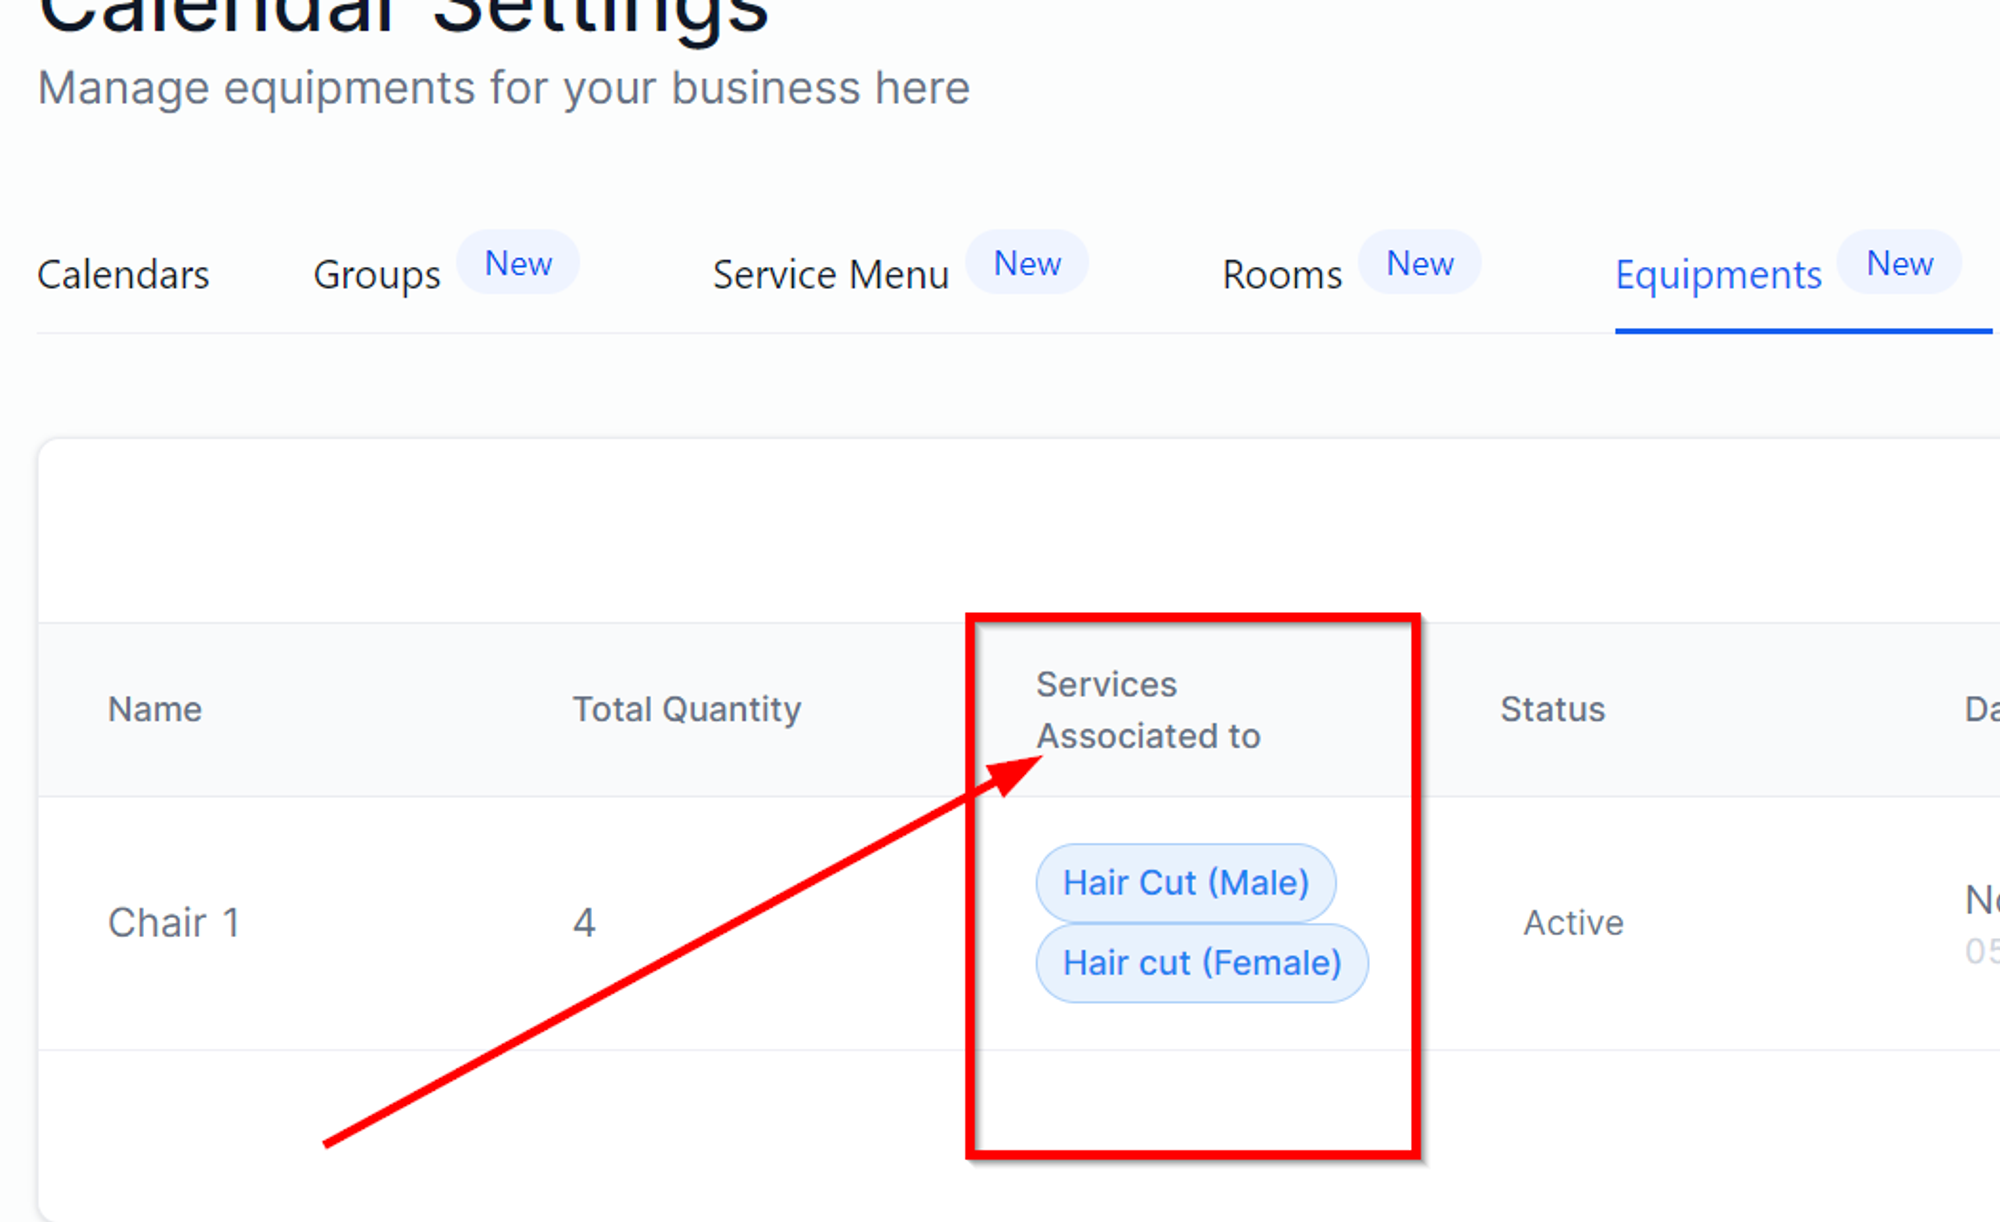
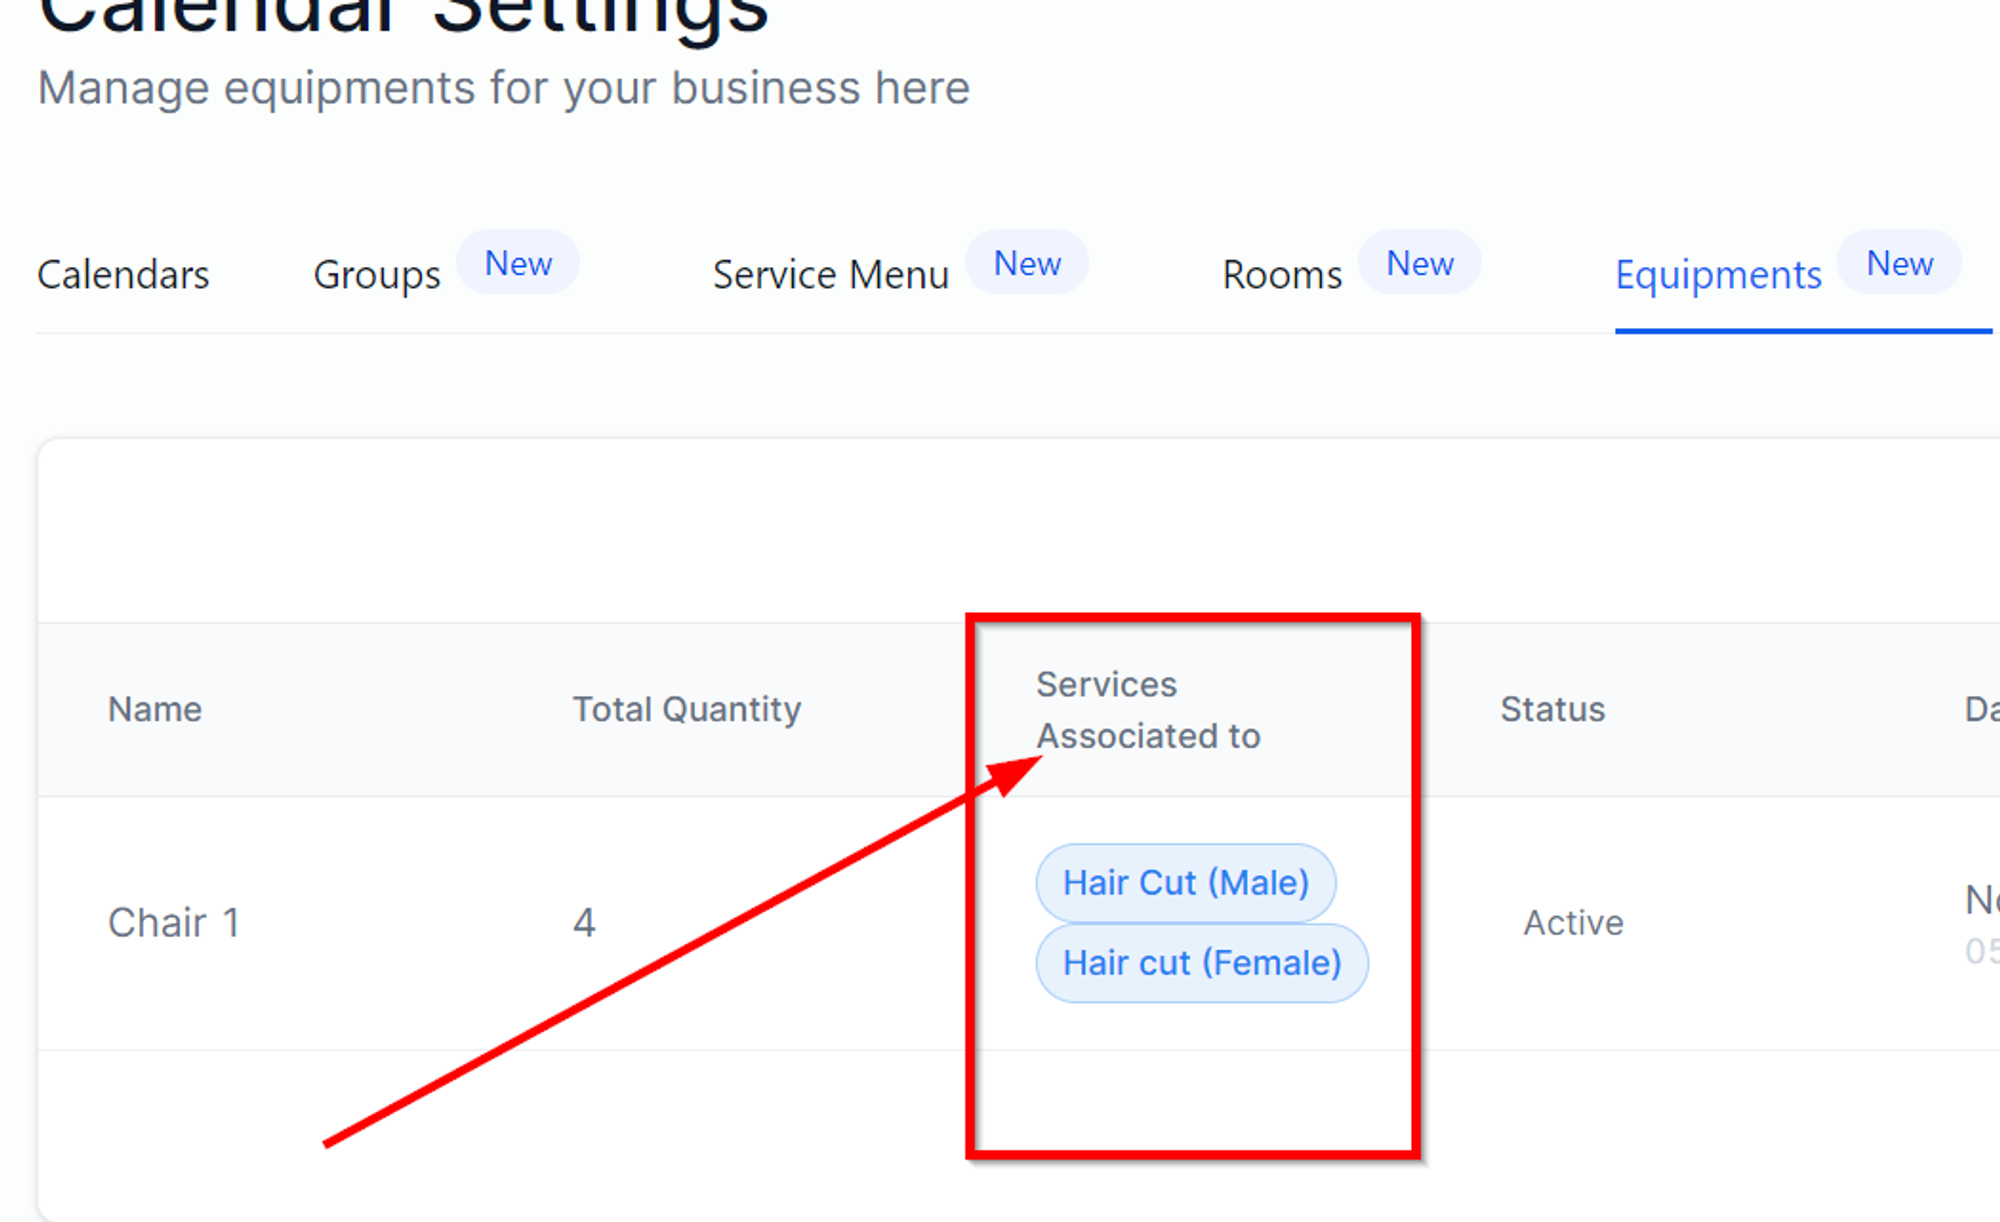
Services Associated to
This is the service menu you have selected when setting up the new equipment.
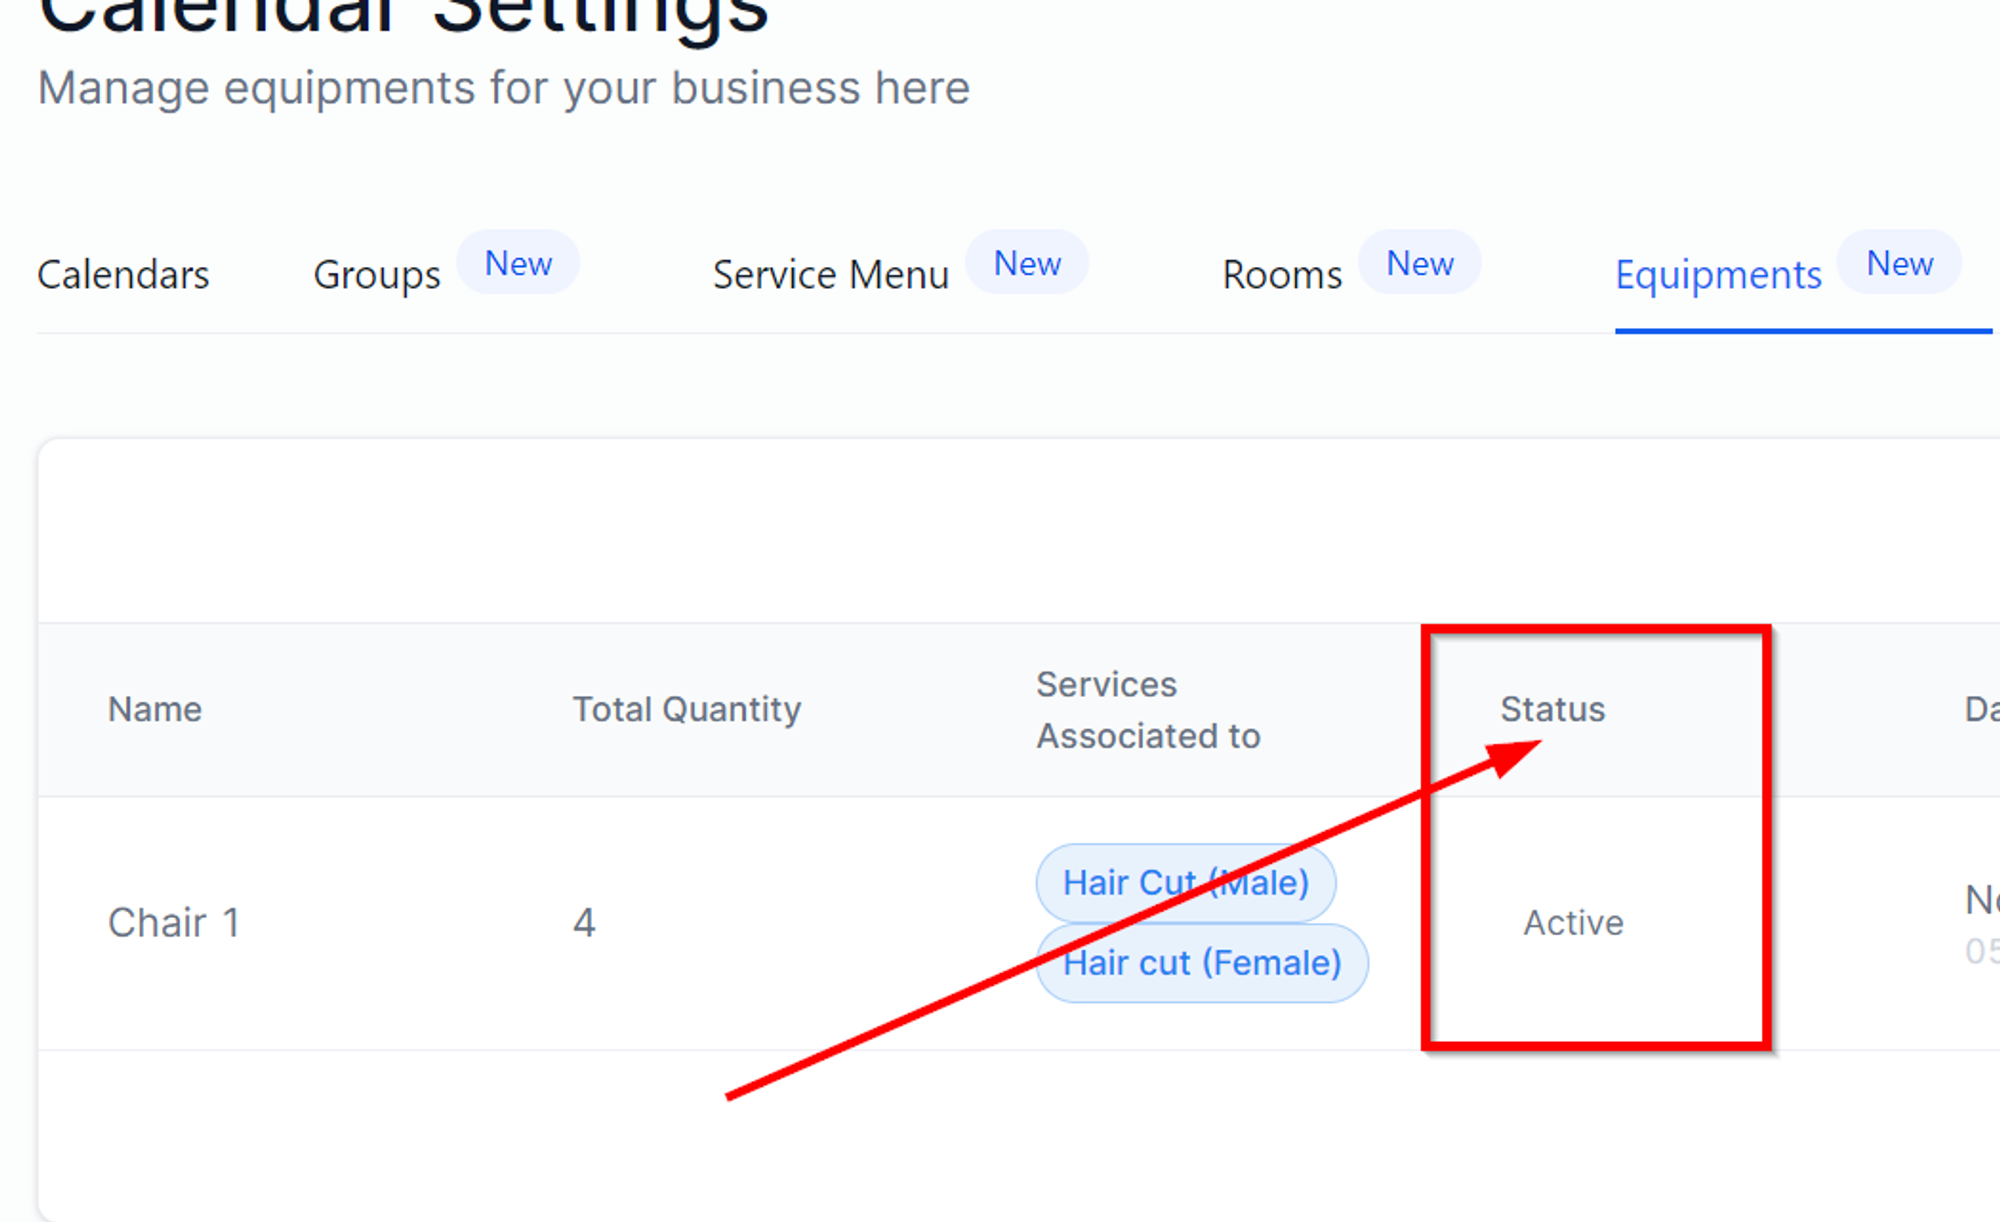
Status
This column shows the status for each equipment.
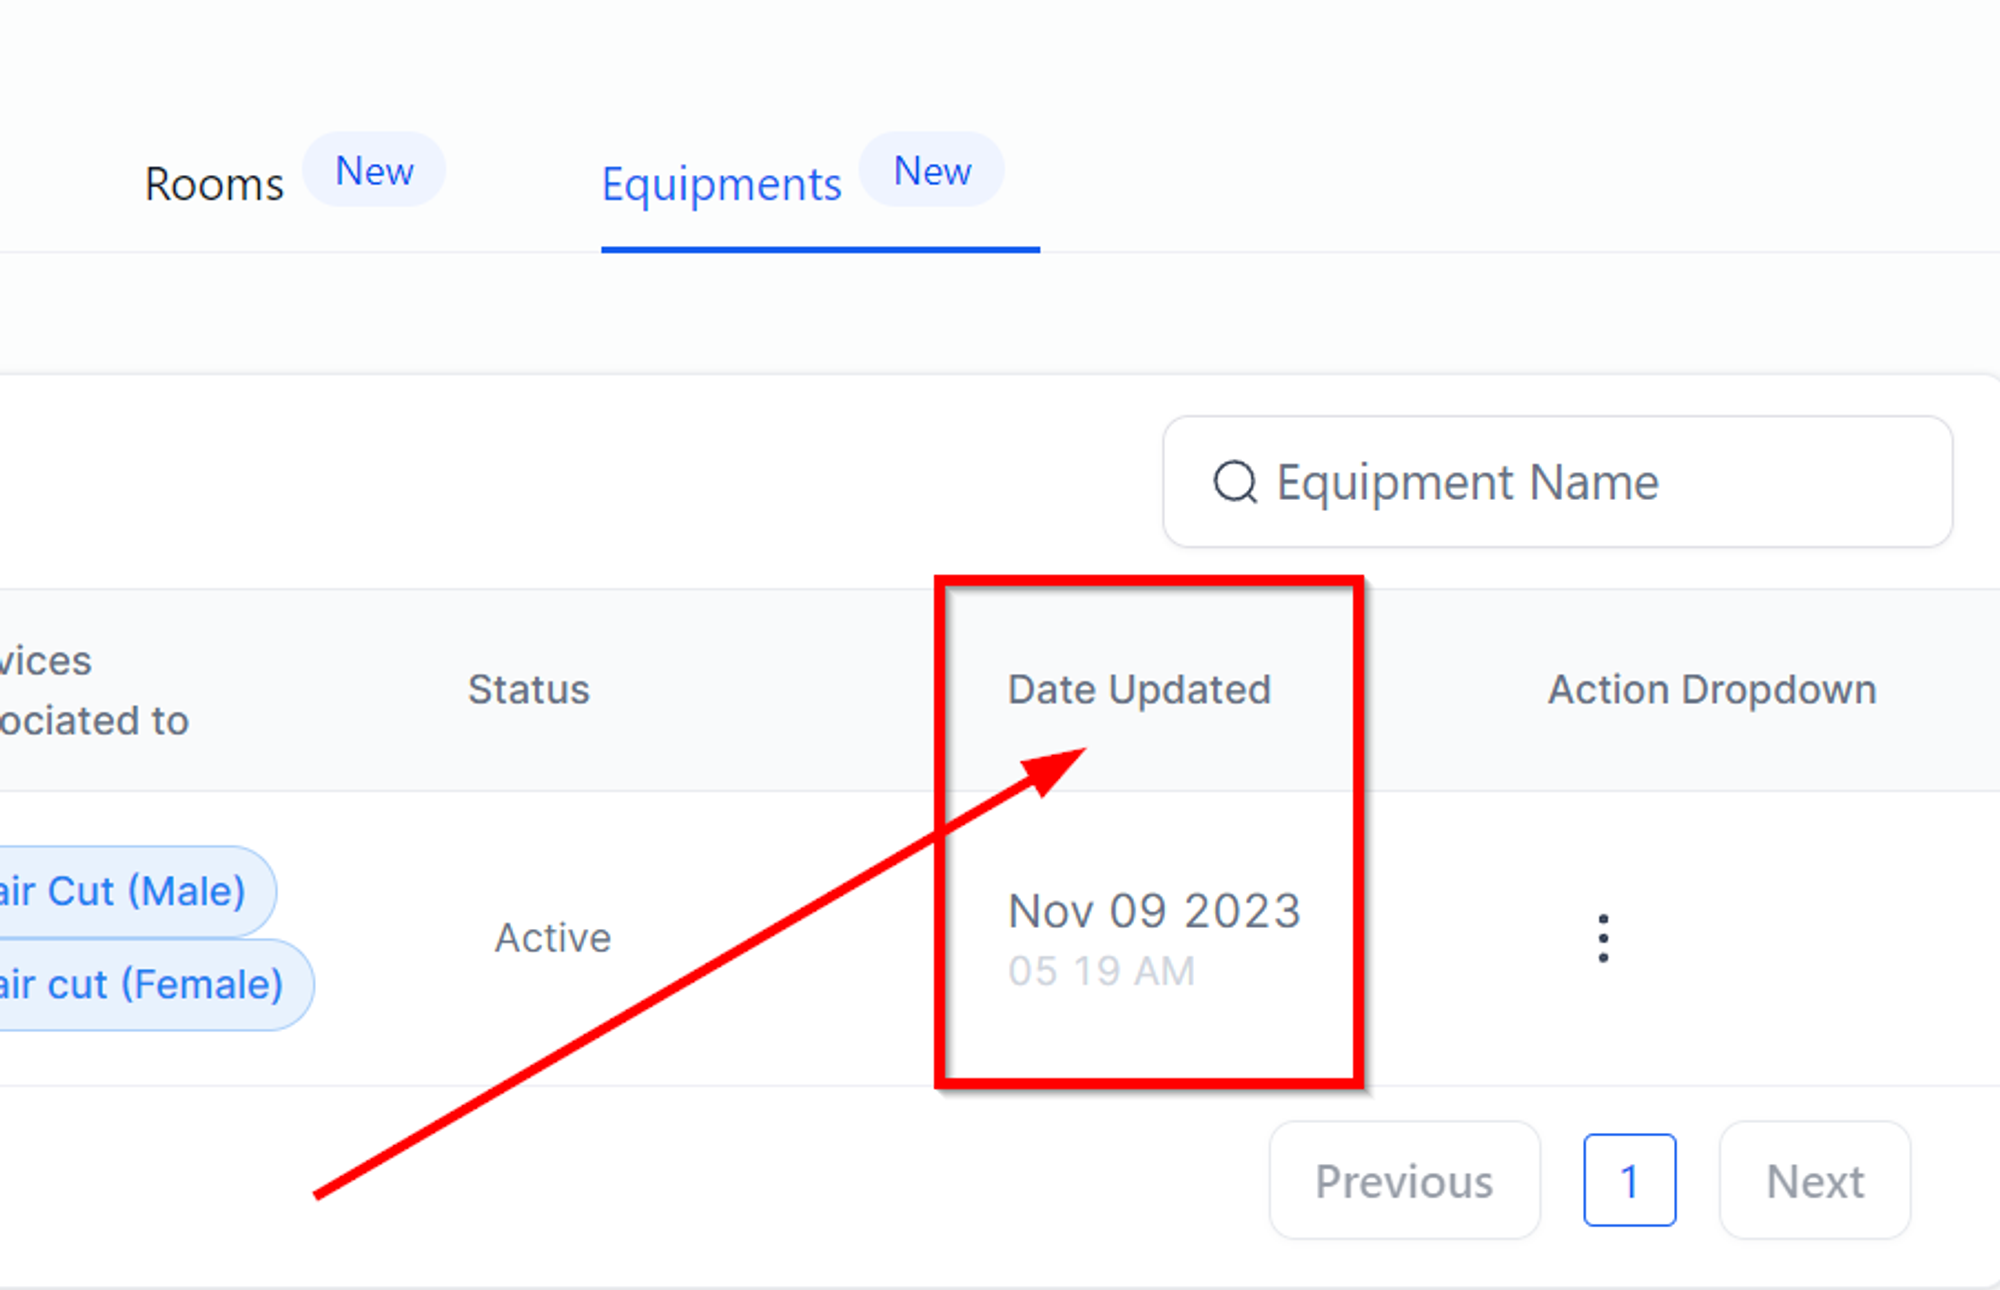
Date Updated
This is the column where you can see the date when you made changes to each equipment or the date when the equipment was created.
Action Dropdown
Click the three dots to view the actionable items.
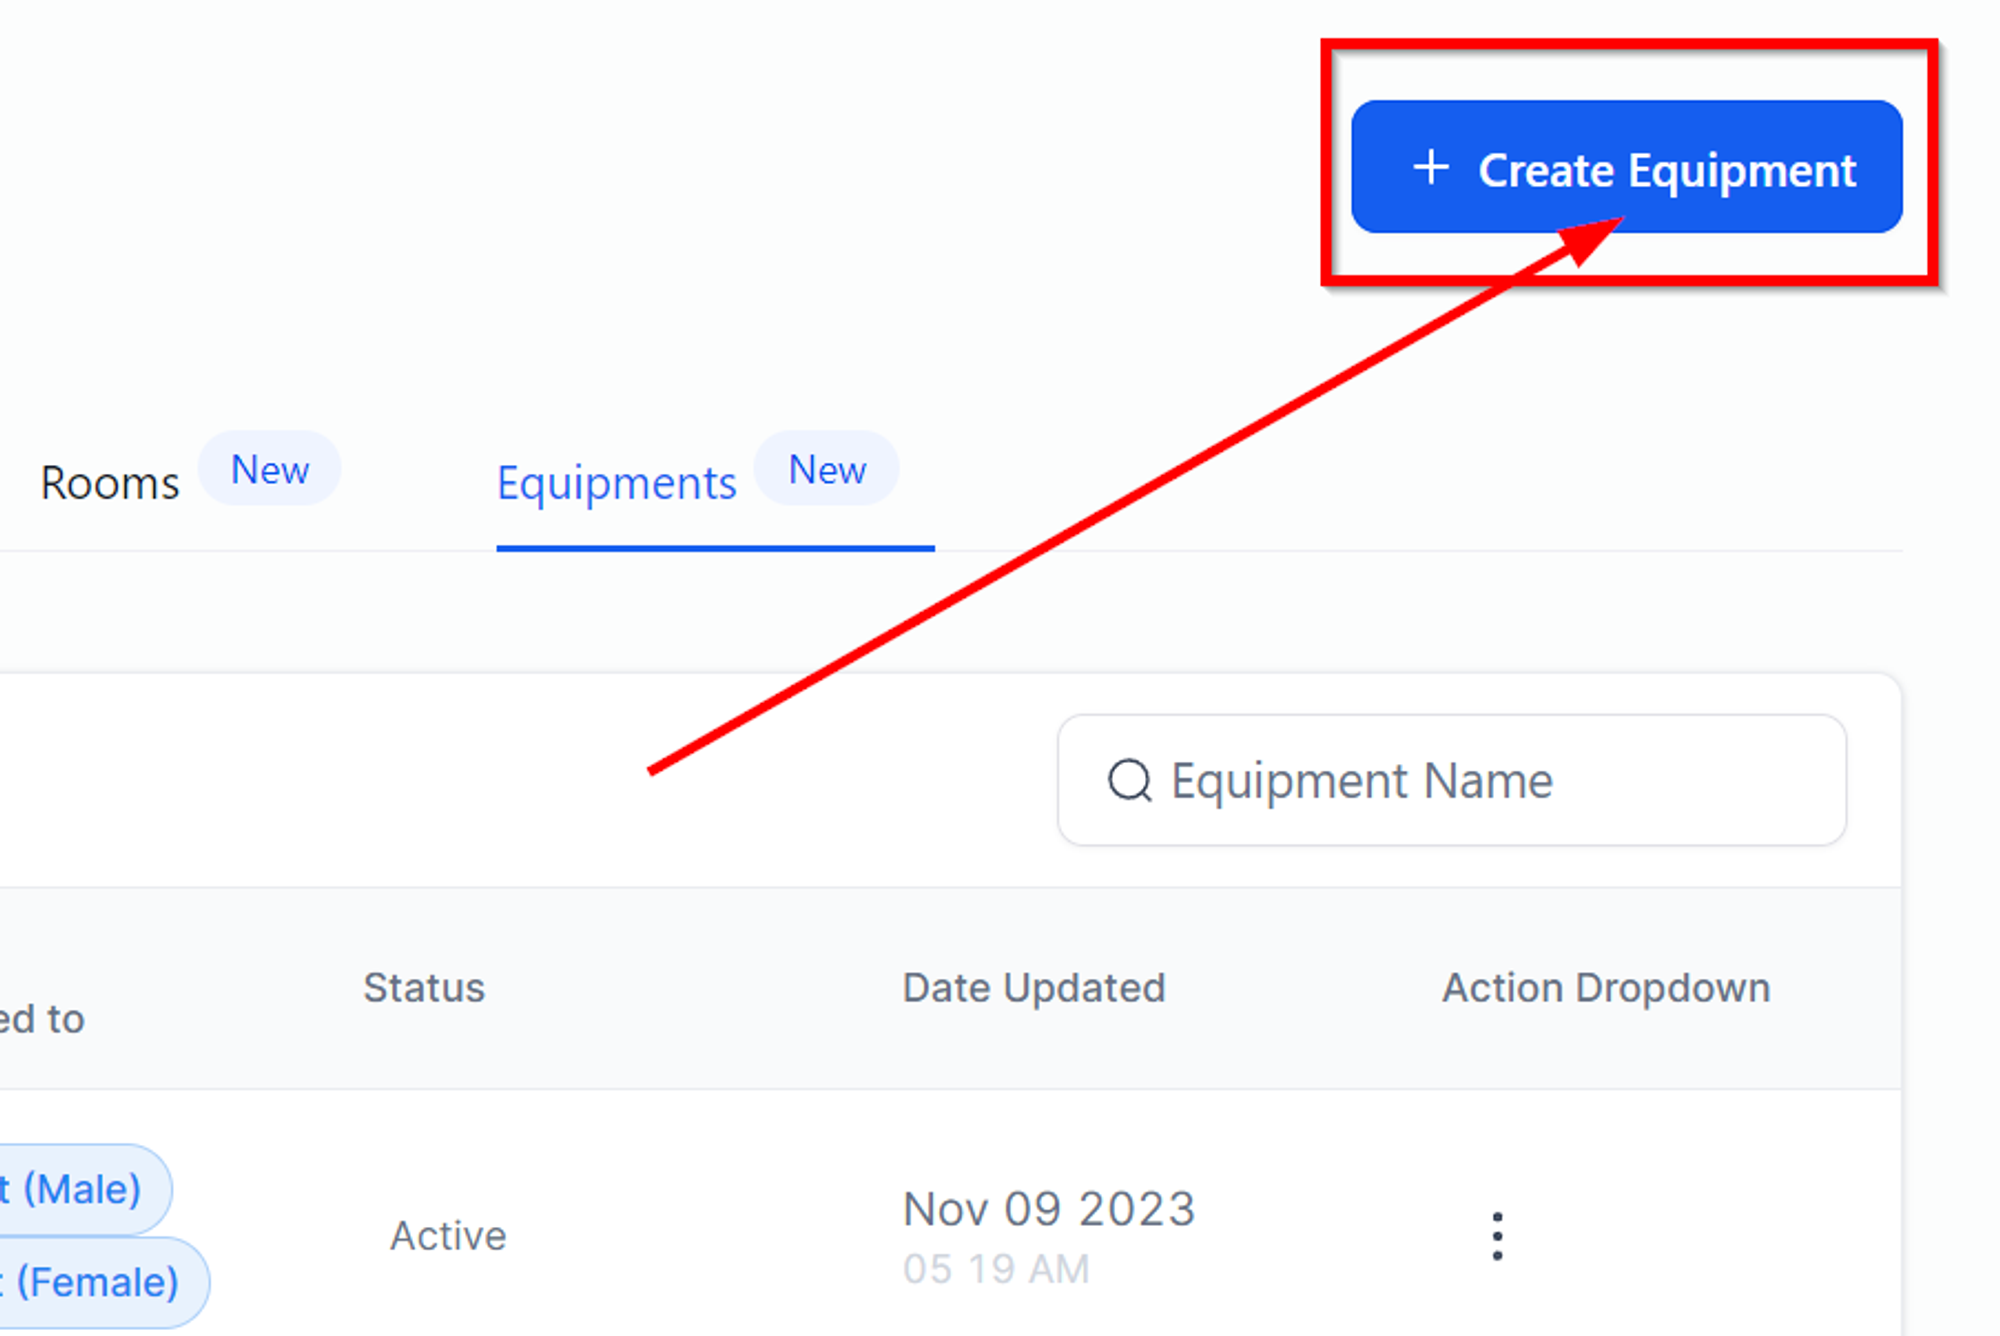
Create/Add Equipment
This button allows you to create a new equipment. It can be any tools, device or a machine you use to deliver your services.
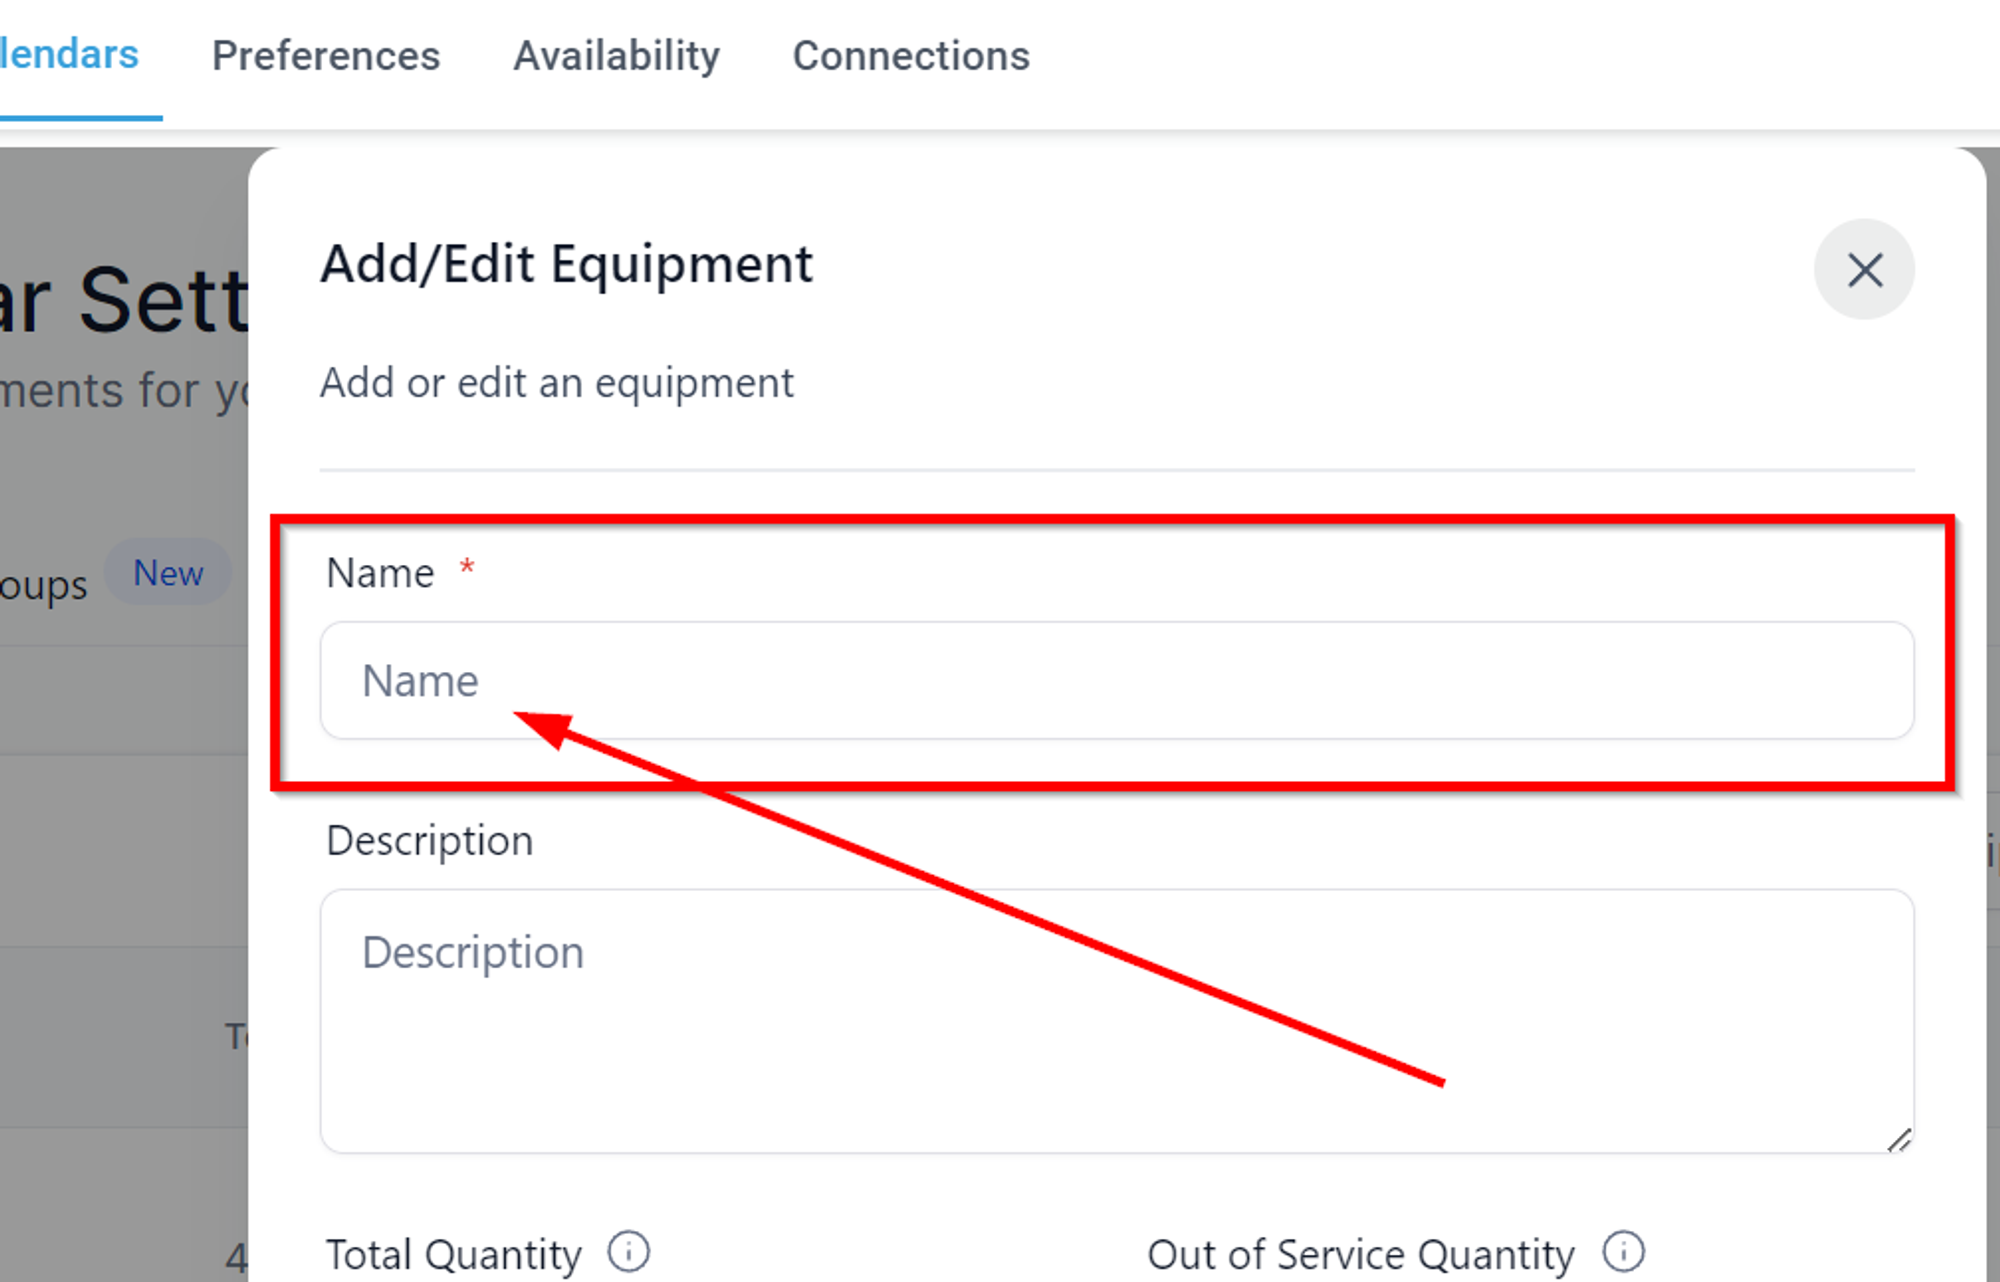
Name
Name this equipment and delight your customers before they show up at your business.
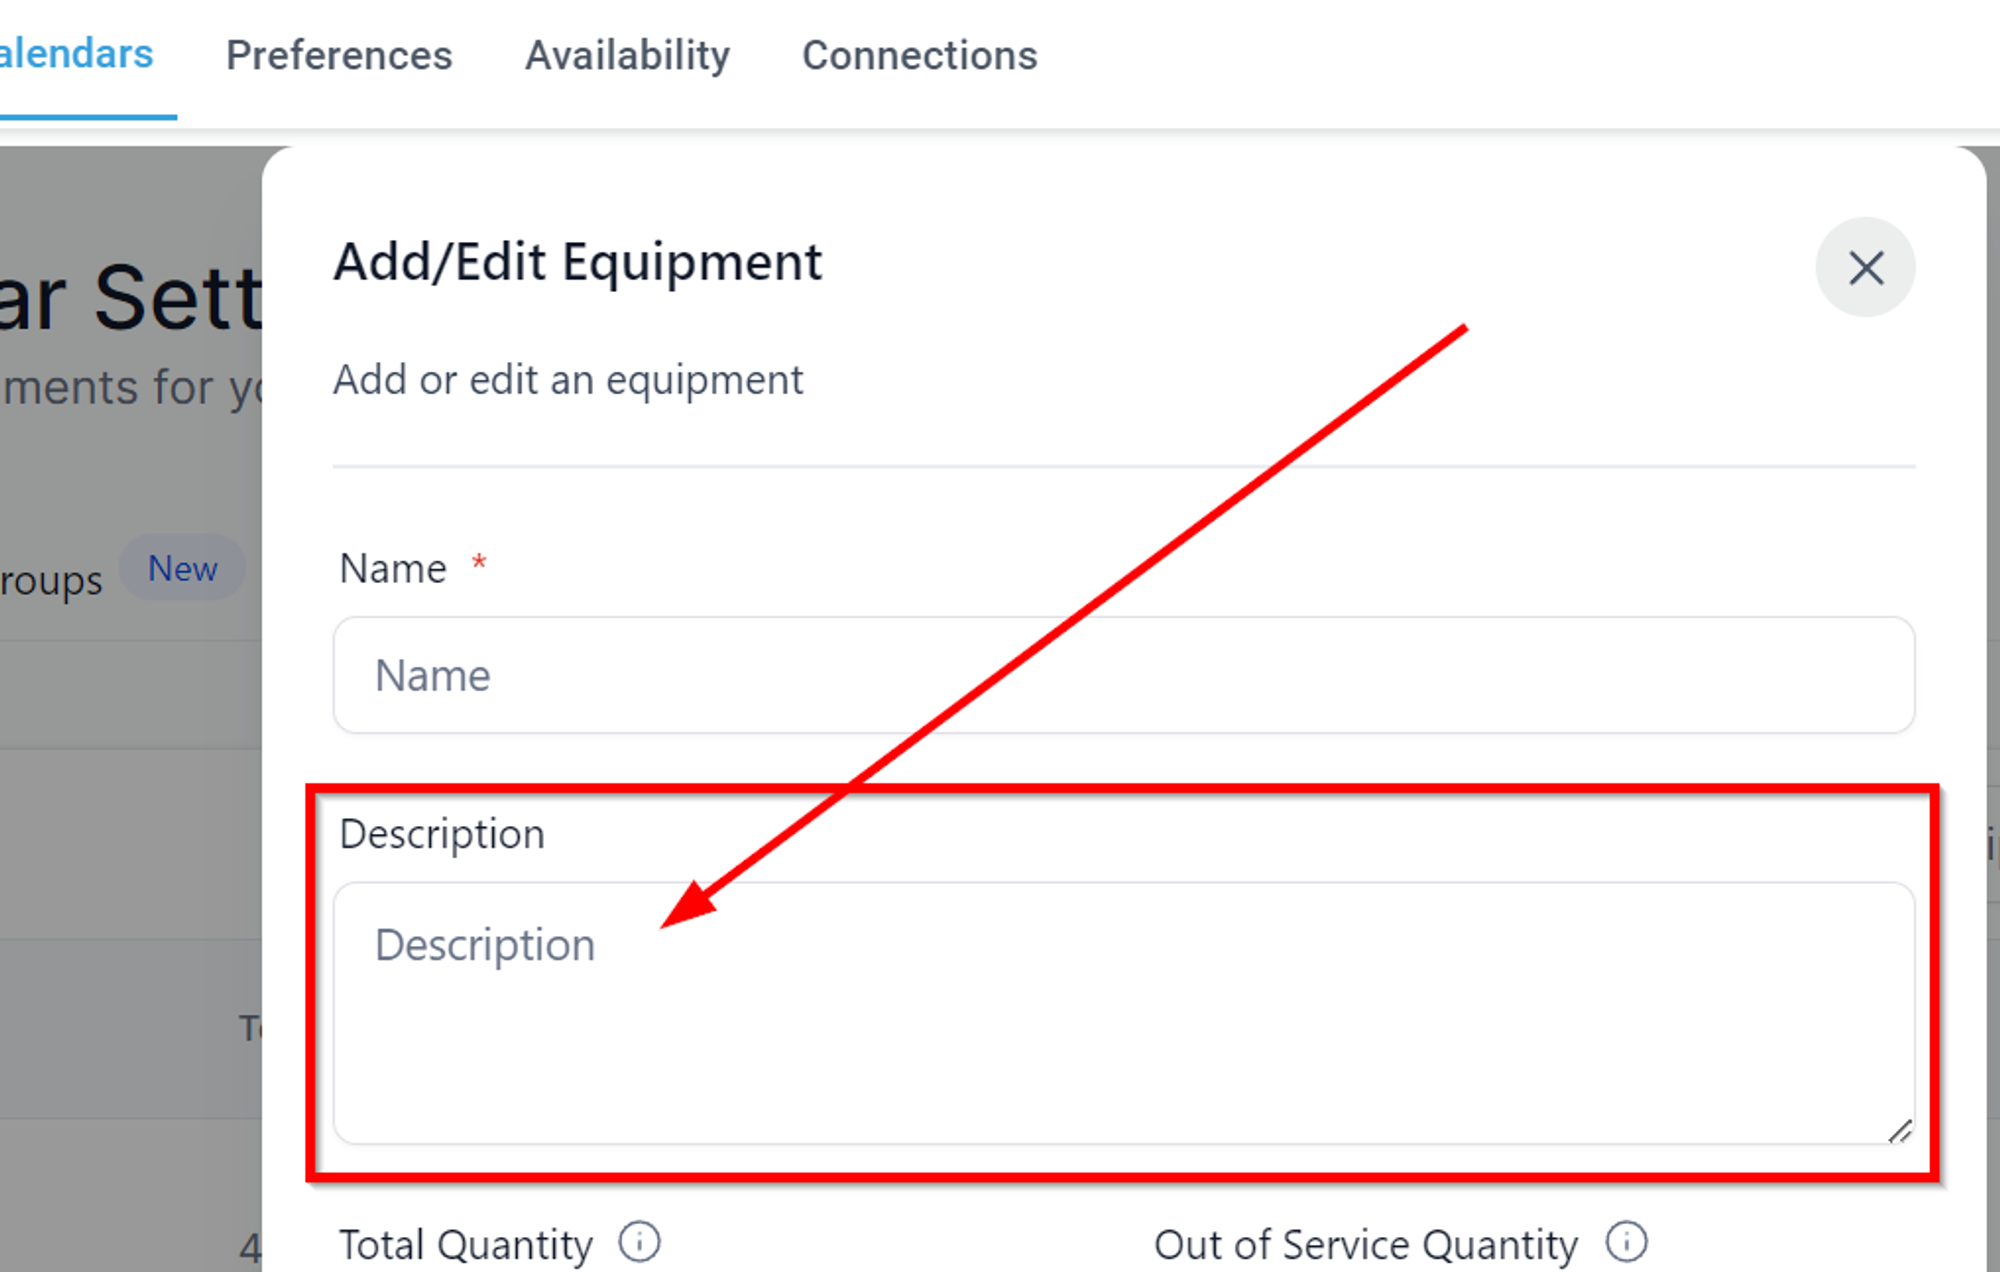
Description
Add some detailed information about the equipment you are creating and what it is for.
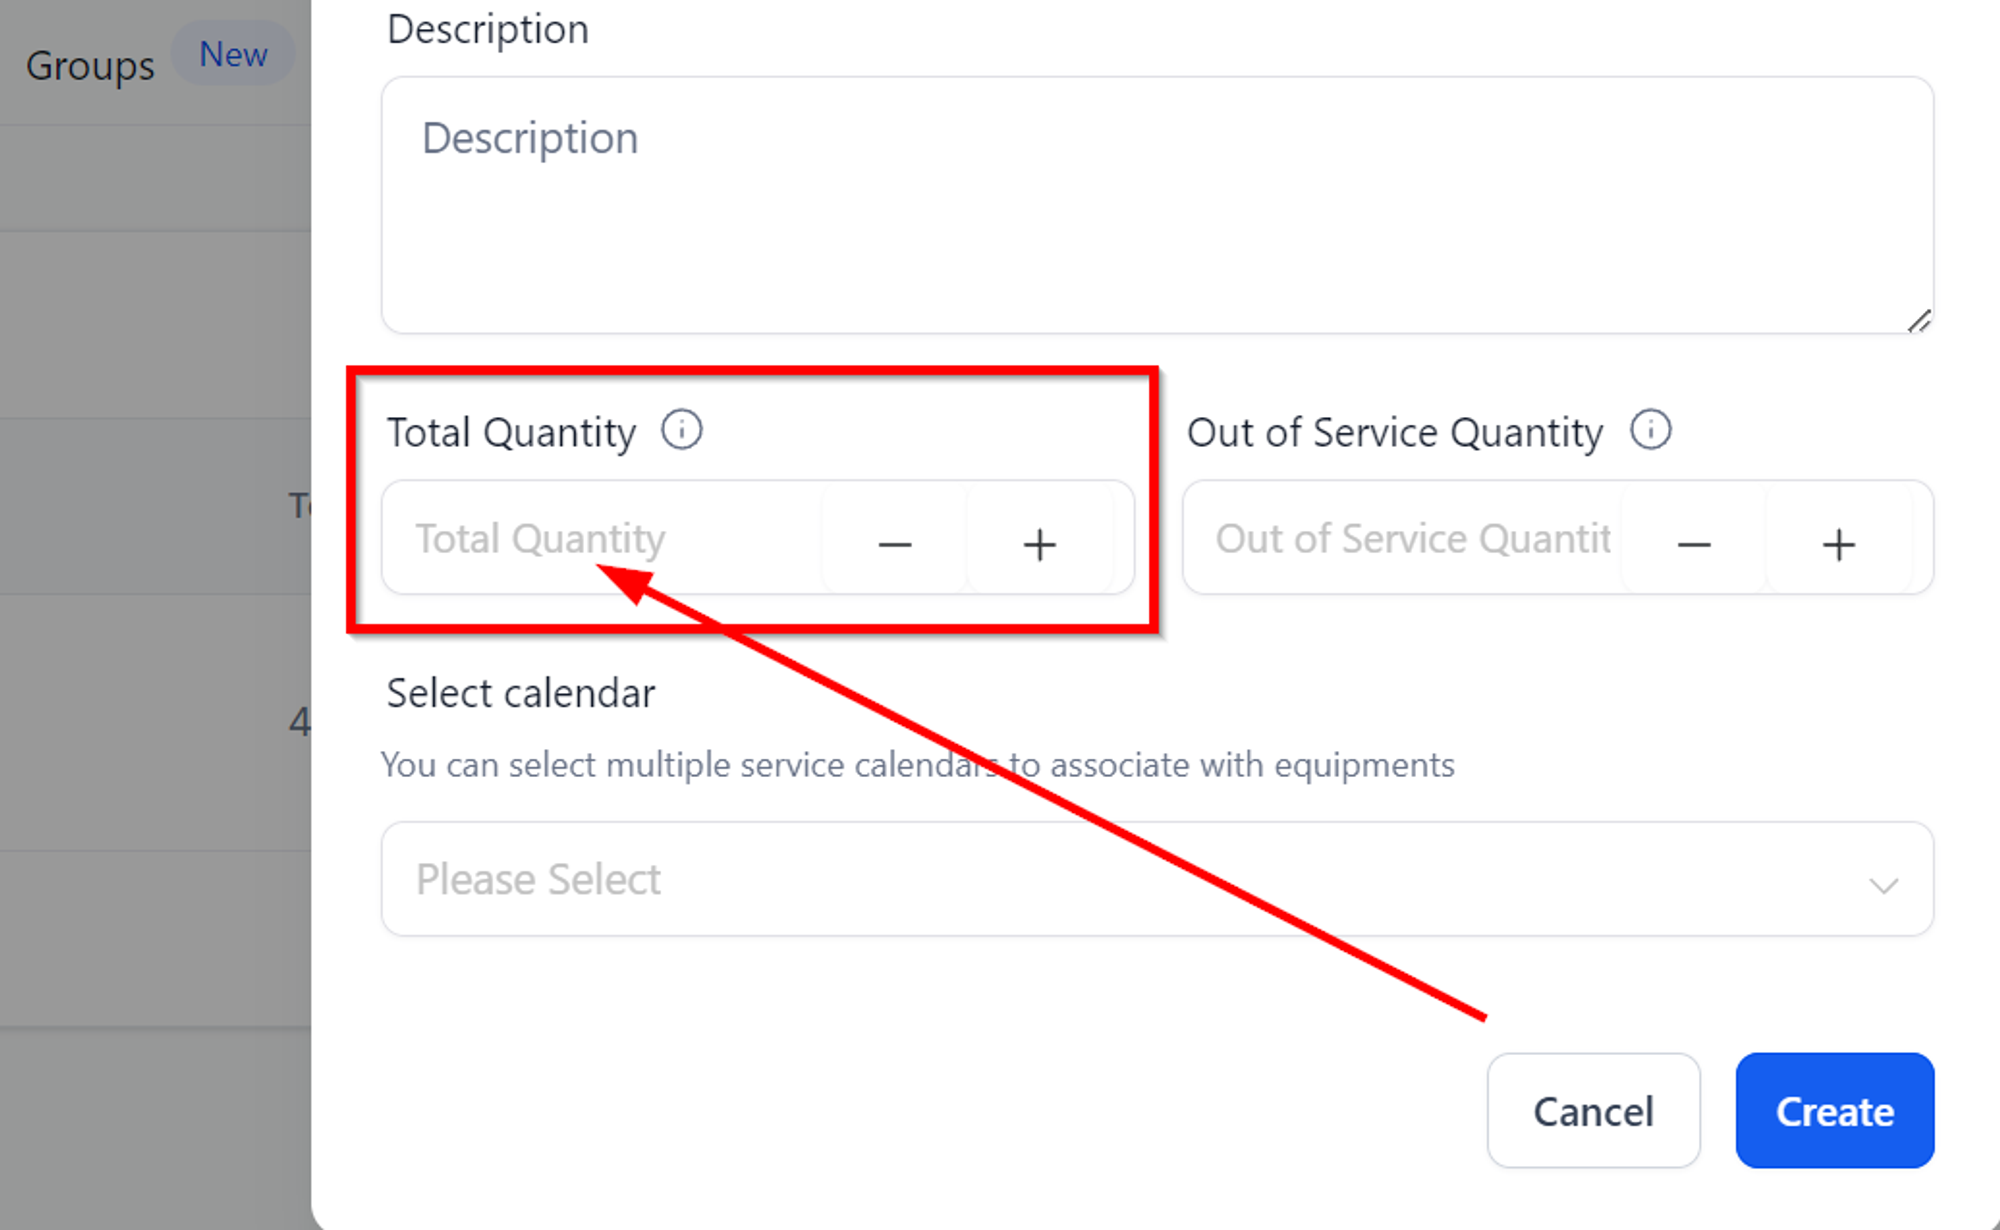
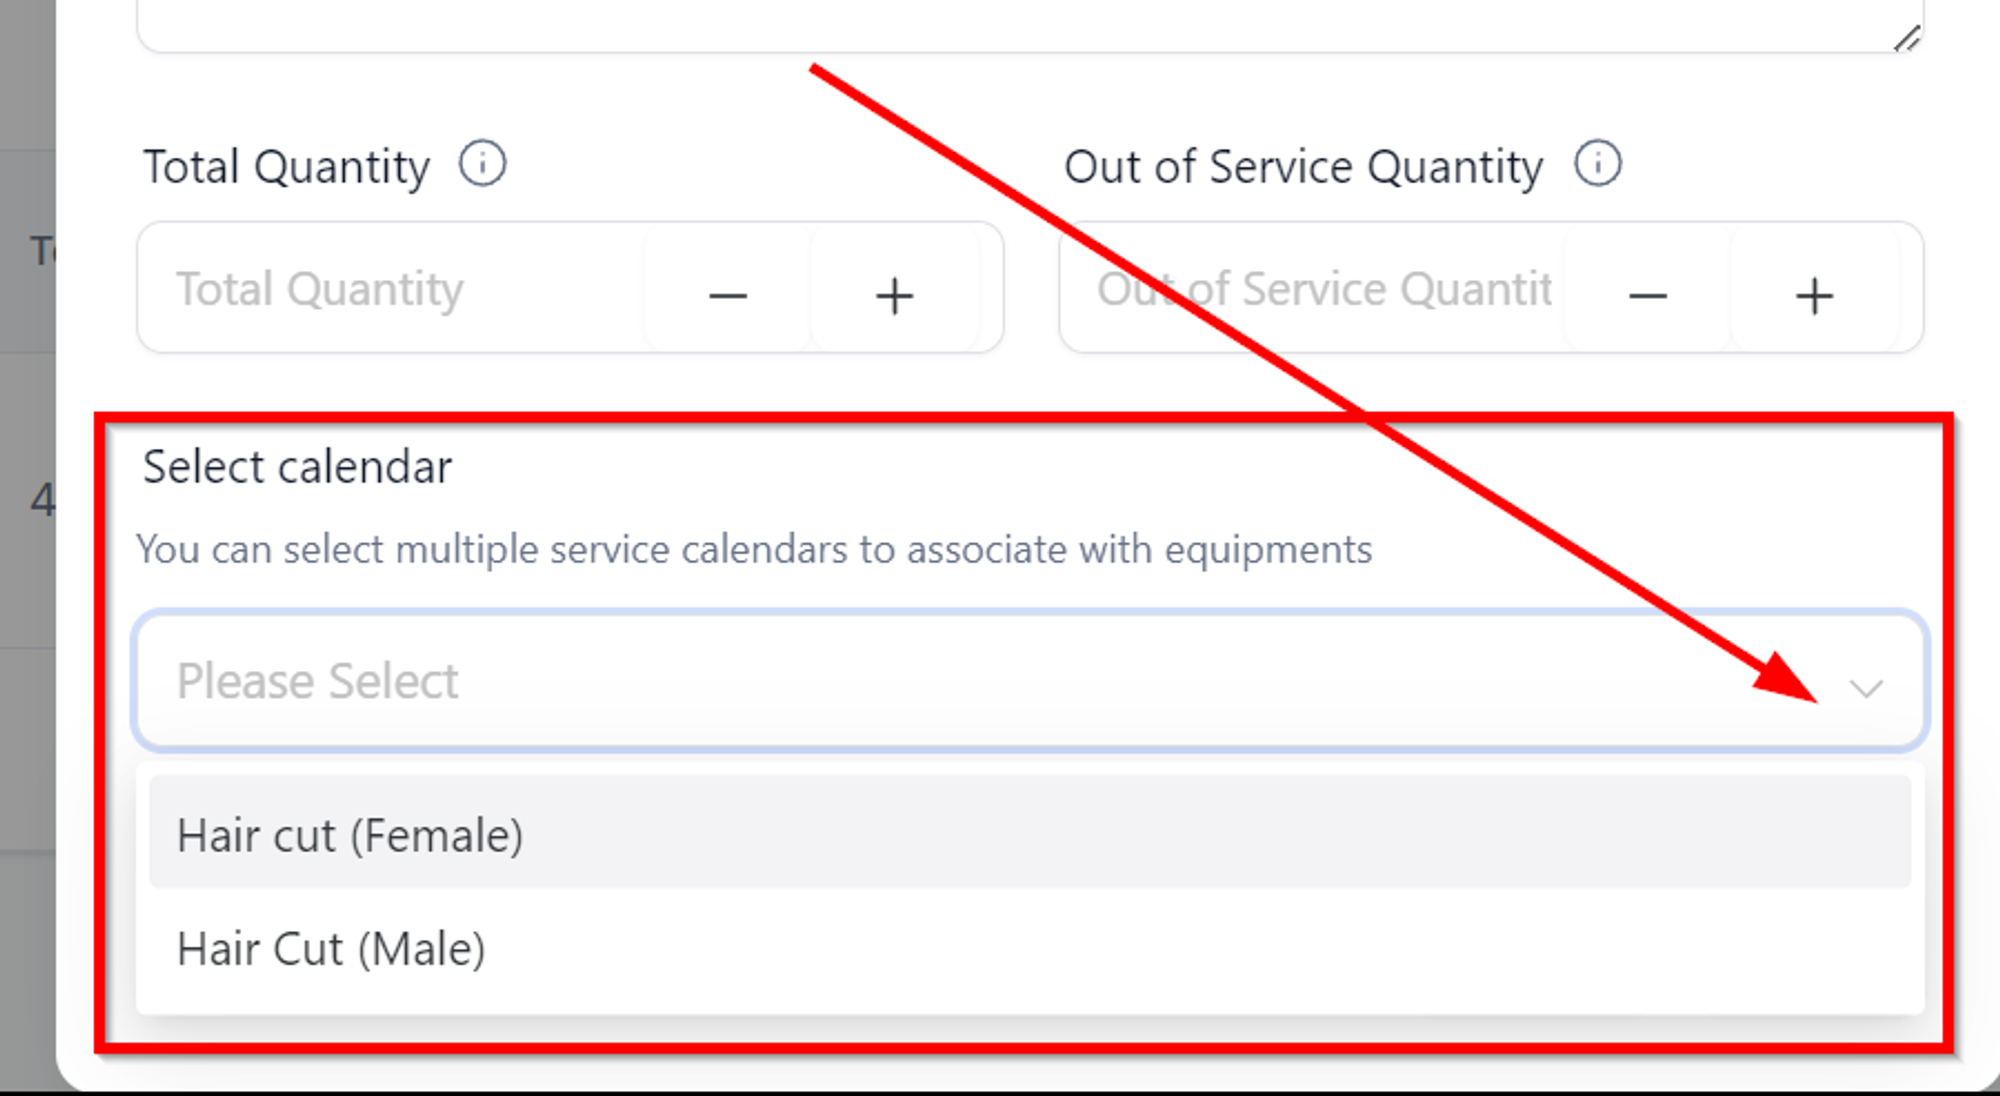
Total Quantity
Depending on the number of equipment you have at your facility, you can input the quantity in this field.
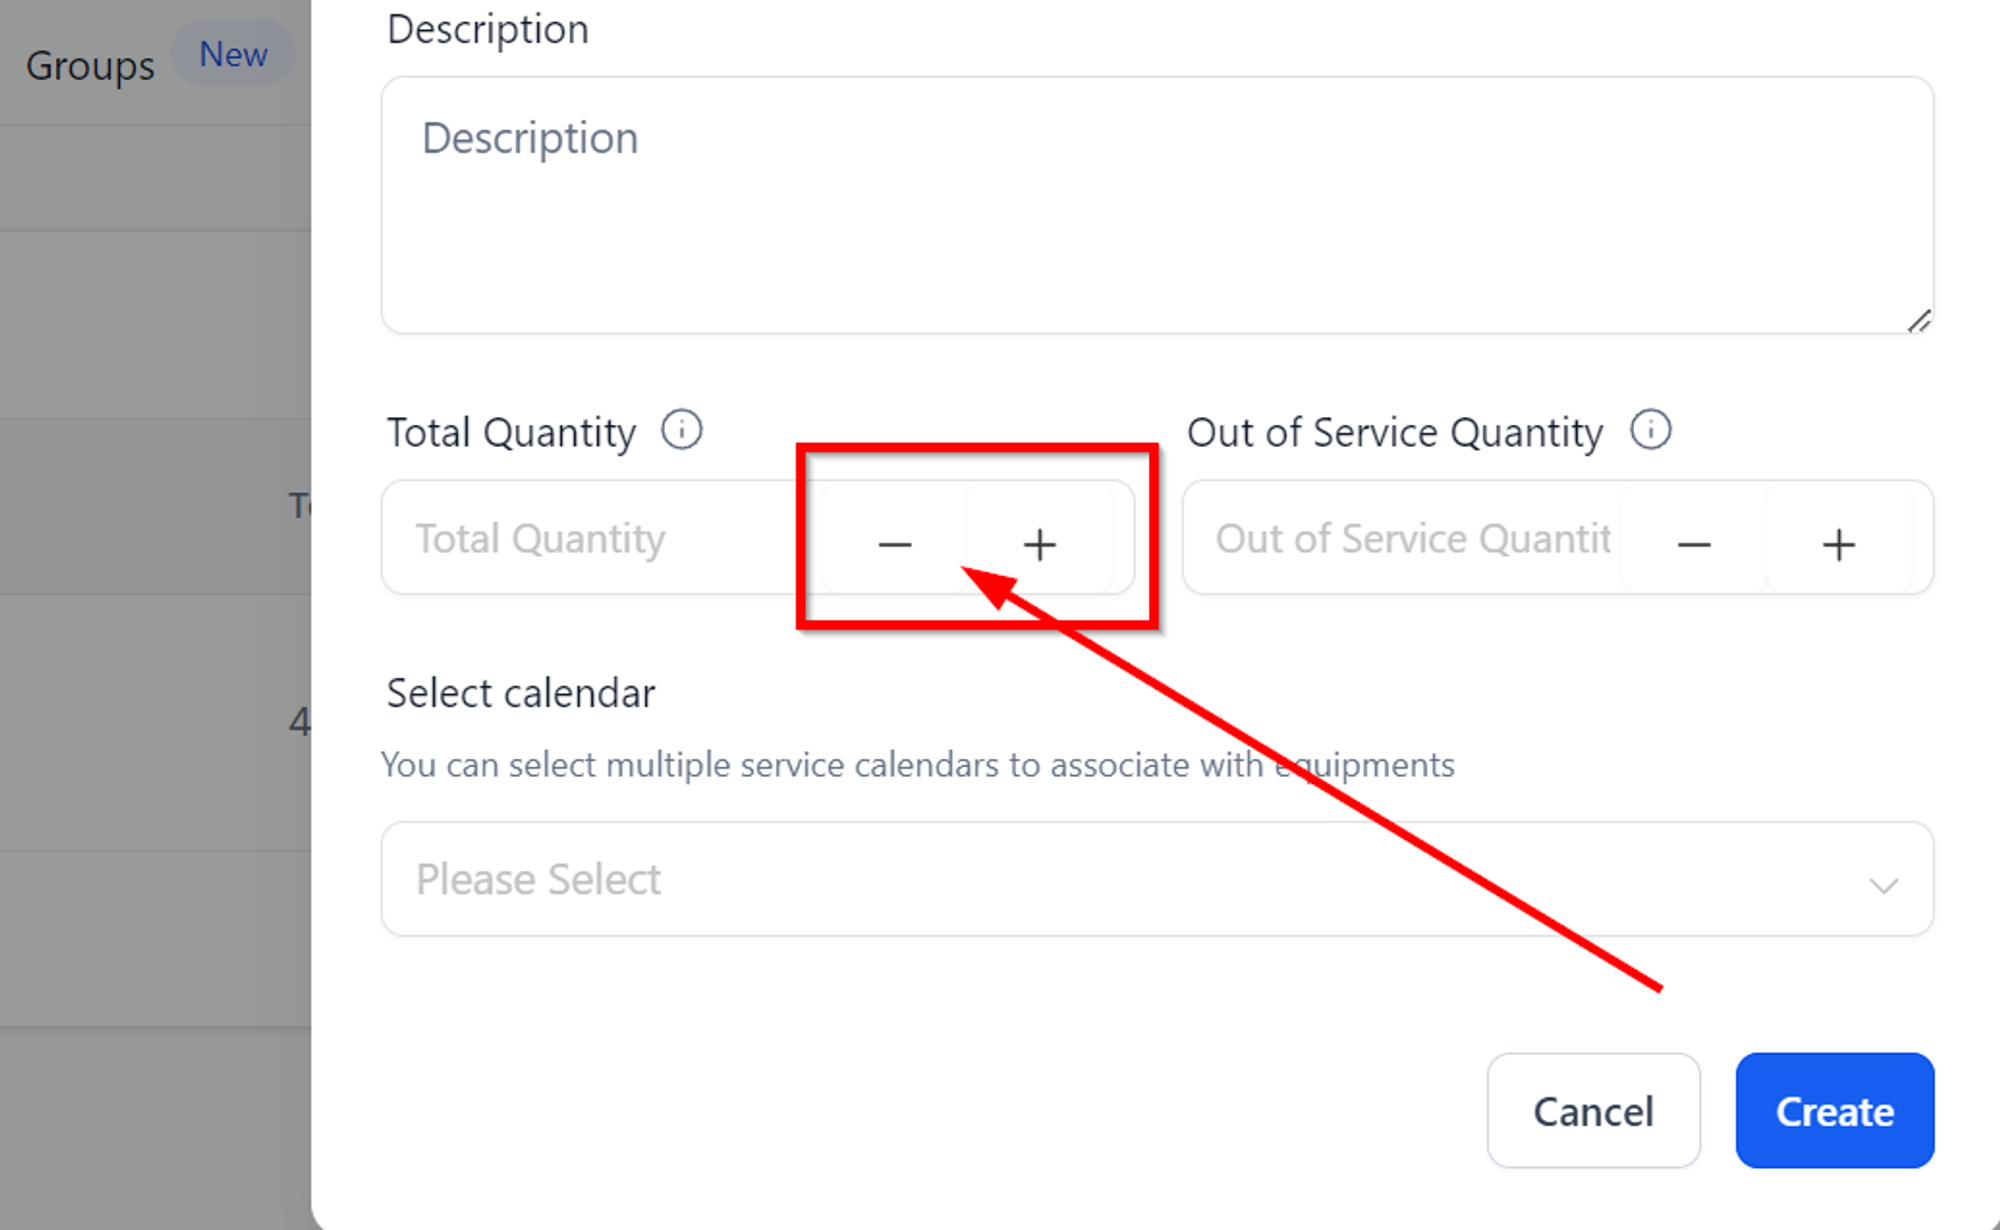
Increase/Decrease Capacity
Use the “+” and “-” button to change the equipment capacity.
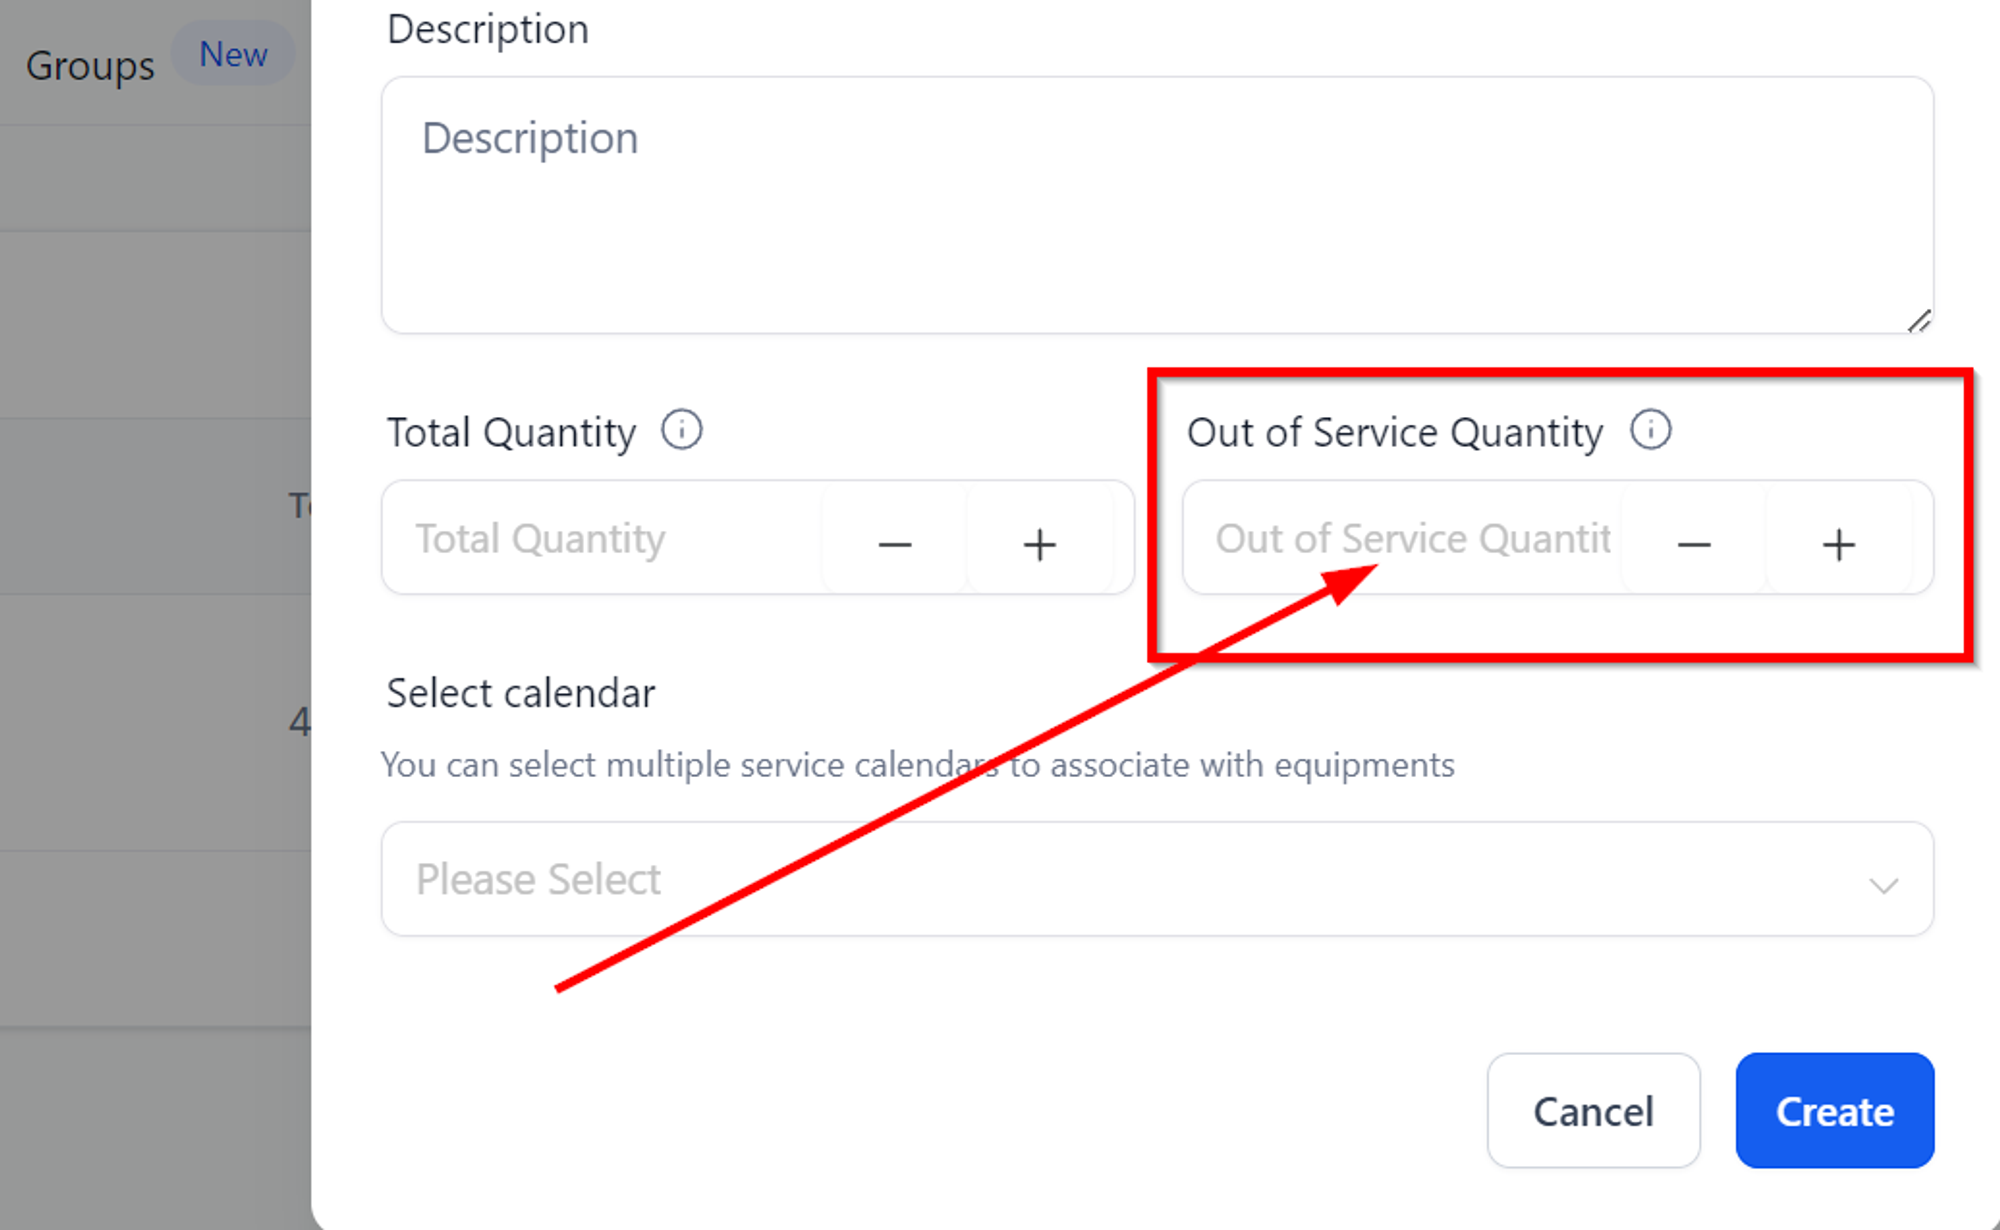
Out of Service Quantity
Enter the count of equipment units that are currently non-functional, require repair, or are out of service.
Select Calendar
Choose the calendars you wish to associate with this equipment.
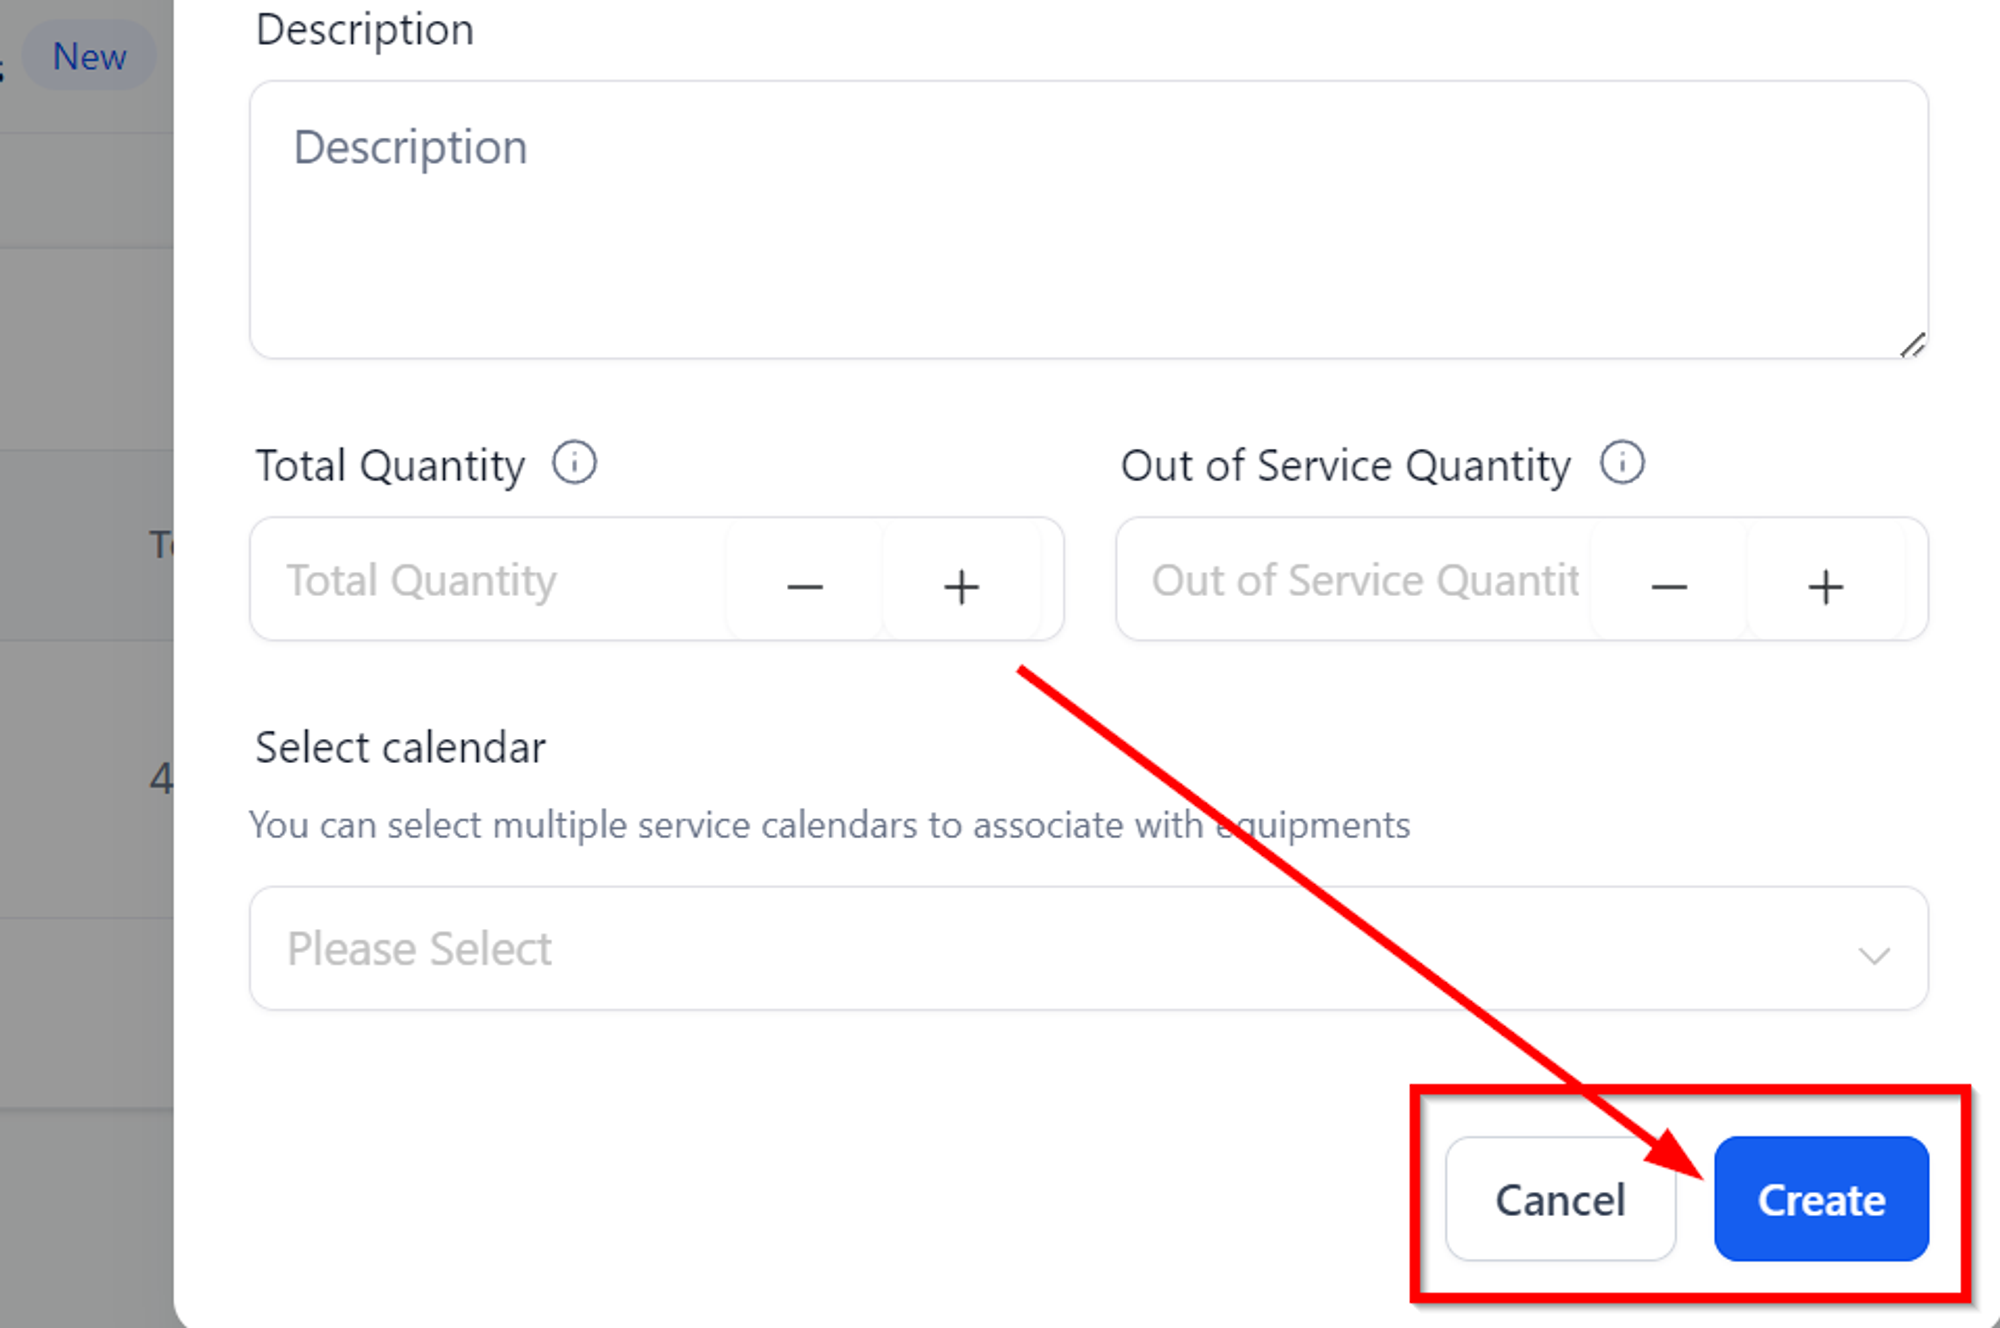
Create / Cancel
Don't forget to click “Create” once you have entered the required information in all of the fields above. When you hit “Cancel” button, the system takes you back to the Equipment menu.
