This section allows you to customize your entire membership portal for your account. Before you go live with any of your portals you need to set up these three (3) sections below in a way that is easier for visitors to find.
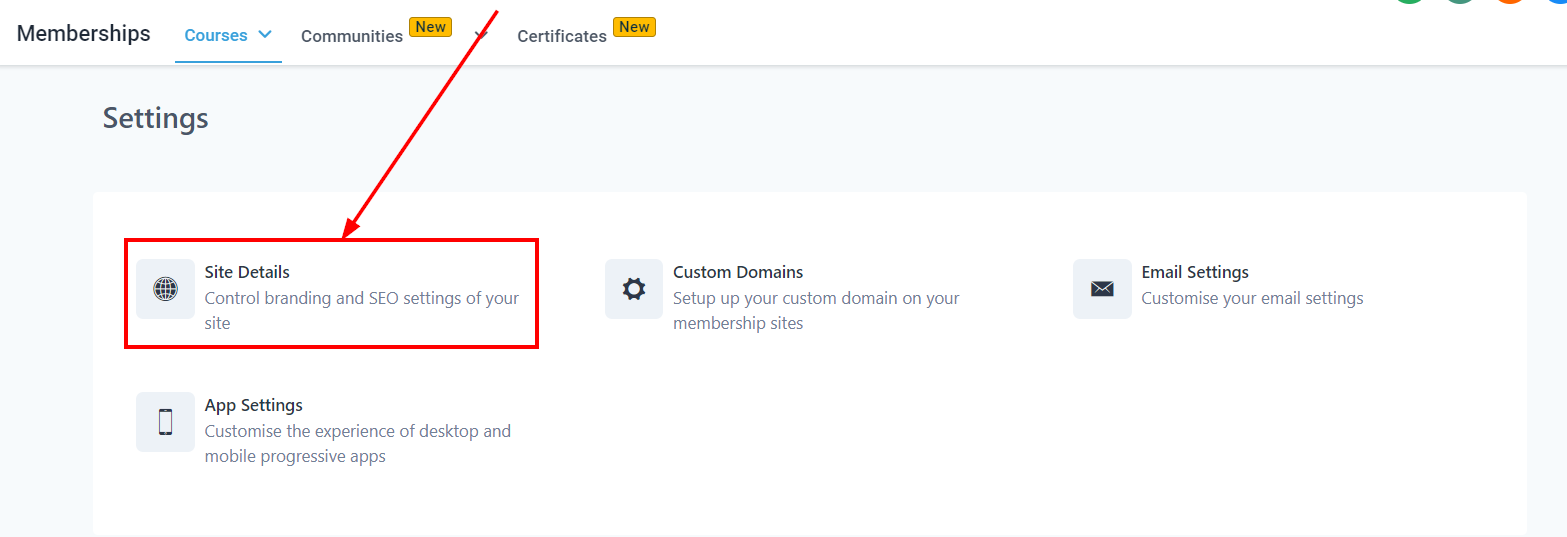
Site Details
Here you can set up your site info and Branding.
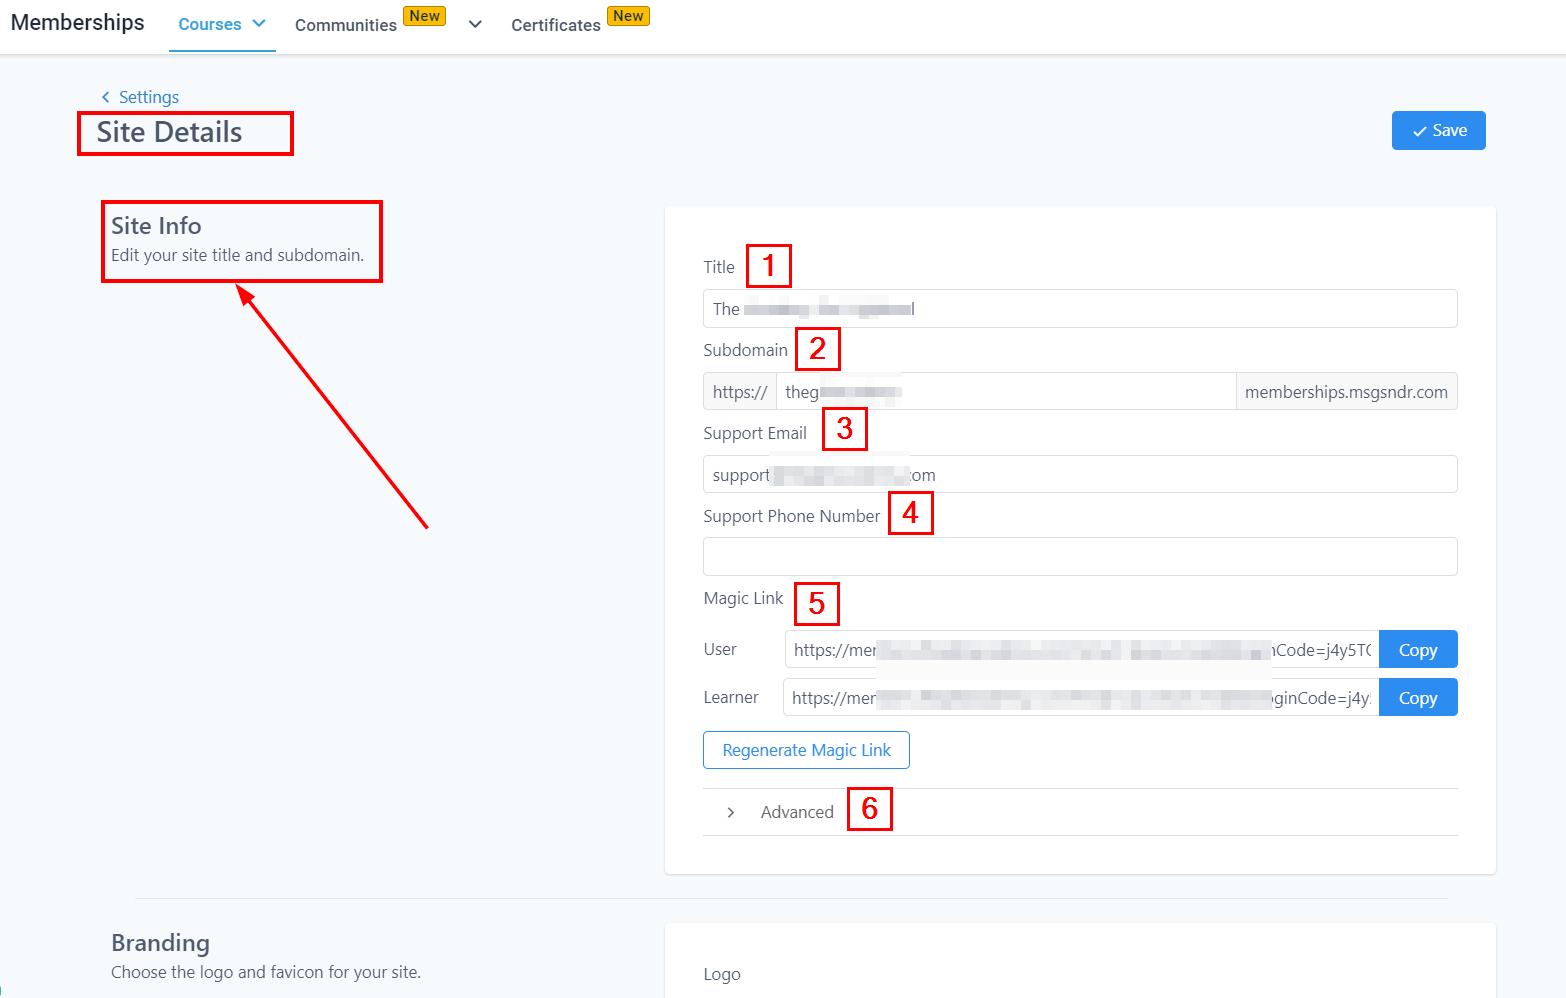
Site Info
- TitleYou can customize the title of your membership portal here. Whatever name you use will be for the entire membership portal, so it's advisable to use your company's name.
- SubdomainFor the subdomain, you need to change it from the default subdomain to a simple one so it's easier to remember because it's going to be the link to your visitor's login credentials
- Support EmailAdd a support email here where visitors can reach out to you or your team for any inquiries.
- Support Phone NumberYou can also add a support Phone number here where visitors can reach out to you or your team for any inquiries.
- Magic LinkIf you want to share access to your course with someone without having them pay or subscribe to the course, you can generate a magic link to send them. Once you change the
- AdvancedHere you can manage your Custom JS, CSS, and Tracking Code.
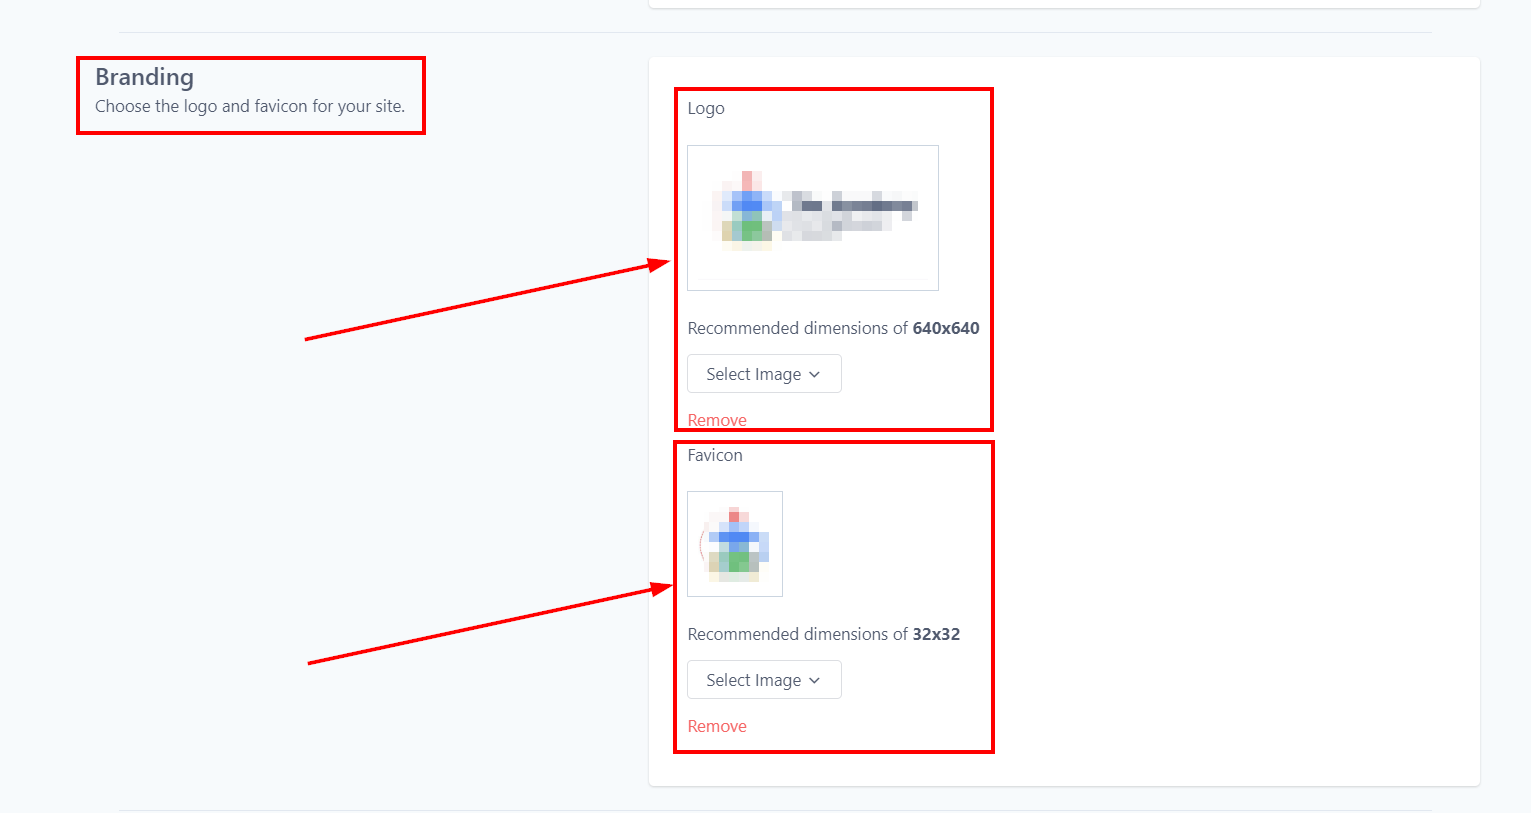
Branding
Logo
Add your Brand logo to your site. Make sure the recommended dimensions of the image are 640x640. When you click on the "Select Image" menu below the Image icon and then click on "Upload New Files", it directs you to the upload page where you can upload the image you want to use from your local device.
Favicon
Add your Favicon to your site. Make sure the recommended dimension of the image is 32x32. When you click on the "Select Image" menu below the Image icon and then click on "Upload New Files", it directs you to the upload page where you can upload the image you want to use from your local device.
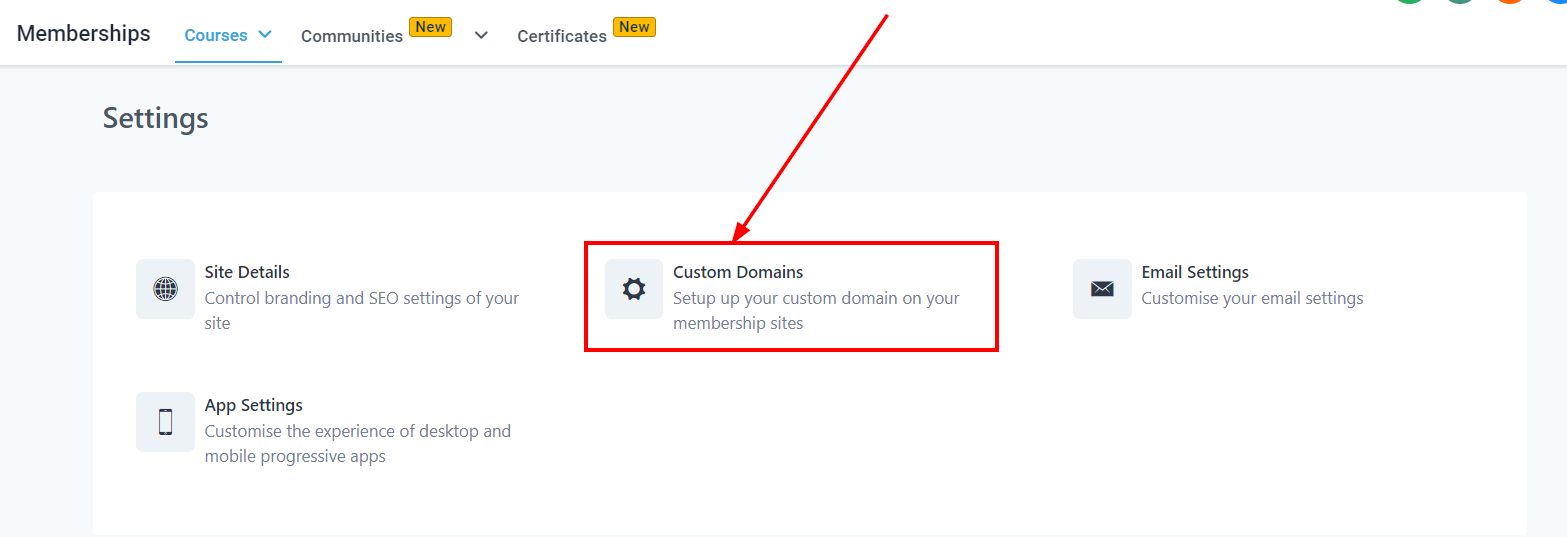
Custom Domains
This helps you to set up your custom domain on your membership site.
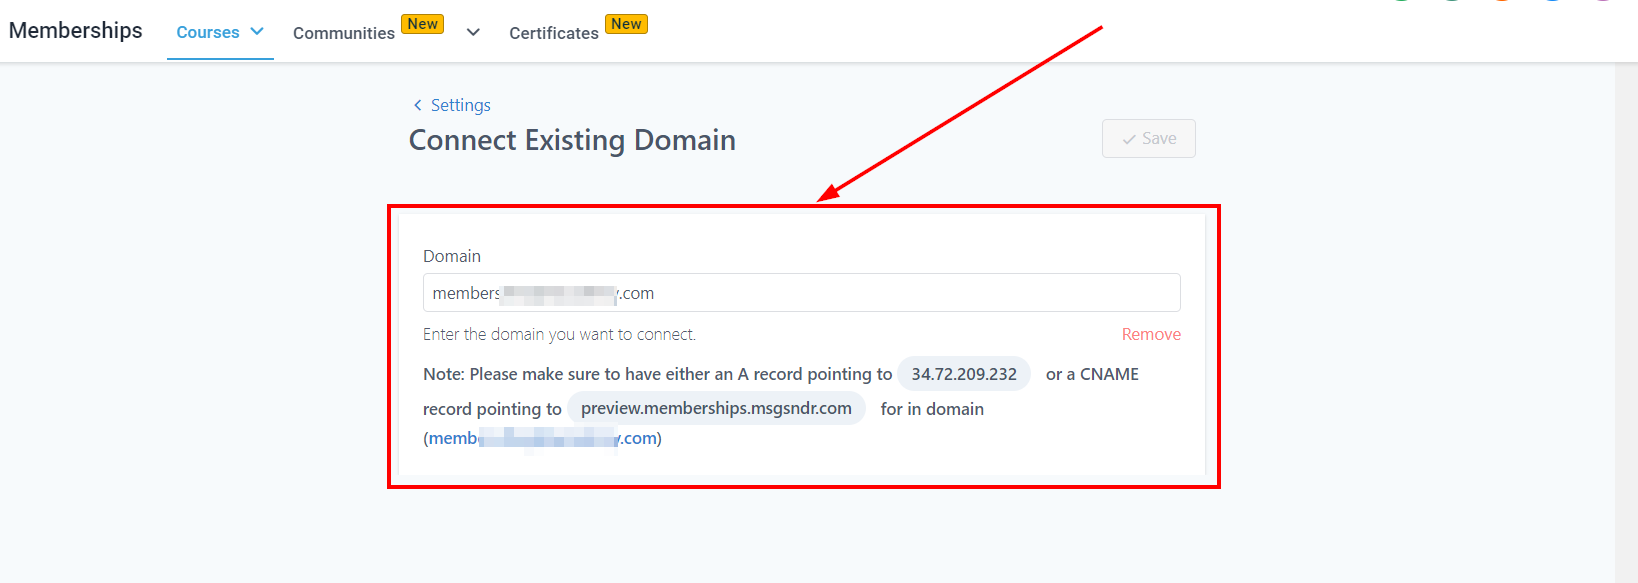
Connect Existing Domain
To add a custom domain to your site, you have to generate the domain and then add it to the space provided. Don't forget to add a CNAME to your Domain setting.
Email Settings
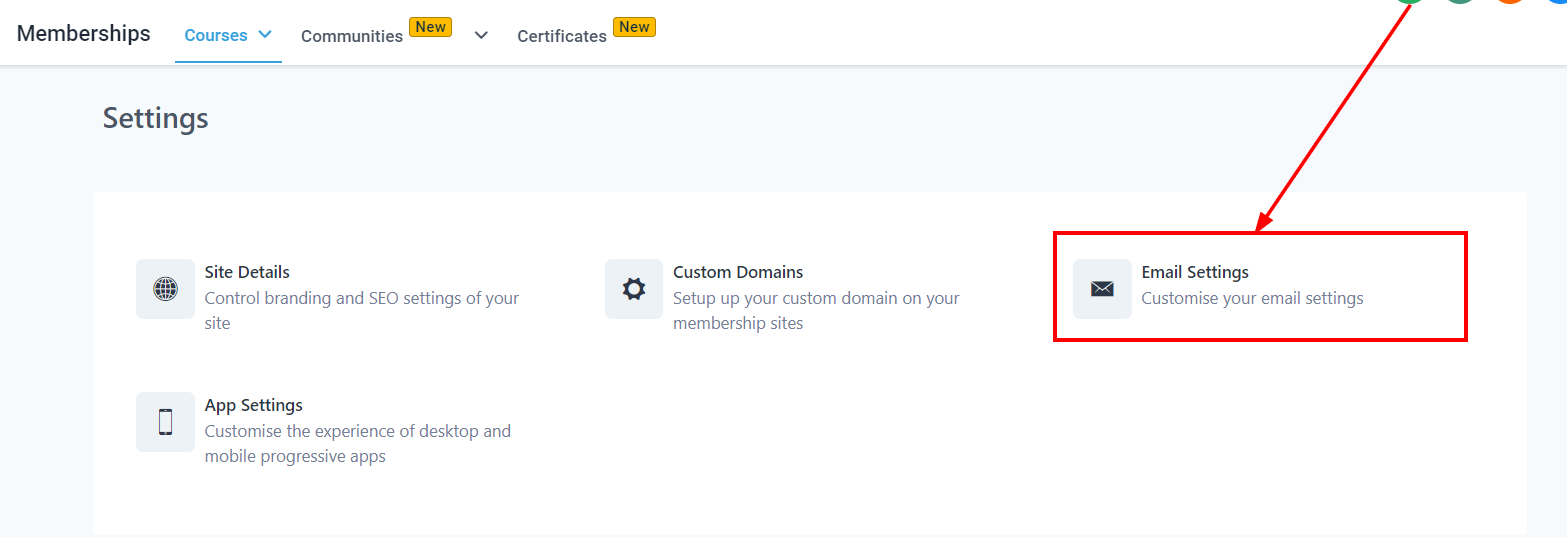
You will be able to customize your Email here, especially for funnels/websites.
Send Welcome Message
If you want your visitors to receive a welcome message, toggle this on. This is the default welcome message every visitor gets when they sign up. You can create the welcome message in Template.
Send Drip Message
If you want your visitors to receive a drip message, toggle this on. This automatically sends an email when the drip category is available
Send Offer Access Email
This will automatically send an email when offer access is provided to member.
App Settings
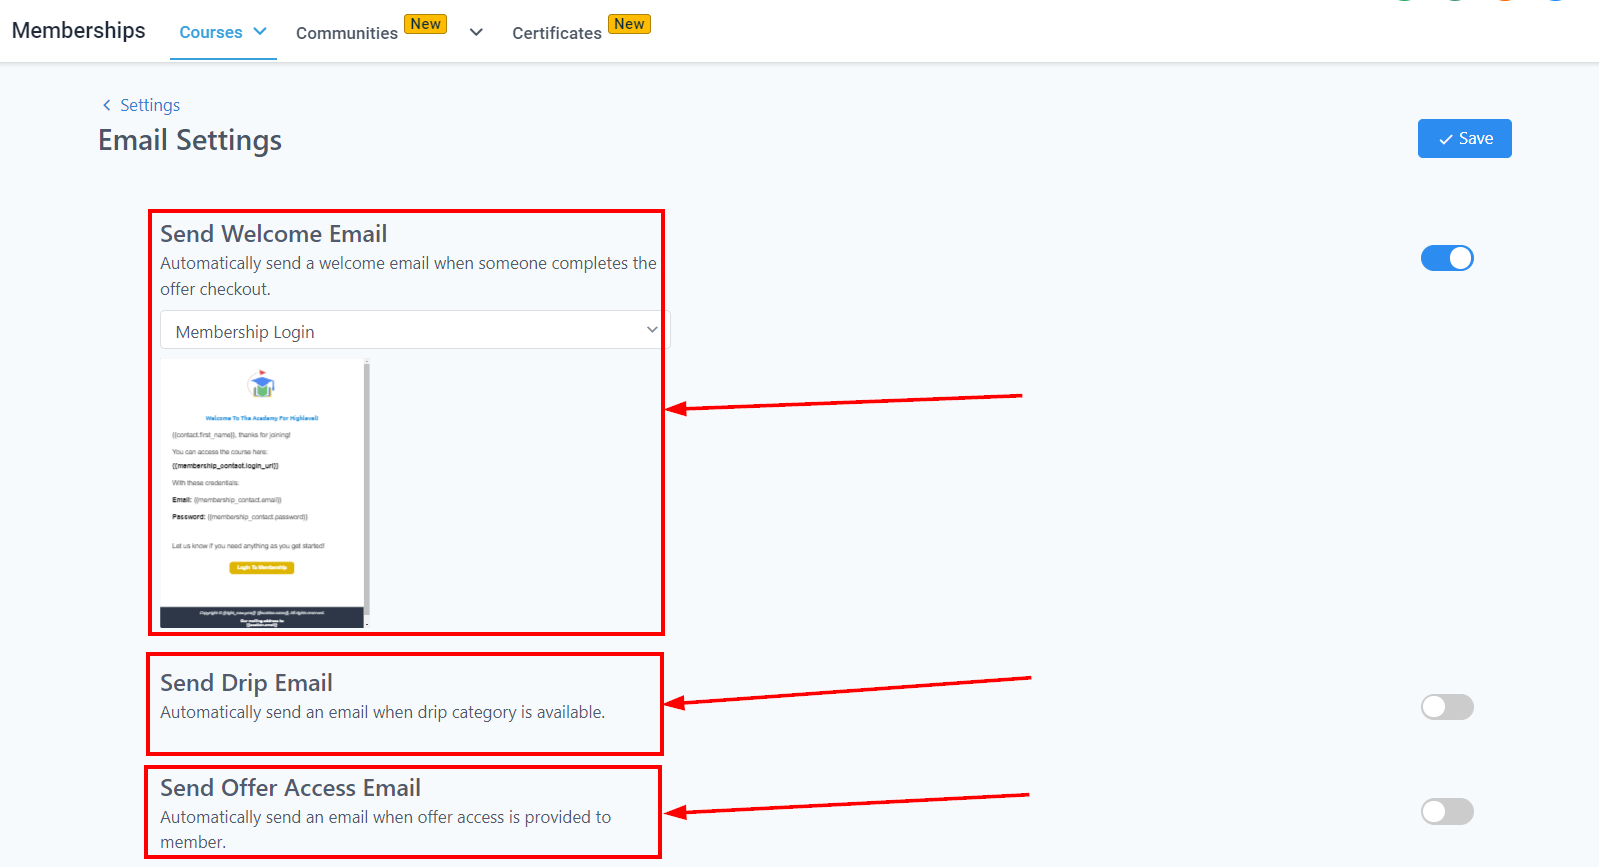
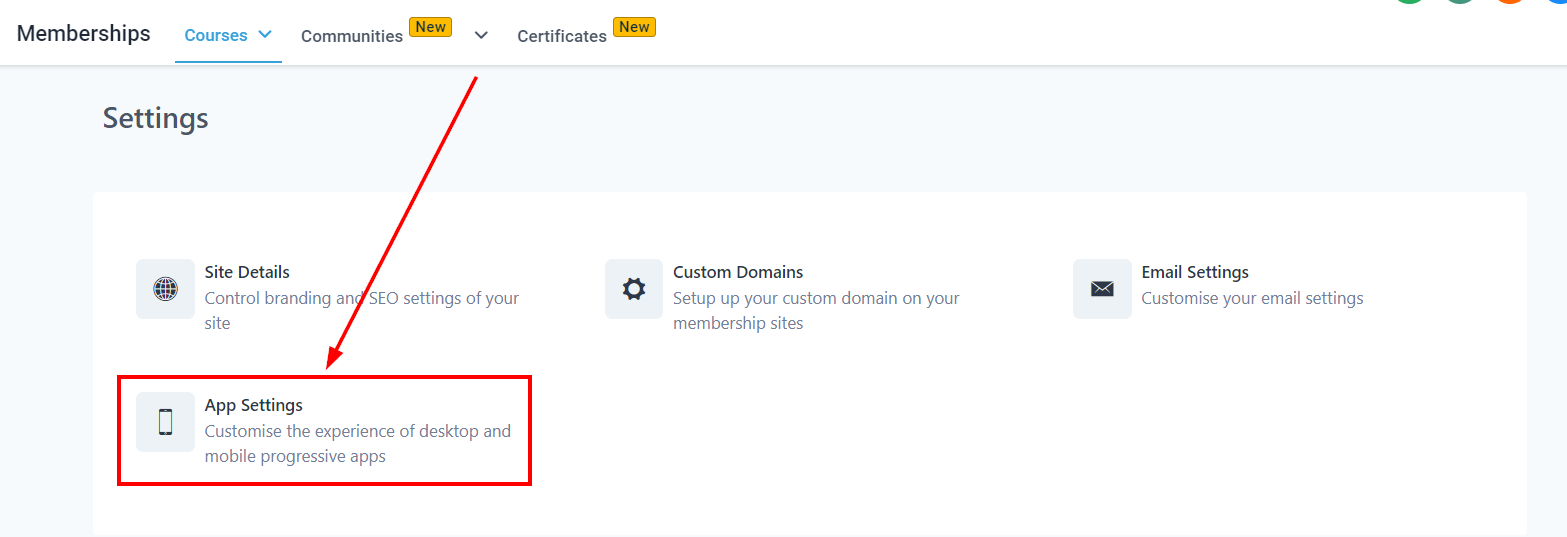
You can customize the experience of your desktop and mobile progress app.
Enable PWA
Progressive Web Application (PWA) is a type of web app that can operate both as a web page and mobile app on any device. Toggle it on to enable it!
App Details
Here you can type in the App name. You can also have a short name for your app if the original name is too long or complex. Give a brief description to help visitors understand what your app does.
App Icon
These icons will appear in multiple places like the App drawer and splash screen. There are two image sizes to upload; the Recommended dimensions of 512x512 and the Recommended dimensions of 192x192.
When you click on the "Select Image" menu below the Image icon and then click on "Upload New Files", it directs you to the upload page where you can upload the image you want to use from your local device.
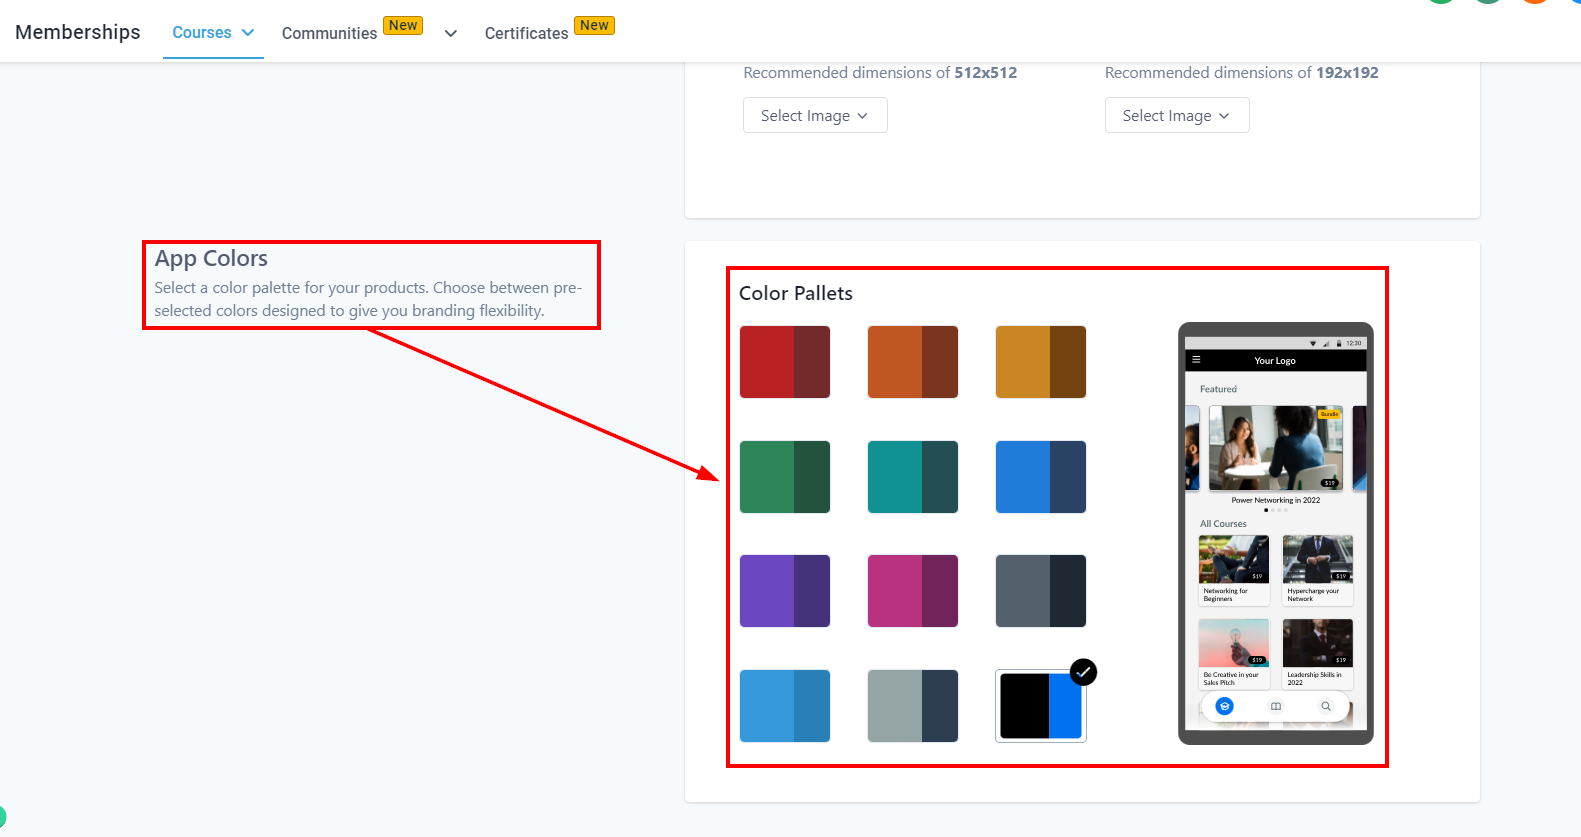
App Colors
Select a color palette for your products. Choose between pre-selected colors designed to give you branding flexibility
Save Changes
When you are done editing, click on the Save button so as not to lose your edits.
Further Reading