Crafting Your Perfect Widget
Enhance your dashboard with personalized insights by mastering the art of customizing widgets.
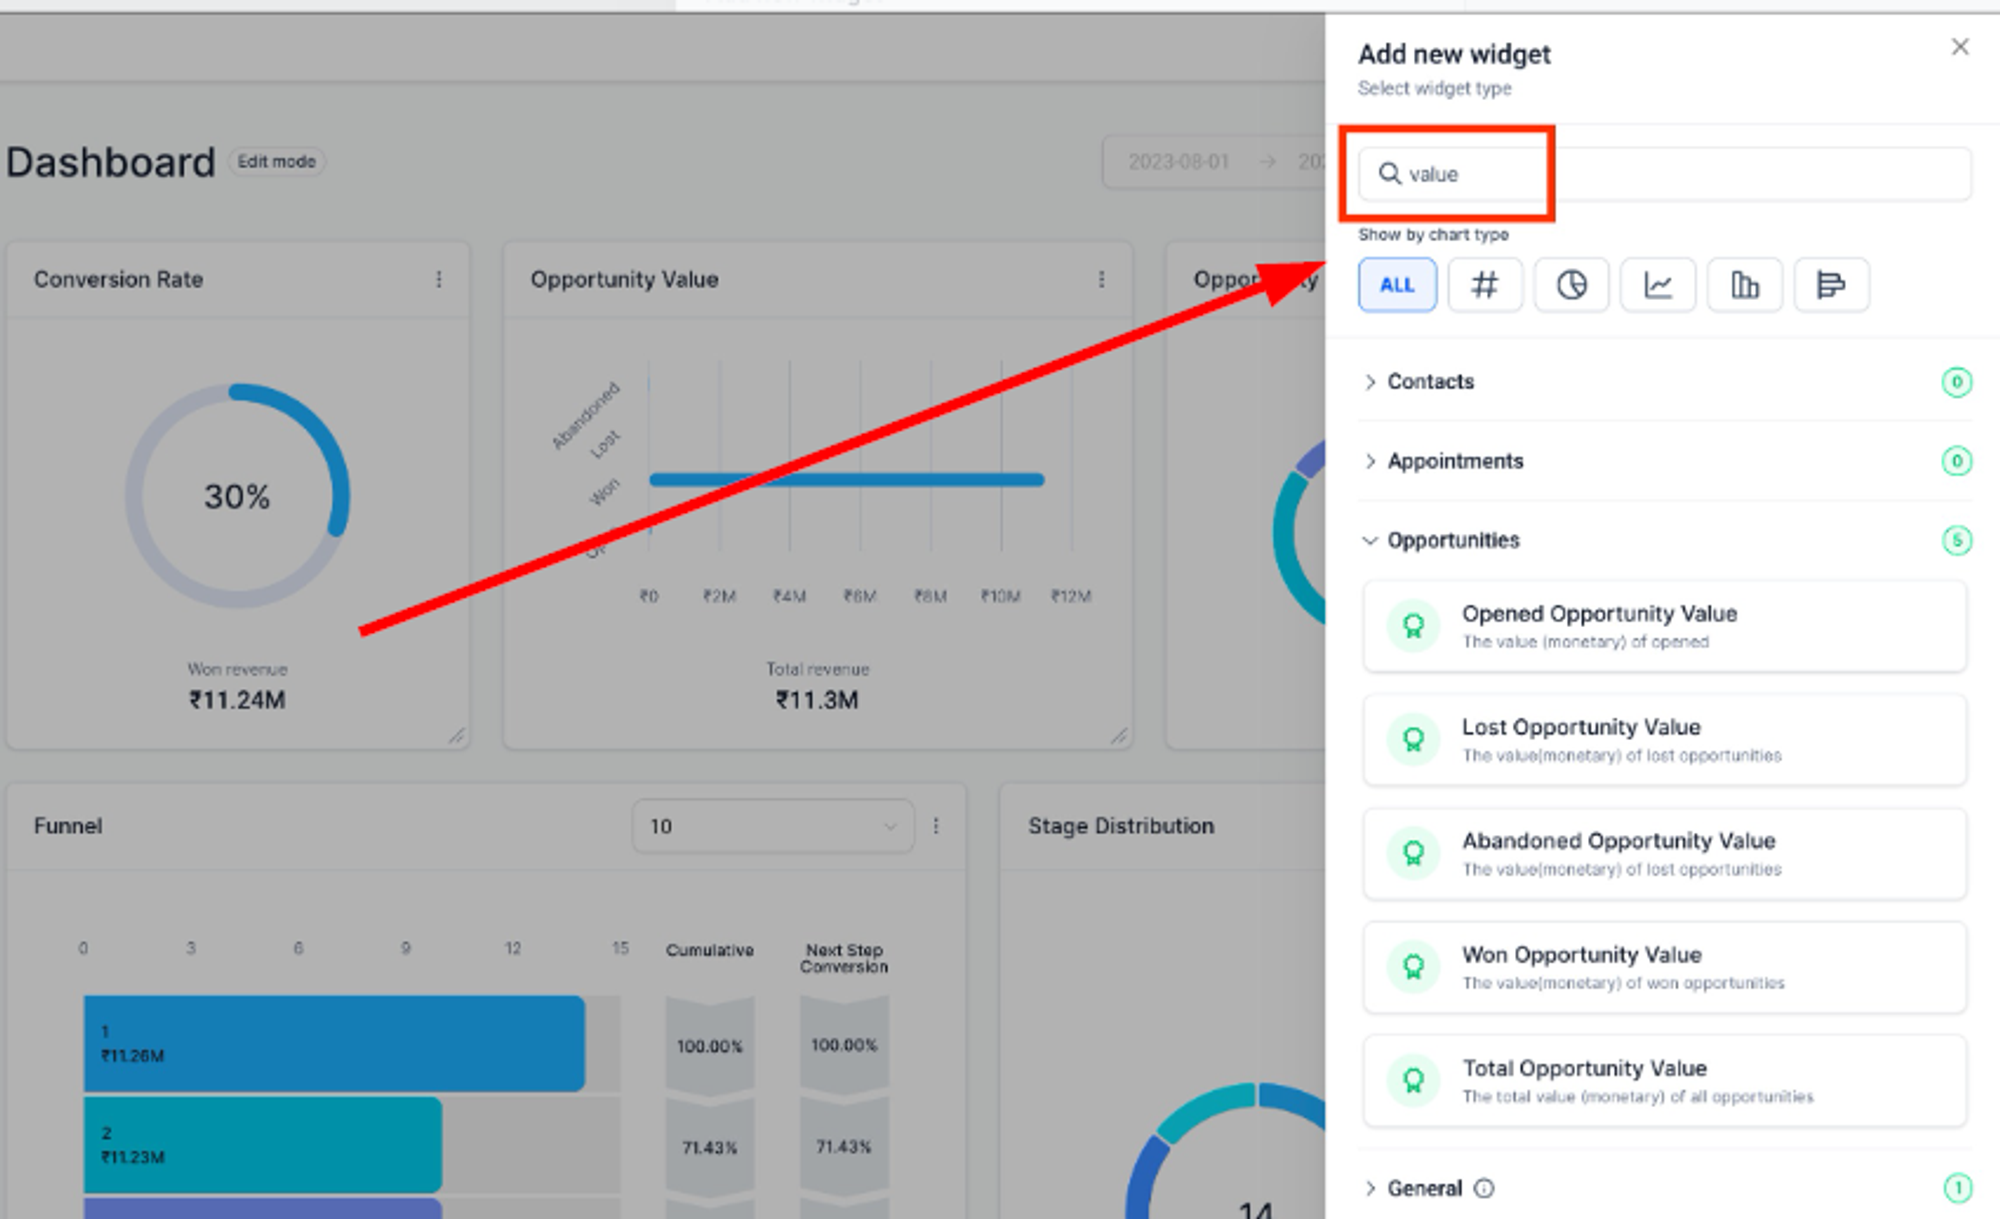
Step 1: Widget Selection
Begin your widget customization journey by selecting a widget from the widget list. Under the "ALL" filter, the default chart type is automatically chosen for each widget. If you want to change the chart type, simply click on the chart icon.
Step 2: Widget Configuration
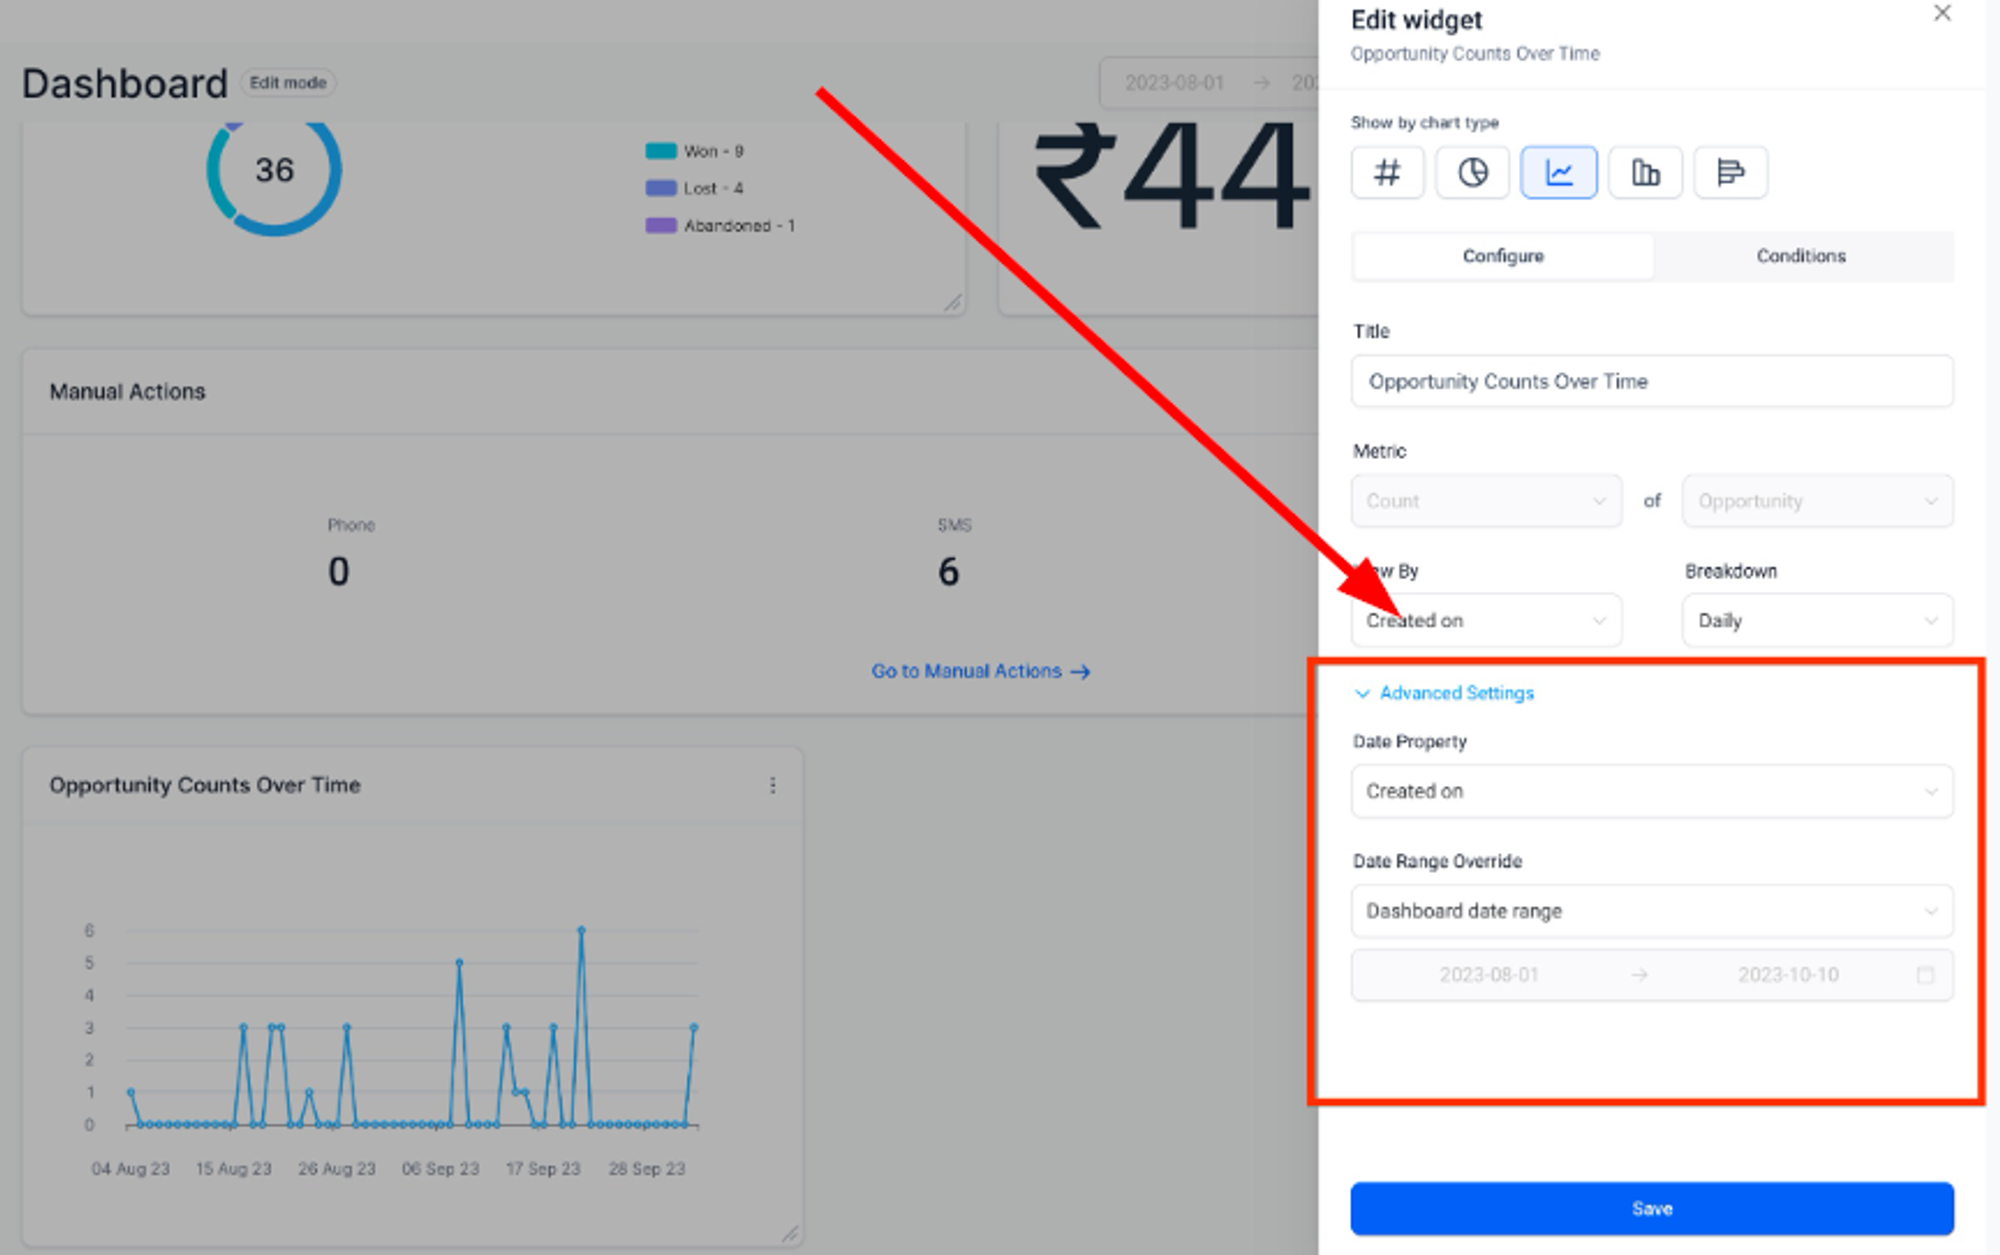
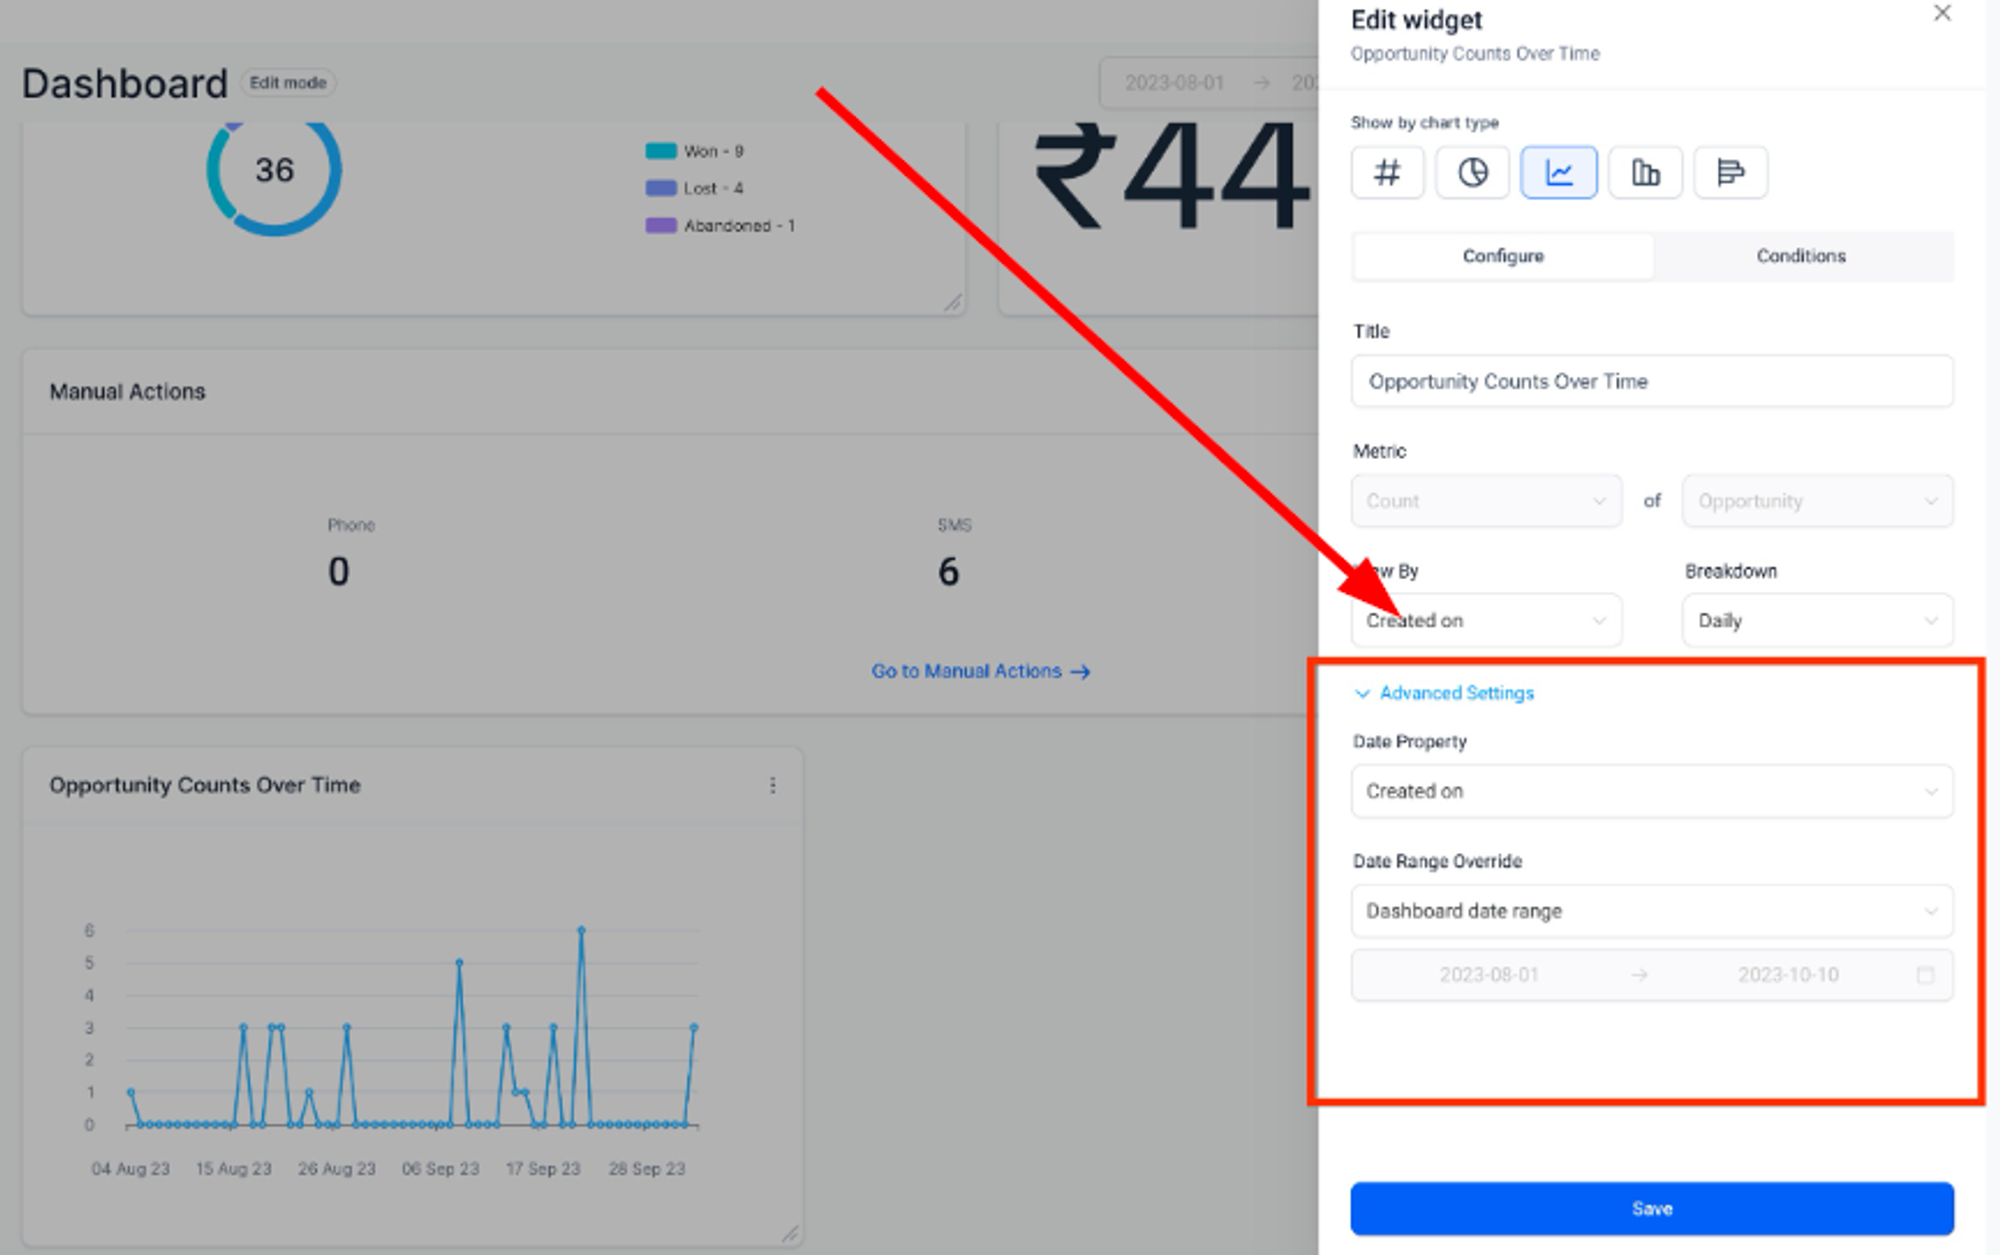
Head to the "Configure" tab to fine-tune your widget settings:
- Title:
- Metrics:
- Group:
- View by:
- Breakdown:
- Date Property:
- Date Range Override:
- Order:
- Limit:
Explore advanced settings for additional personalization options, although these are optional for creating a widget.
Advanced Settings
Step 3: Conditions for Precision
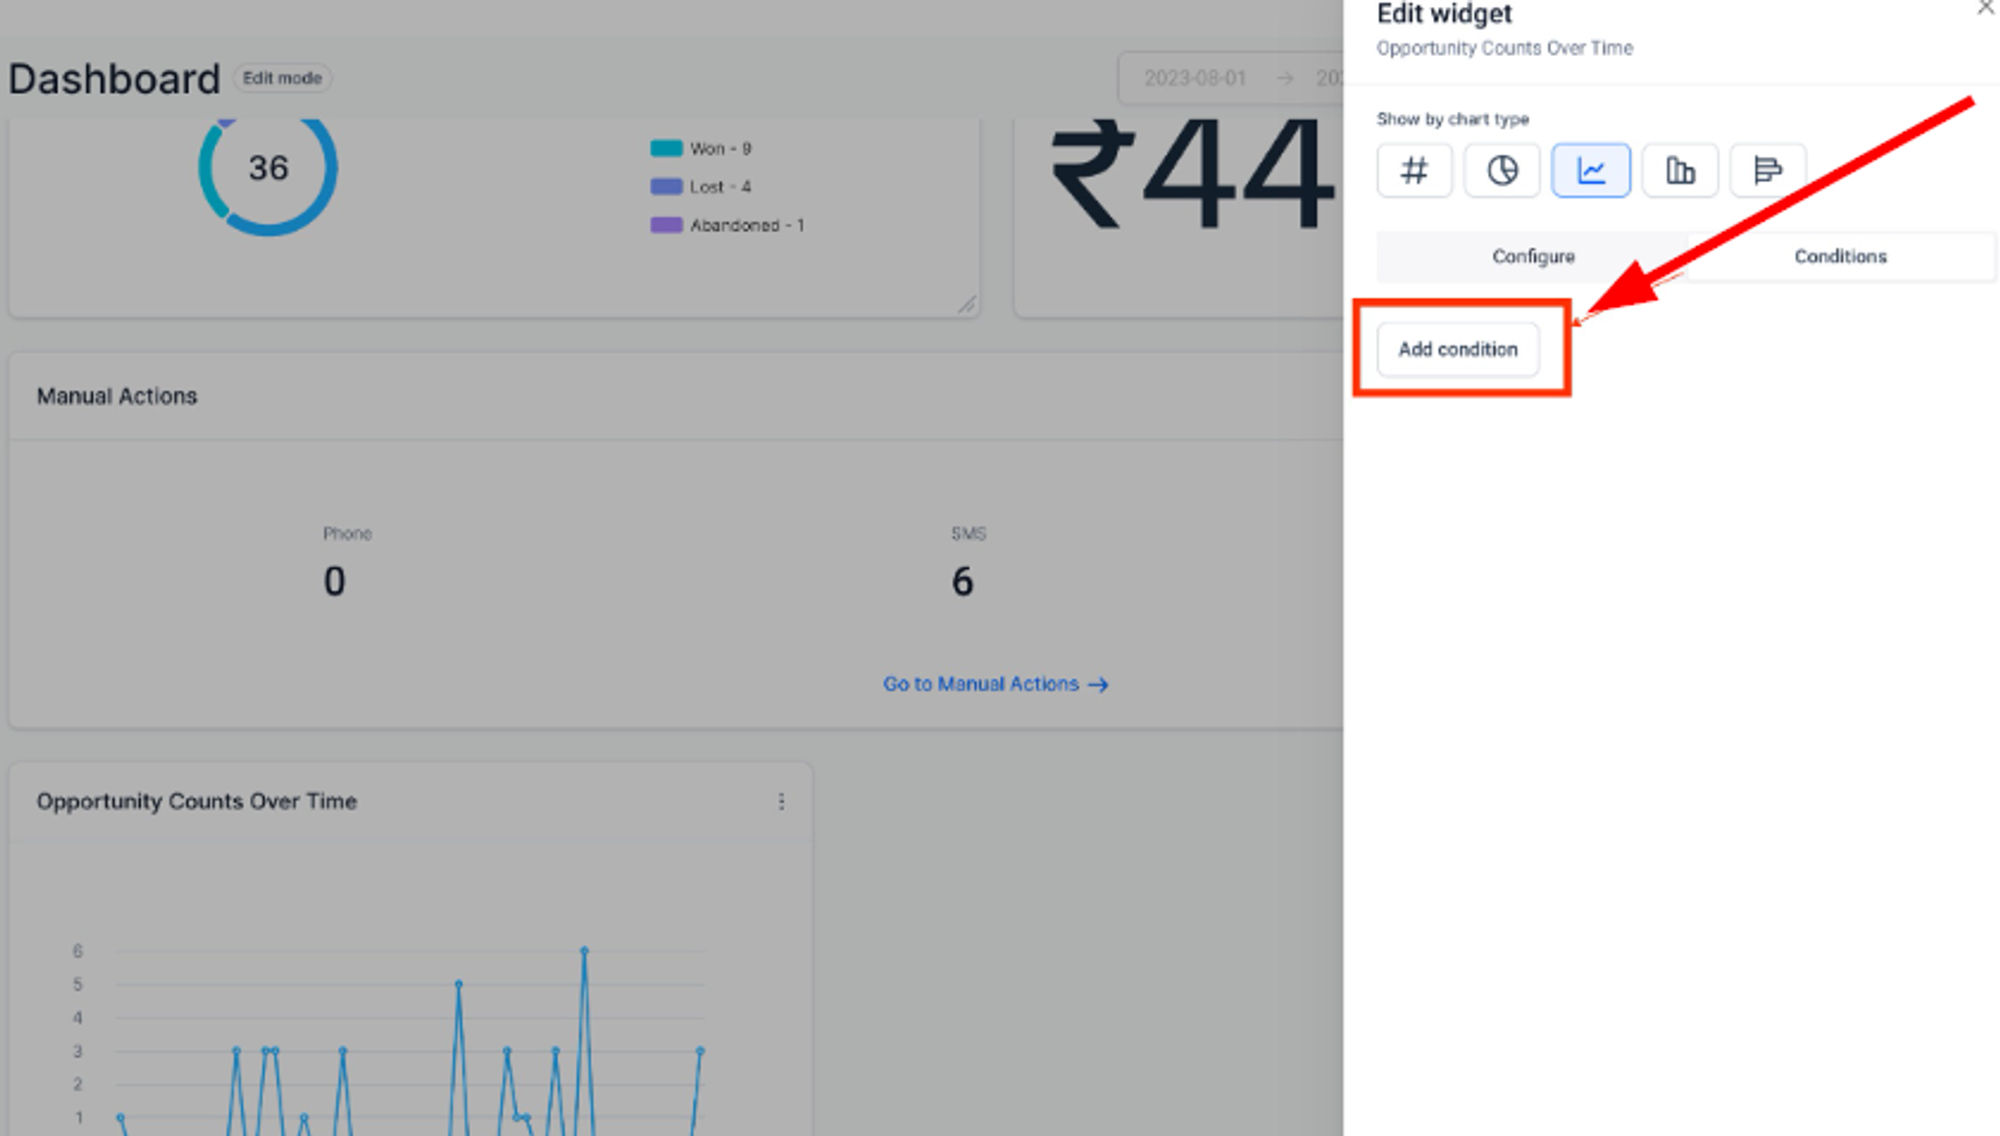
Under the "Conditions" tab, apply filters using AND or OR conditions:
Add Condition
Click "ADD CONDITION" to add a filter and choose the condition from the dropdown.
Operator Parameter
Set the operator and parameters for the filter. Add or delete conditions as needed.
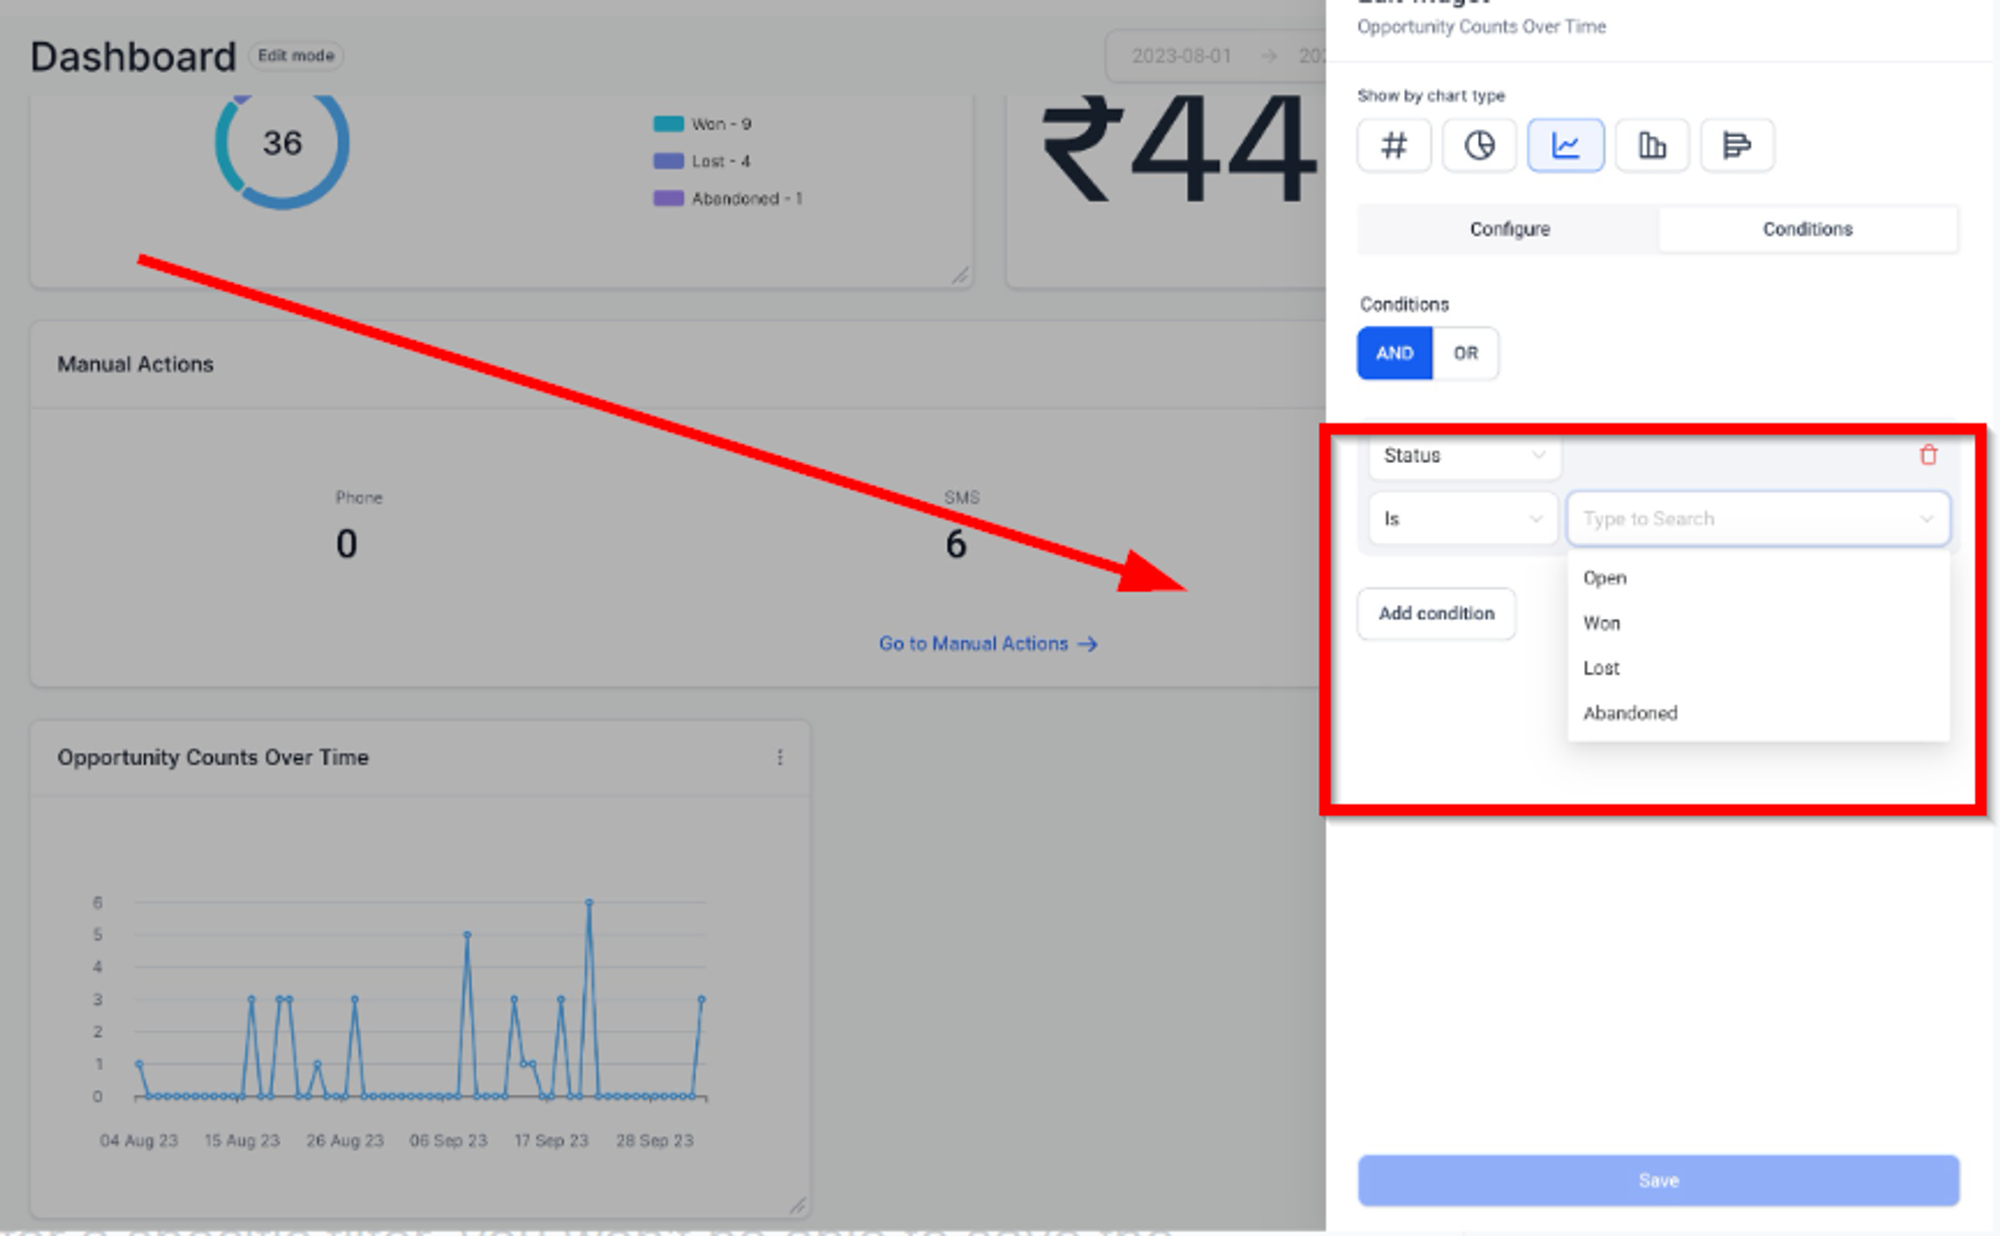
Note: If there's no data found for a specific filter, you won't be able to save the widget without either deleting that filter or changing it.
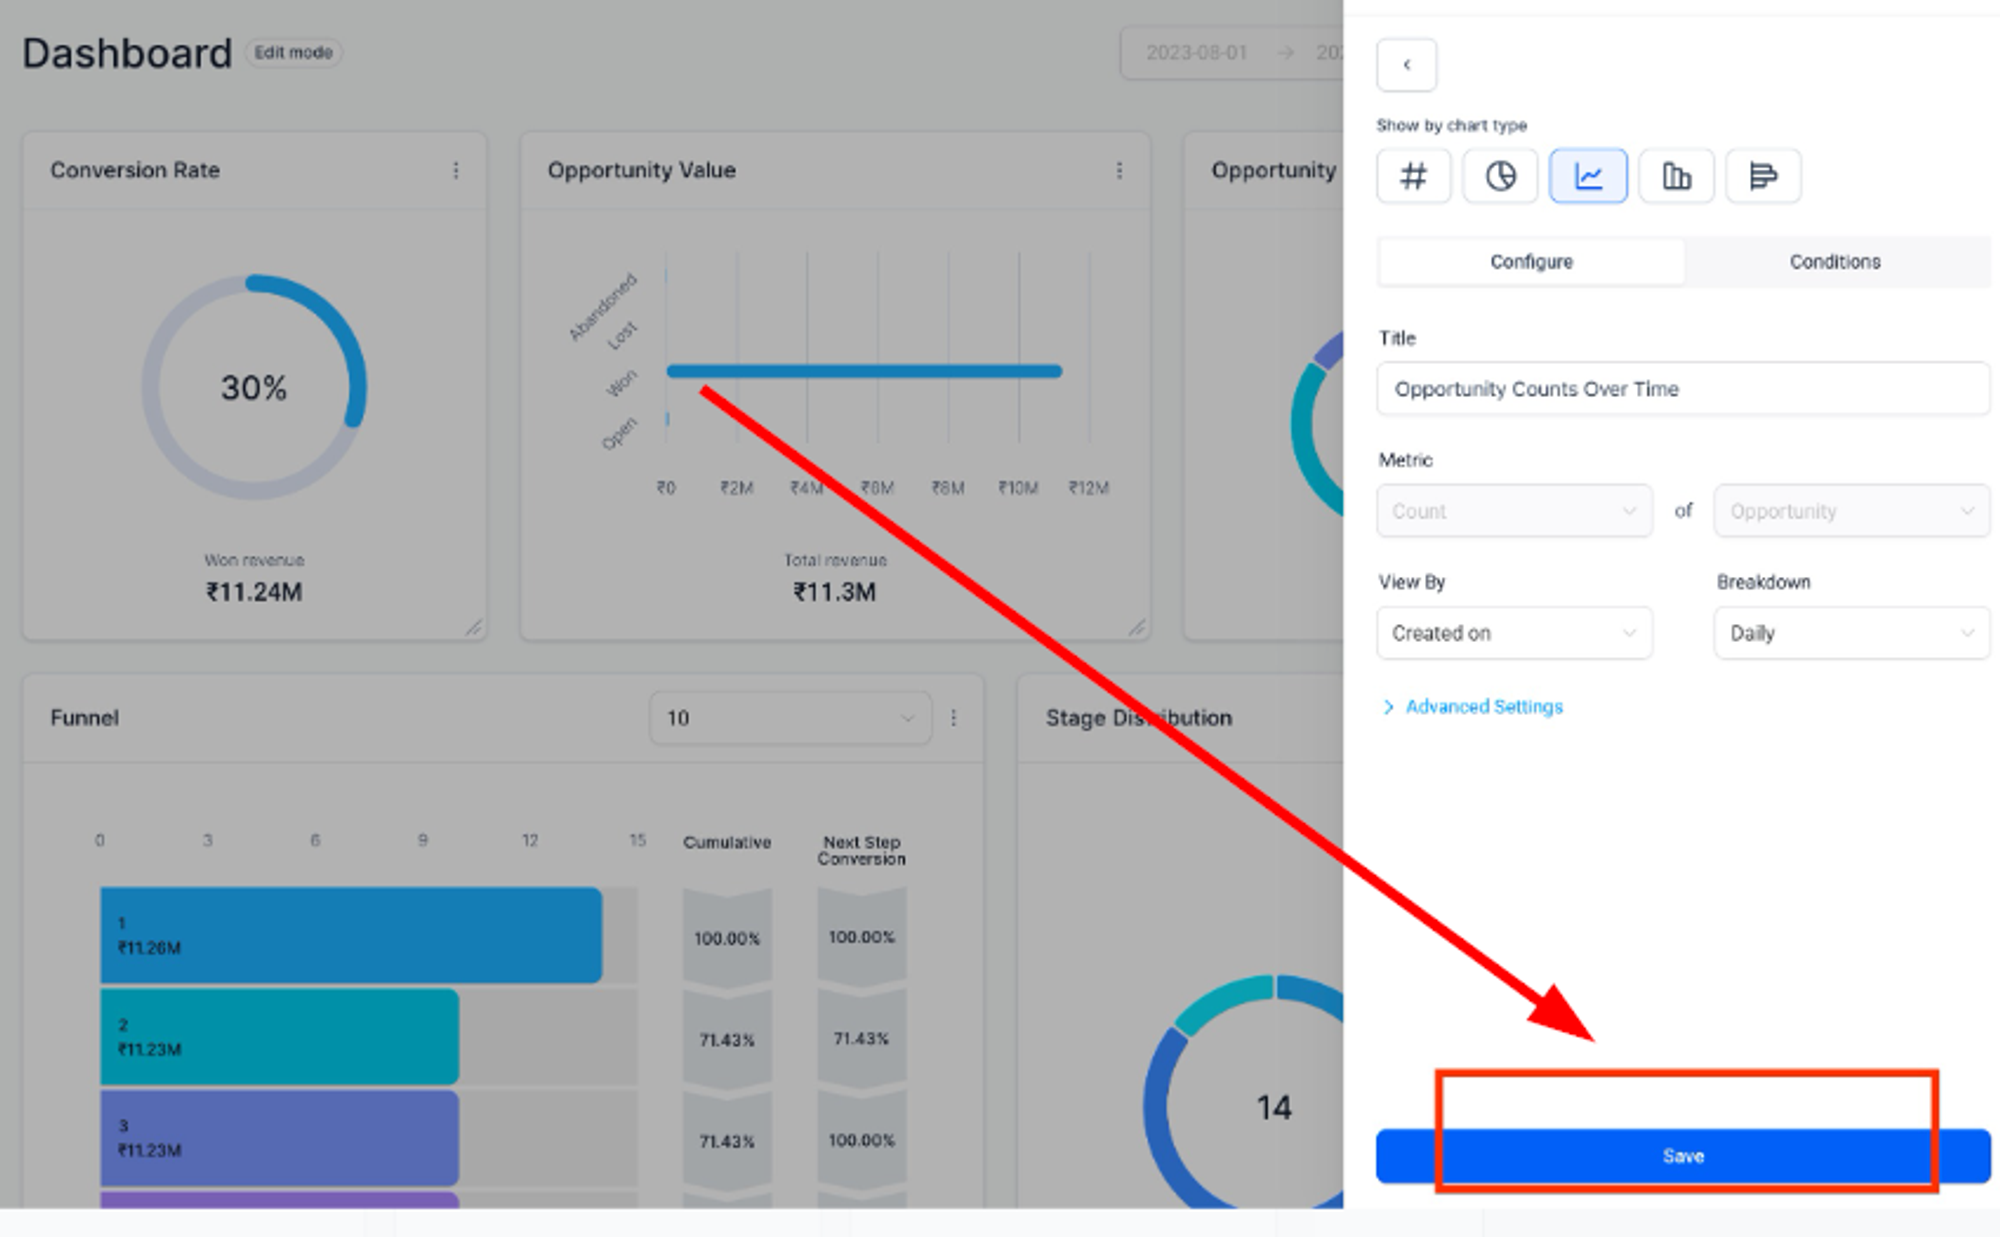
Step 4: Save
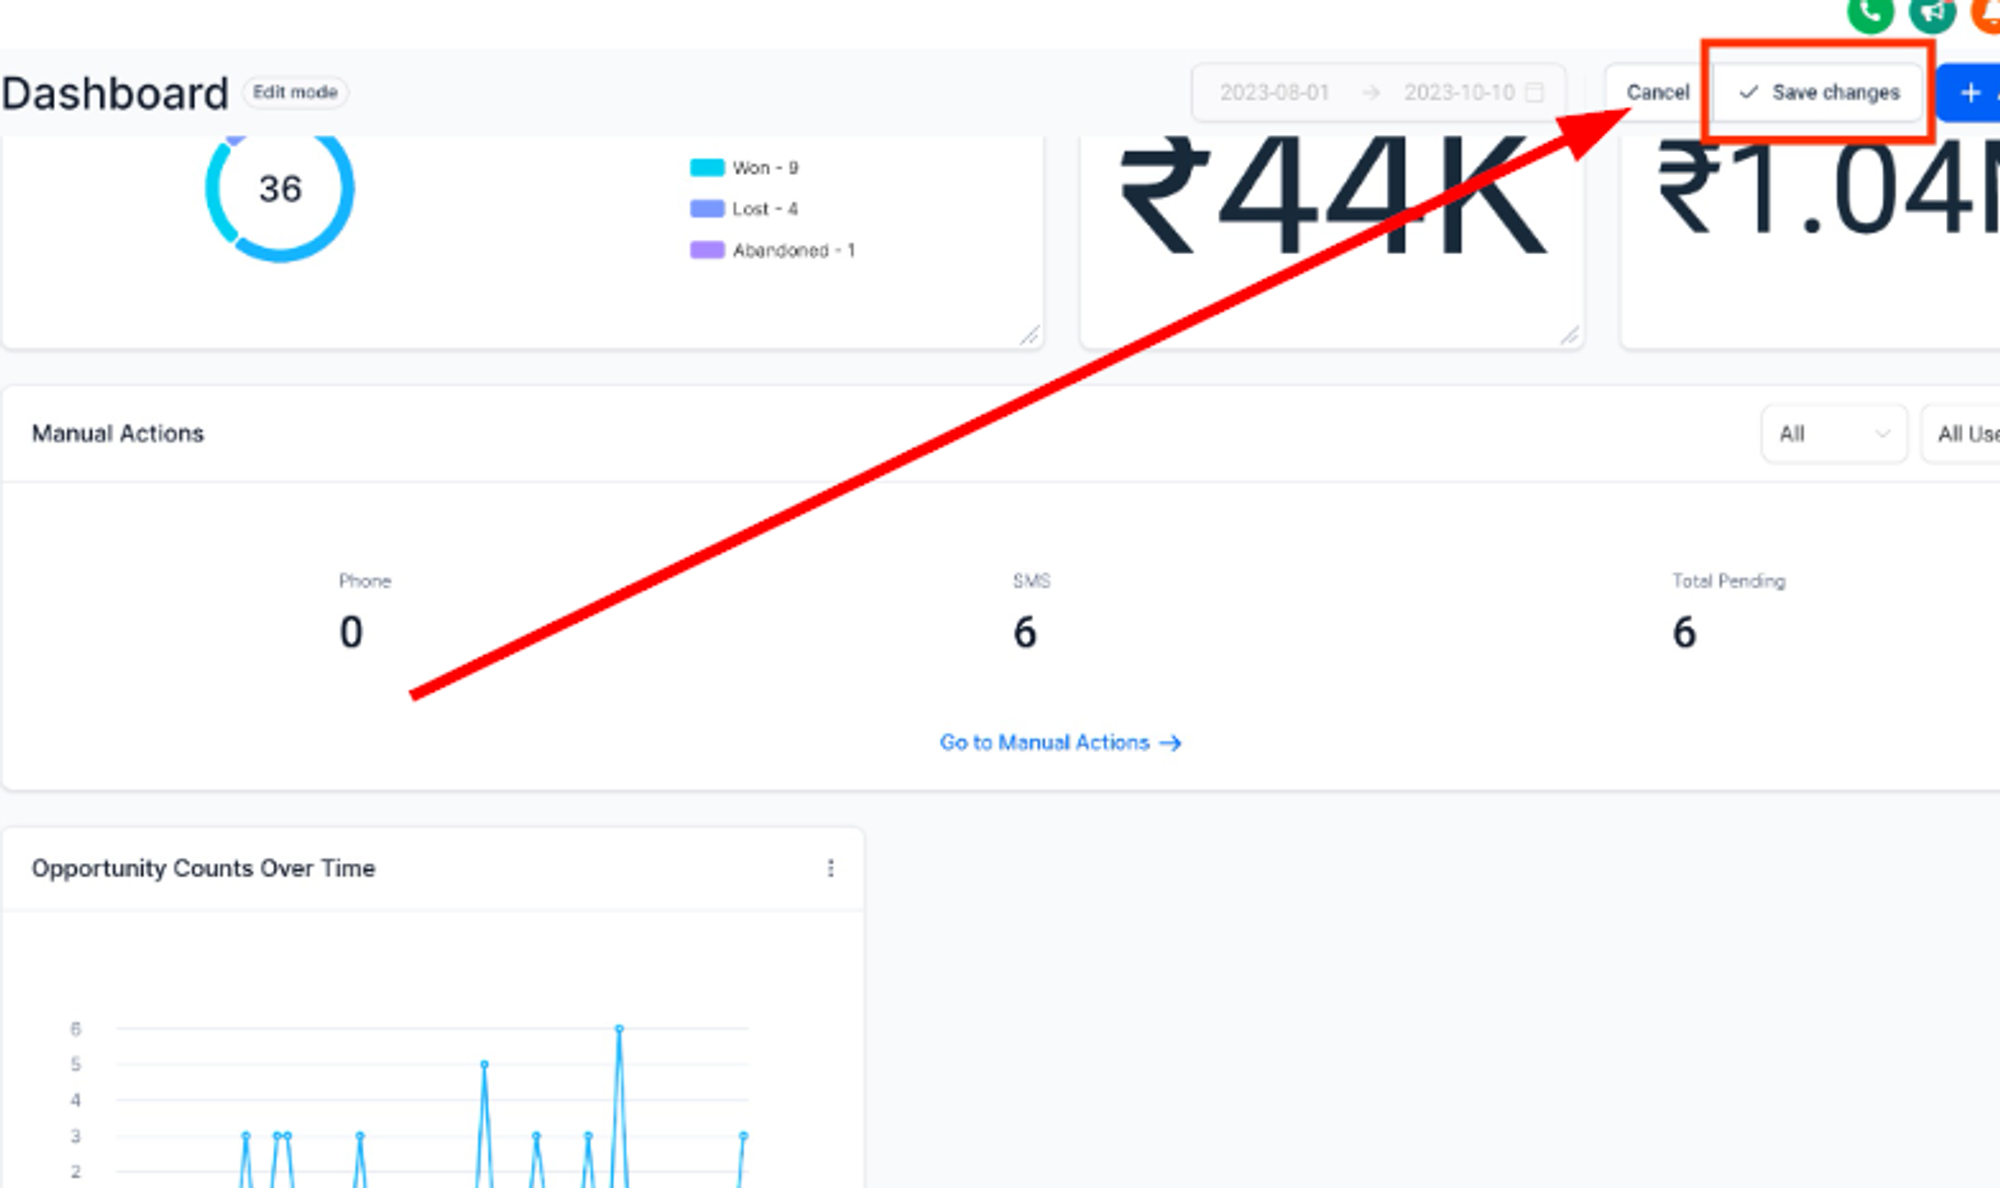
After making all the necessary changes, click the "Save" button. Witness your widget update on the dashboard, ready for resizing and repositioning. Remember to click "Save Changes" once satisfied with the widget's position and size.
